favourite colour

The latest challenge at Seize the Birthday #310-Use Your Favorite Color. My favourite colour is almost always purple in any variation and I like it paired with yellow and or gold. I wasn’t too sure of what I might make for the challenge so decided to just play around with a few scraps and some dies. This card is the result of playing. I had no real idea in my head, except that I wanted it simple. My card front is from GKD, the dies used are from Essentials Mixed edge rectangle layering basics and a heart shape from Hero Arts infinity dies. I cannot remember which stamp set the sentiment is from as it was one of several I had in my stash of oddments although I suspect it is from a dollar store stamp set. The purple paper is from StampinUP and was sitting around on my desk for several weeks. I didn’t like the patterned side but I love the variation in tone on the purple side. The yellow is what I have in my stash. I cut another heart from gold which I then cut in half and added behind the purple one to give an edge to it. This was then popped up with some foam tape and added after I had glued the rectangles in place.

This is quite a simple card, and I like how it turned out. Using this die set was also a good idea as I’ve had it for some time and not used it nearly enough. Thanks for stopping by, I appreciate your time and any comments you may leave.

Black, white and gold elegance

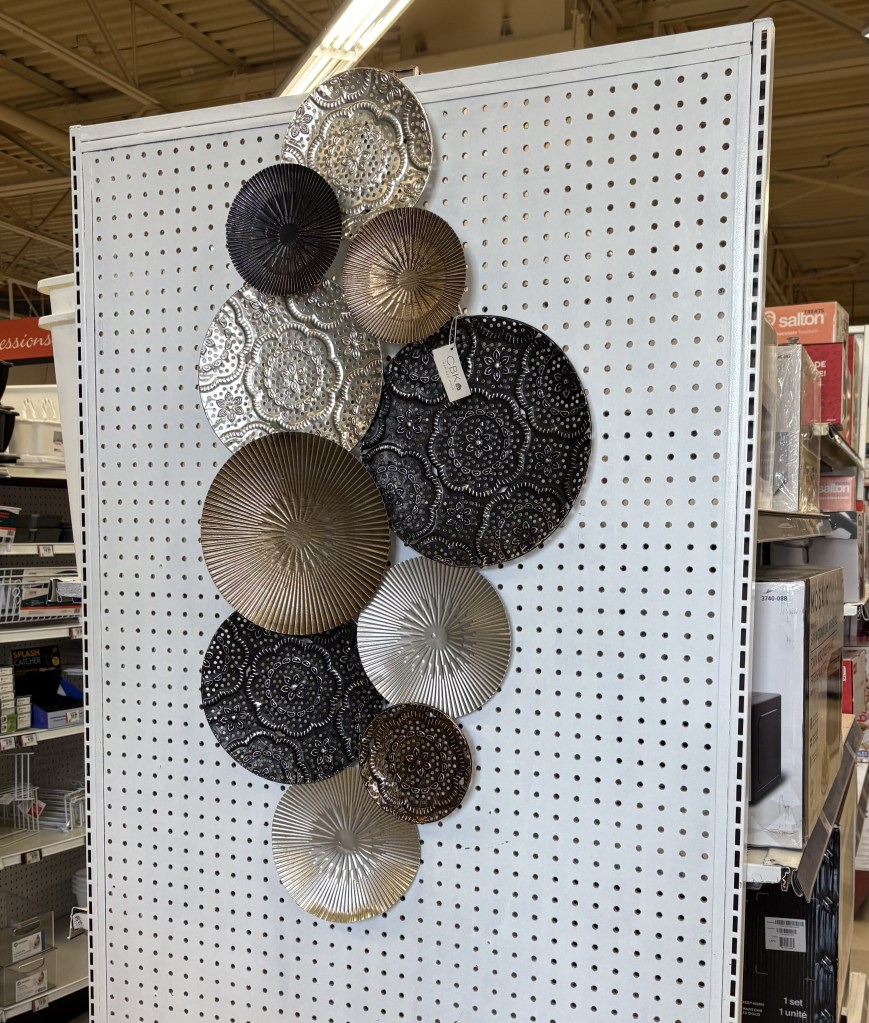
A little thinking was required before I figured out an idea for a design at the current As You See It challenge. Fortunately, during a brief shopping expedition today, I saw a metal sculpture that gave me the idea for this card, and I quite like how it turned out. Picture below. Just Add Ink, has a Christmas in July challenge on so I shall add this to both these challenges.

First I used a couple of EF designs, one with stars and the other Poinsettia and ran scraps of black, gold and white CS through using them. Then I took some circle dies and cut them into three larger circles with scalloped edges and several smaller ones.

Supplies used: Hero Arts infinity circles, Sizzix scalloped circle die, Scrapbook.com glitter paper, Trinity Stamps bauble shaped gems, GKD sentiment heat embossed in Gold. Folders are from StampinUP and Taylored Expressions.

as seen in a store.

When I stamped my sentiment, I hand cut it and used a black Copic pen around the edges so it would stand out a little.

Thanks for stopping by, you, your time and any comments you may leave are appreciated.

happy mail

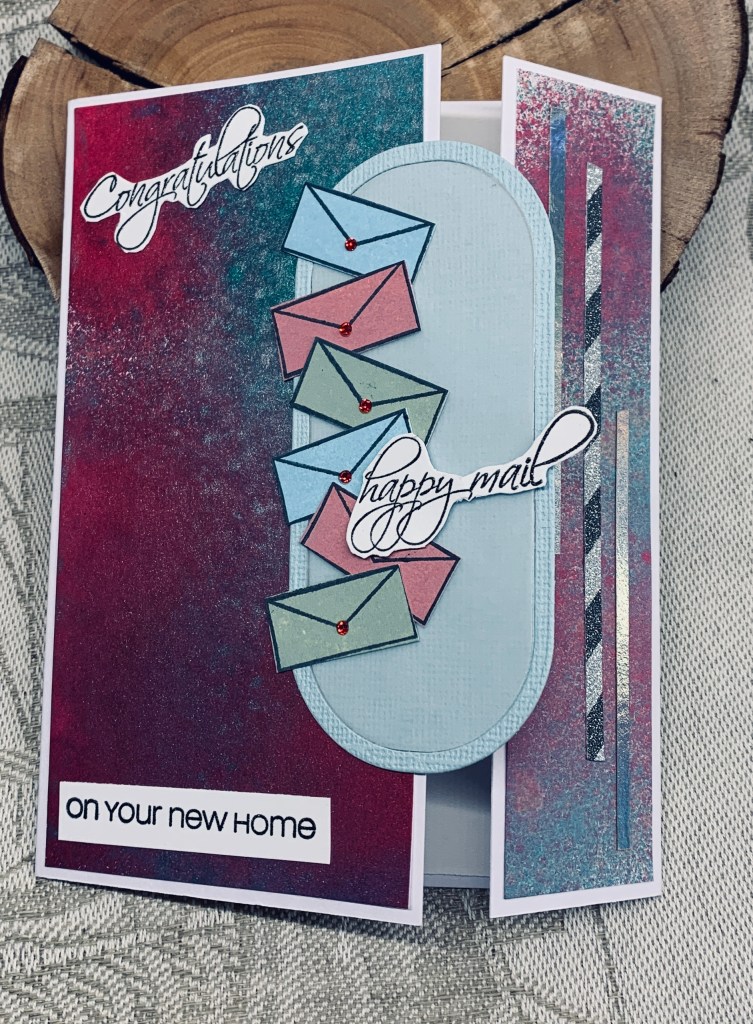
The challenge at https://cardz4galz.blogspot.com/ as chosen by Sue, is to make a fun fold and I chose to do an uneven gate fold. The little envelopes had originally been done for a colour challenge but I changed my mind and did something entirely different. Having them in my bits and pieces box ready to go I decided to use them here, particularly as I need a new home card. The background was something I created a while ago using various mica sprays so I cut it to fit the two folded panels. I also added some leftover strips down the side panel. The stamp set used is by Kitchen Sink and I’ve had it forever. I think I won it through the Mod Squad. I fussy cut two of the sentiment pieces but used my Fiskars blade on the rectangular one. Sentiments were clear heat embossed before cutting. The modern oval is from Spellbinders and I used a scrap piece of CS and a piece of vellum added on top. I cut the frame to go around it and added the envelopes as you see. A few tiny gems on each one finished the card nicely.

For a change, I quite like the end result immediately, which doesn’t happen often. Thanks for joining me today, you and your time are appreciated. Have fun making your own fun fold and we look forward to seeing them in our gallery.

geometric and stitched

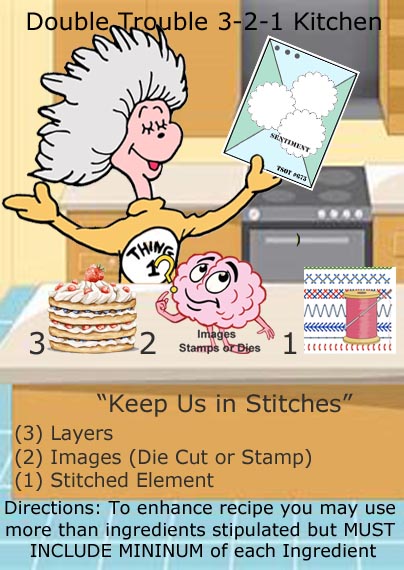
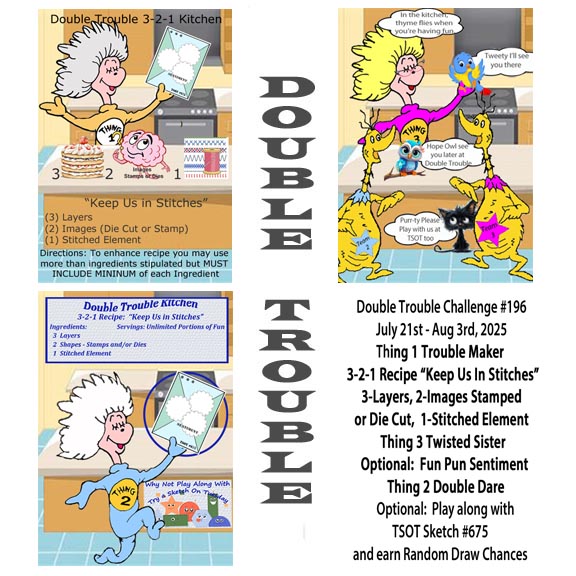
So here I am with my first post for my new gig at Double Trouble. The requirement is for stitches, however you like to create them, along with 2 or more stamped images and 3 or more layers. An additional twist is to use a ‘punny’ sentiment.

I chose to use the sketch from TSOT #675 starting on August 5th. This card will not be entered in the TSOT challenge, because it would be backlinking.

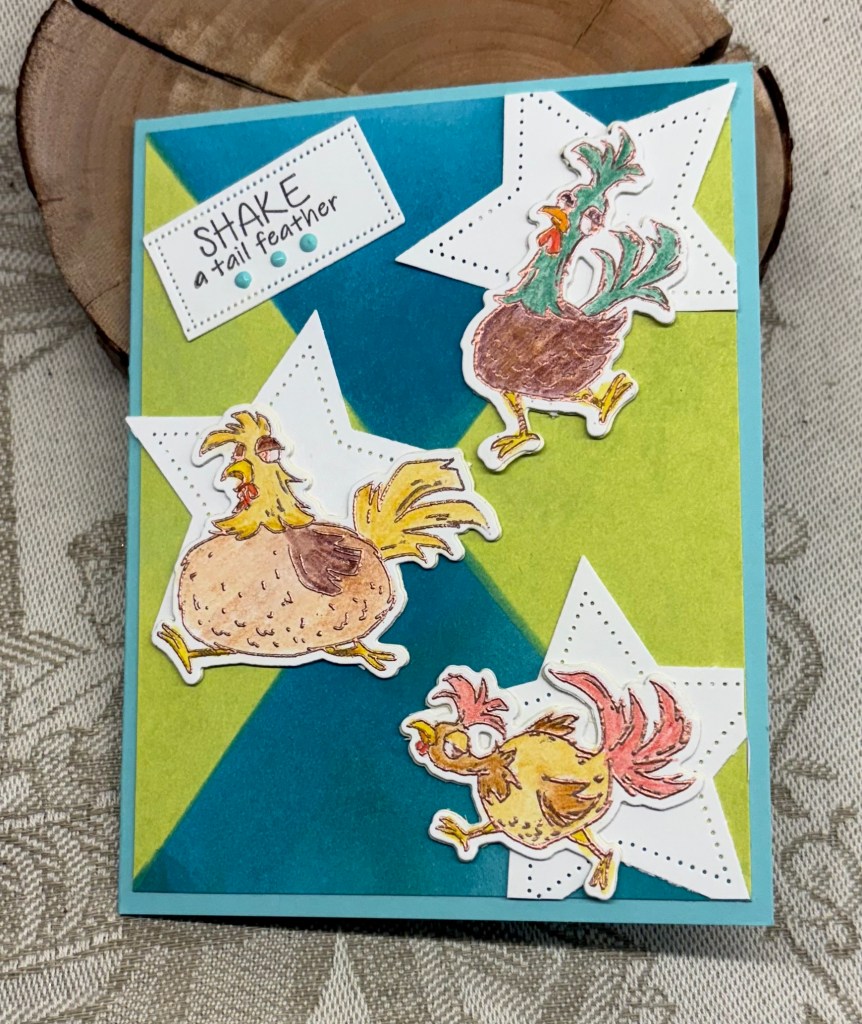
I kind of liked the sketch background element in the inspiration picture and had a go at creating one similar to it. I made a mask and used it to ink the 4 sections of the panel. Distress Oxides used are Mermaid Lagoon and Twisted Citron and considering I don’t do this type of inking often, it worked out quite well. I had this Kokorosa stamp and die set on my desk and decided to try 3 images from the set. I used Versamark ink and a coppery coloured powder from Recollections to heat emboss and then I coloured them with watercolour pencils. To give a bit more strength to the die cuts I cut several more for each image and glued them together. I hadn’t quite decided on which stitched style I would use and considered doing it by hand, but in looking through my dies I found this pierced star set from Spellbinders and cut 3 stars. Once I had decided on placement they were glued down and the chicken images set on top. The pun sentiment, or as close as I can get to one, comes from the same stamp set, but the rectangle piece was cut using a die from StampinUP. After I glued this in place I used some Scrapbook.com Pops of colour underneath the words. The entire panel was then added to the GKD card front.

I’m quite pleased with how this one turned out and I like the way the background looks. I may do something like this again.

Thanks for joining me today. I hope you have fun making your own version of the recipe.

martini anyone?

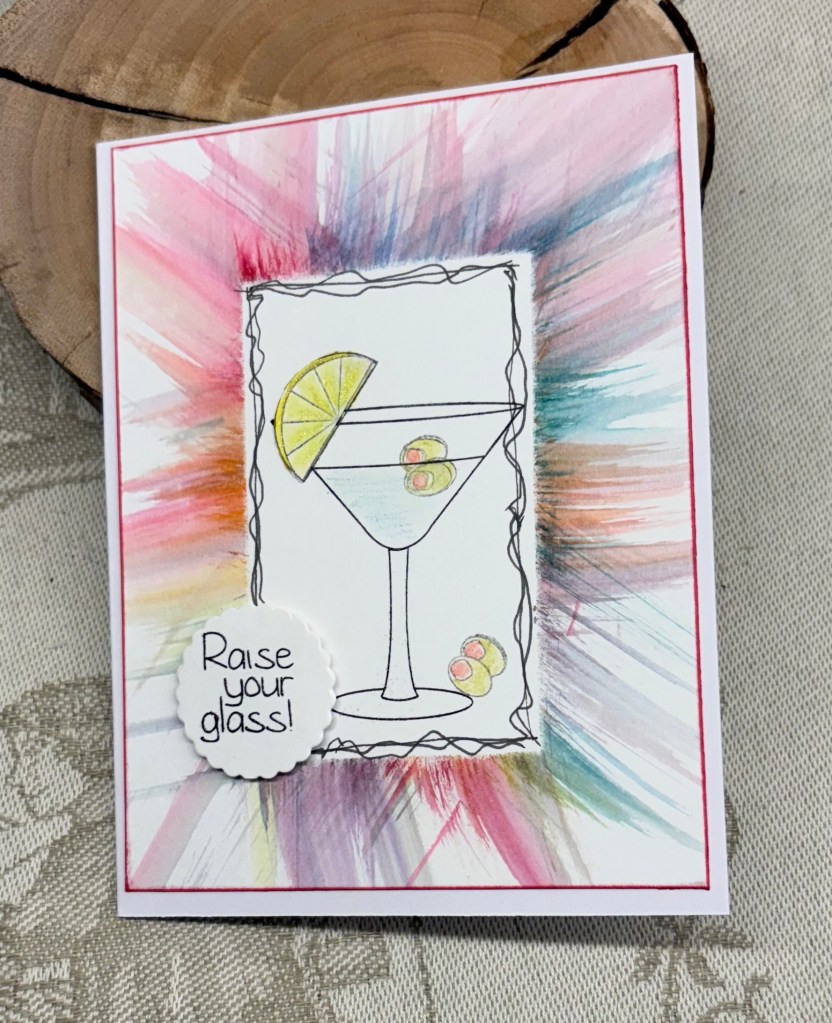
Seize the Birthday #309-Food and or Drink and I chose drink for my theme. After watching this technique on Pinterest by viewing the video a few times, I initially made my mask from card stock. A hot mess, although one piece I can use eventually. In the end, and what I should have done first, I made a mask using some packing plastic and a rectangle die from Hero Arts. I used double sided tape that could be easily removed and attached the mask in the center of my white piece. Using Tombow markers I scribbled colour all around the edges of the plastic and using a baby wipe gently swiped it so the colour ended up looking like this. Mine does not look as good as the one I saw, but I with practice the next one will no doubt be better. This piece is my 3rd attempt. After removing the mask I hand drew the frame squiggly lines.

Using a Joy Clair stamp set I stamped the glass, added olives, lemon slice with some colour to them and the liquid in glass. Stamped the sentiment from same set and die cut using a Sizzix set of scallop dies.

Hubby liked this one, the jury is still out in my own head. Thanks for stopping by, I appreciate you and your time.

Pooh Bear

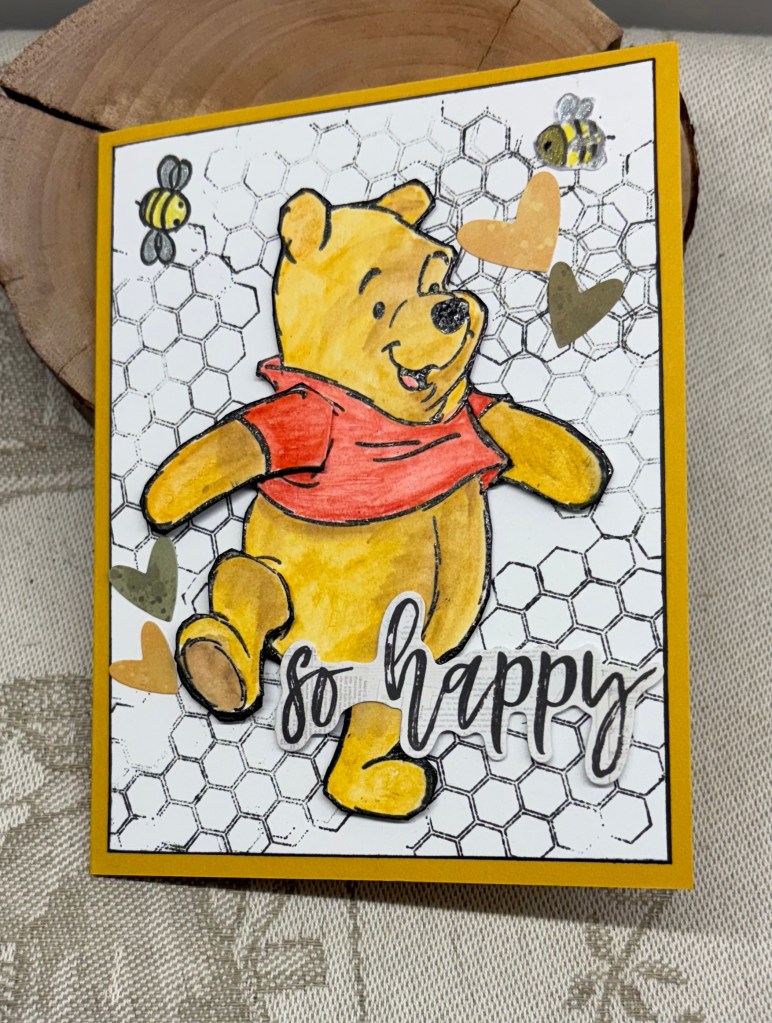
A Card for the Kiddo’s Challenge at Double D. This card ended up being quite different than what I had in my head mainly because I messed up some stamping. Rather than begin completely from scratch, I decided to fussy cut Pooh, repair the errors and use him on his own. To fix his arms and legs I stamped a second image, coloured the parts I needed and fussy cut. These were added to cover up the mistake and while I was at it I made one arm and leg pop up for a more realistic look. The stamp is an old wooden block someone recently gave to me and on the side it says Rubber Stampede. Based on its age, a defunct company now, I would imagine. To colour images I used pencils, a small amount of Distress Oxide Frayed Burlap and some glitter Sakura pens.

From a Forever in Time dollar store set I took a couple of bees and stamped them and I also used the honeycomb stamp. I edged the layer with a black Copic marker. I also used a couple of Ephemera pieces from Simple Stories to complete the card.

I don’t have any children in my life these days, so I may give this to a friend who has grandkids so it can be used. Thanks for stopping by to take a look. I appreciate it more than words can say.

one for each decade

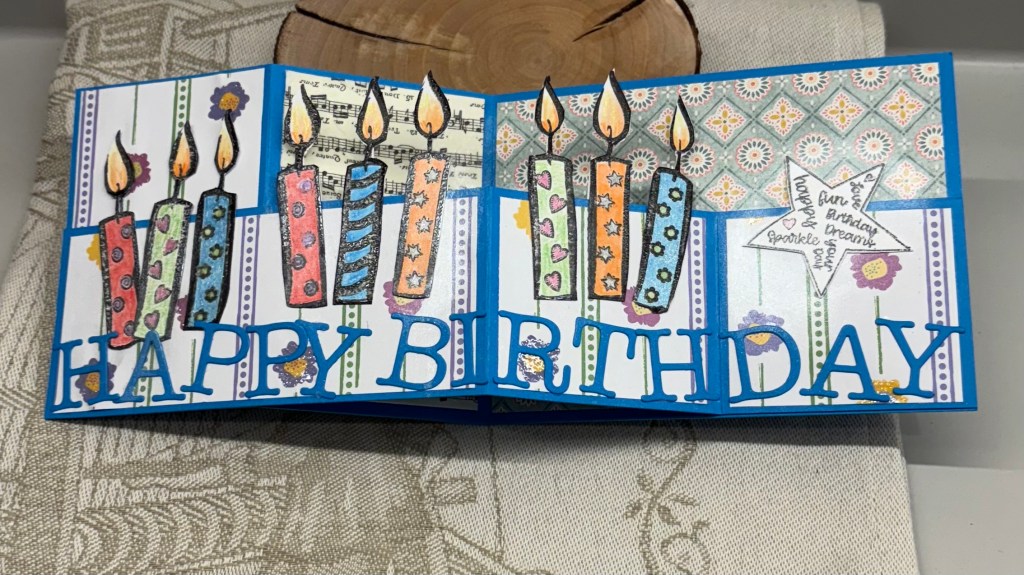
One of my aunts, is turning 90 soon, and I decided to make this card for her. As a bonus the card fits the current challenge at: The Sisterhood of Crafters – Strips and/or Dots. As you can see, the candles show both stripes and dots, but the PP also has them in its design.

I did consider making a card that incorporated 90 candles, but discarded the idea due to the thickness and cost of mailing one that is oversize. So instead I used the double Z fold technique and added 9 candles to represent 9 decades. The stamp used is an old (very) Hero Arts wooden block and I found it isn’t stamping well so I shall be discarding it. That said I got a good enough impression to use for this card although I did have to use a sharpie to fill in edges. After stamping enough, along with a few extra just in case, I coloured them using pencils, Sakura Gelli roll pens and some Perfect Pearls for additional shine. Took a while to fussy cut, but cutting mostly straight lines isn’t hard.

Using some GKD CS, I had prepared my card base and added some PP, the music panel is from a napkin, the back panel is StampinUP DSP that had a shade of the same colour blue as the card base in the design and the other PP was gifted to me a long time ago and I think is from Michaels. The bottom is the Z fold strip after I had added the PP to it. Glued all the candles down as you see and checked the folding to ensure no errors. Of course I found a big one so a little bit of cursing was in order. I had to get very creative to fix it. What had happened was that I used both sides of the white CS to stamp the candles because the first try didn’t get good results. Figuring mistakes wouldn’t show once they were glued I stamped again on the other side. On a different design this this wouldn’t have been an issue, but I forgot that when the card is folded the backside of the candles shows and it was ugly. Fixing it required stamping another 6 candles onto white CS, fussy cutting and then adding them behind the glued ones. A little bit more cursing to get them glued, but it worked for the most part. I decided not to worry about perfection so while still not pretty, it’s a lot better than it was. If I do another card similar to this I will ensure that both sides of the stamped image are the same. My hands didn’t like the effort though and I’m paying for it now.

With a leftover piece of the blue CS I die cut the sentiment letters using a Scrapbook.com set of alphabet dies and glued them along the bottom deliberately skewing them slightly for a fun look. I felt it needed something on the last piece so I used a Forever in Time dollar store set, stamped the star and fussy cut it before adhering as you see. I’ve created a white piece for the back of the card so I can write a personal message, which will include an explanation for the quantity of candles.

All in all, I’m pleased with the end result and shall be mailing it tomorrow morning. Thanks for stopping by, your time and you are appreciated.

anyone for cake

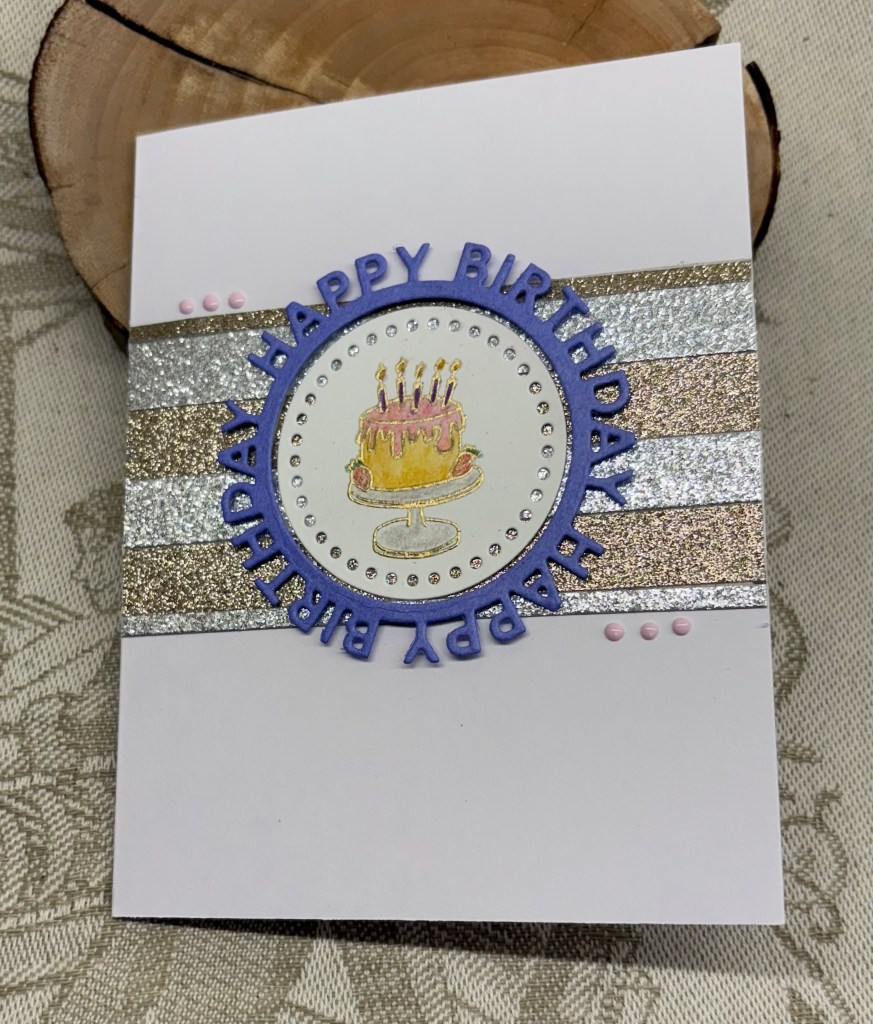
This card has been created with two challenges in mind, the first is at As You See It, Challenge #352 – The Shape of Things to Come, and my fill in the blank is circles. The second is at Seize the Birthday #309-Food and or Drink and you can see I chose a cake.

It is obvious that some of my inspiration for this card came from several of the DT examples at Seize the Birthday. I used some scrap glitter strips to make the initial background and then it was an MFT birthday die with a center using a StampinUP dotted circle die. Stamp comes from a dollar store set, was stamped with Versamark and then heat embossed gold. After that I used water colour pencils to add some colour. My candles came out slightly darker than intended so look a bit black in the photo. A few Pops of Color from Scrapbook.com and I called the card finished.

Thanks for spending time with me today. I appreciate you and any comments you leave for me.

window pots

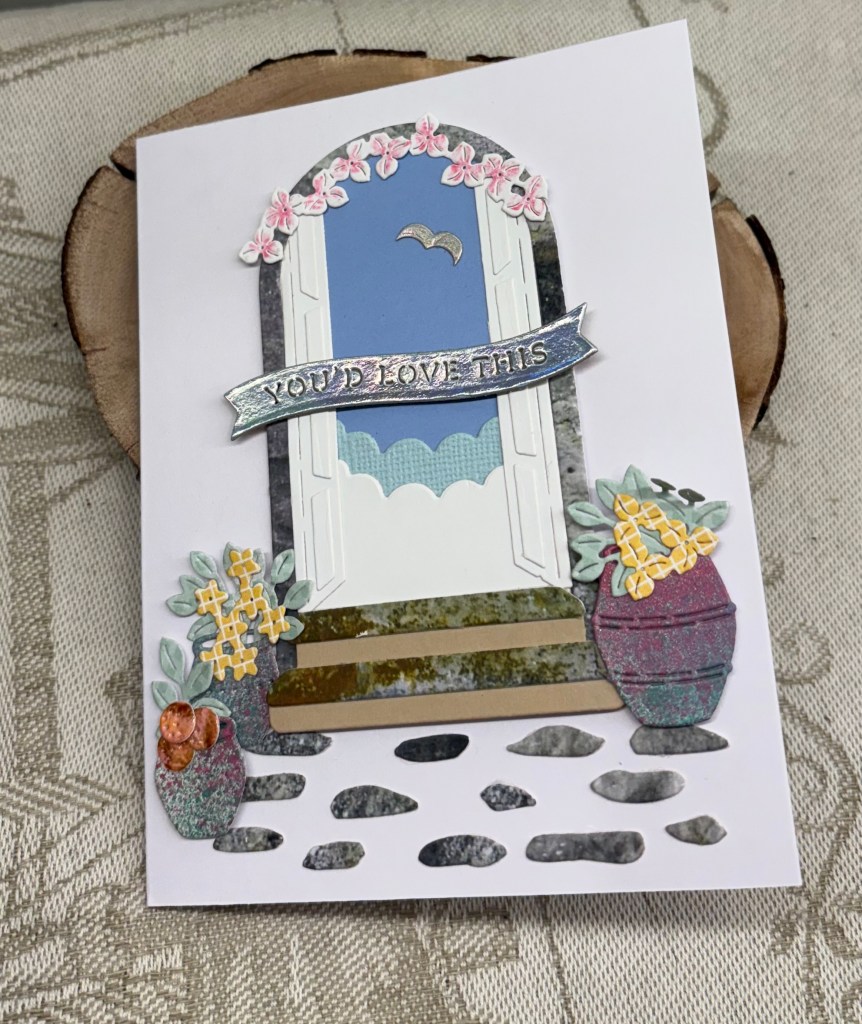
To make this card for the flower pot theme at https://daranddiane.blogspot.com/ I returned to my new Weekender set from Spellbinders. I had the sky piece already on my desk as it wasn’t used at the time it was cut. The sentiment was also already done. Once I figured out a design in my head, I set to work cutting the rest of the pieces. Flowers, leaves and oranges were cut from scrap pattern paper. The arch and cobble stones were cut from a photograph that didn’t print well and the same applies to the step tops. The pots were cut from an inked piece I had in my stash. I assembled the pots with flowers, leaves and some oranges. Then it was a matter of finding the right placement for everything on the card front. Using these dies is fun, but also quite fiddly so I have to be in the right mood to do it. I added a few extra flowers at the top because I could see a small gap and wanted to hide it. I used foam tape on several elements to give dimension. The little seagull is done using a Jen McGuire hack. Works like a charm. Overall I’m happy with the end result. I quite like the effect of the stones, arch and steps as they look pretty realistic.

I have a new gig – I’m now a design team member at Double Trouble. First card I shall post will be July 21st. I’m pretty excited, but also a little nervous. I hope you will join me at some point.

Thanks for stopping by, I appreciate you and your time.

wedding anniversary

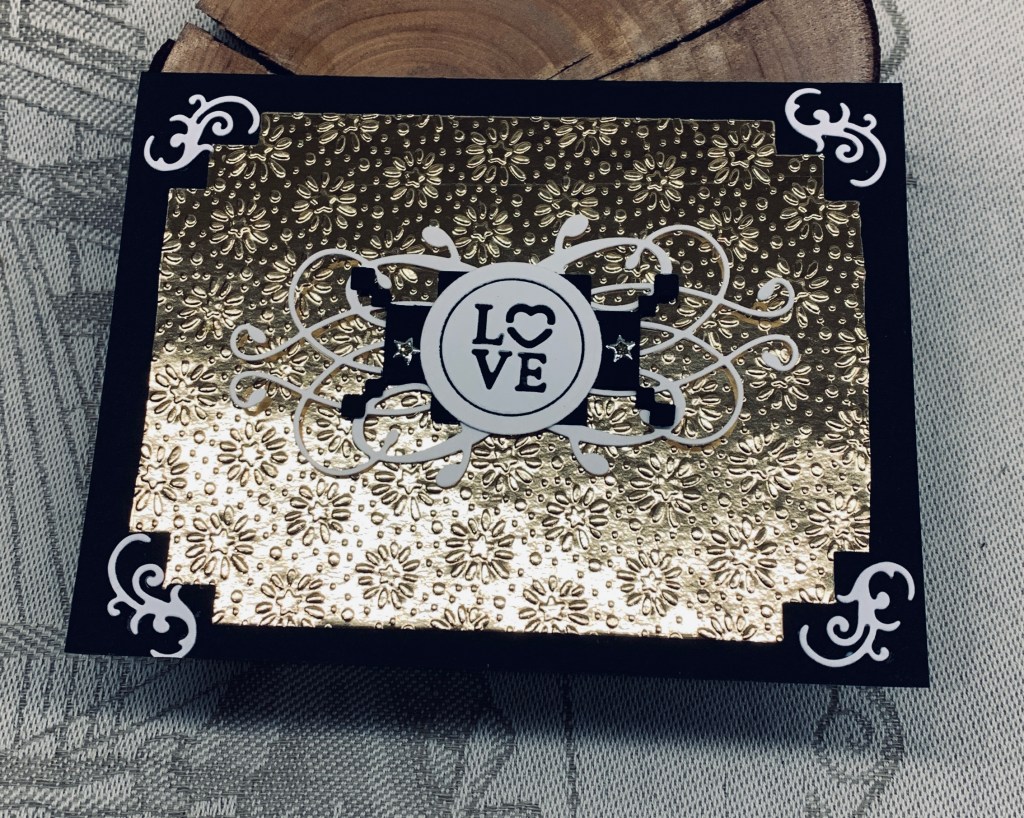
Challenge #254, as chosen by Caz, is all about wedding or wedding anniversaries here at cardz4galz. As a member of a local dragon boat team and the person in charge of celebrations for members, a wedding anniversary card was required so this is what I created. It uses up some of my oddments, while at the same time using a new EF by StampinUP called Starstruck. The embossed piece was leftover from an Art Deco card I made, as was the black piece you can see behind the circle. The white scroll die cut is an old one but I’m not sure of the brand and the circle is infinity dies by Hero Arts with the sentiment and scrolls from Crafters Companion for Gemini. The two tiny stars you see are stickers from my stash. A fairly simple card to make, but the EF sure makes a statement especially on this mirror gold CS.

Thanks for taking a look and we hope to see your creations in our gallery. Have fun creating and enjoy the summer months.