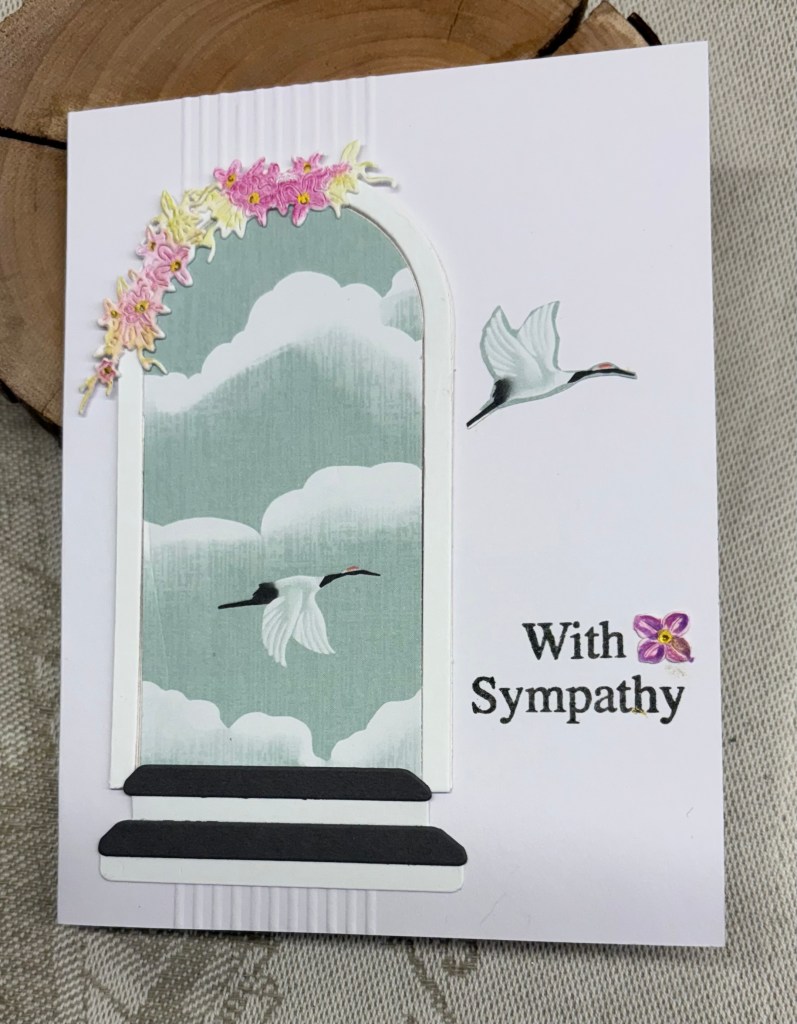
Once again I needed a sympathy card, 5th one this month. As Double D Frames Challenge is looking for frames, I figured I might as well make a card that works for that as well as for the friend it is intended for. At the same time it gave me a chance to use part of a Spellbinders die set that came with my kit for the Weekender Retreat. I used just the window arch and interior piece, plus the steps, along with a Gummiapan floral as a small topper, sentiment is from GKD and the background is DSP from StampinUP. Florals were coloured with pencils and because I messed up I had to add an additional flower near the sentiment as well as a fussy cut bird from the DSP to disguise the mess. I guess experience in card making means that we know what to do when we make a mistake. I used my score board to get the lines behind the scene. In the end I quite like the result.
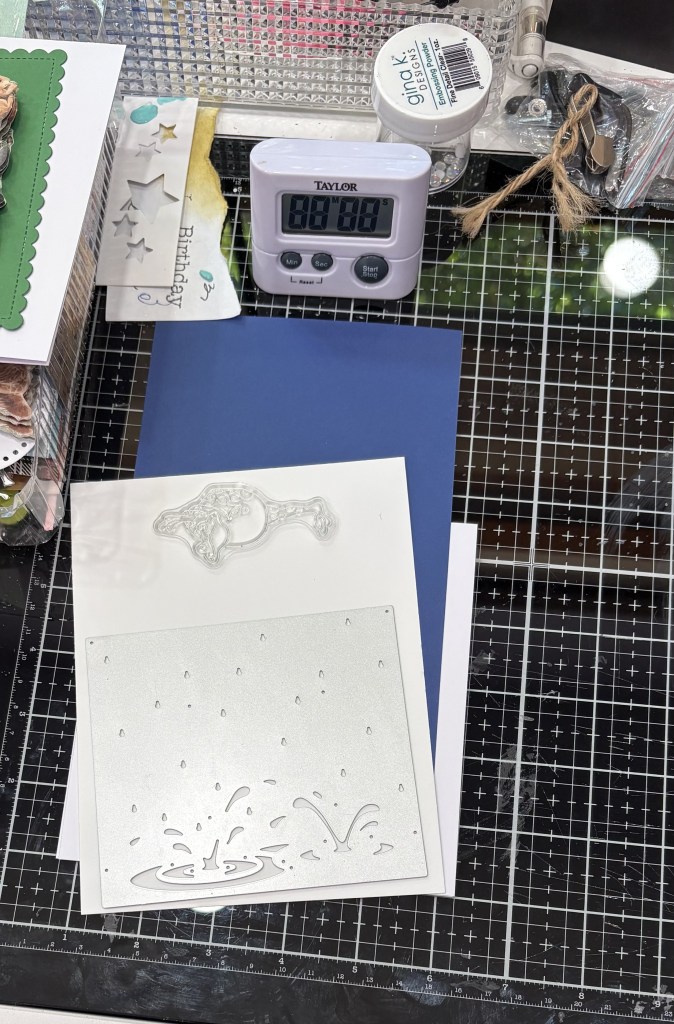
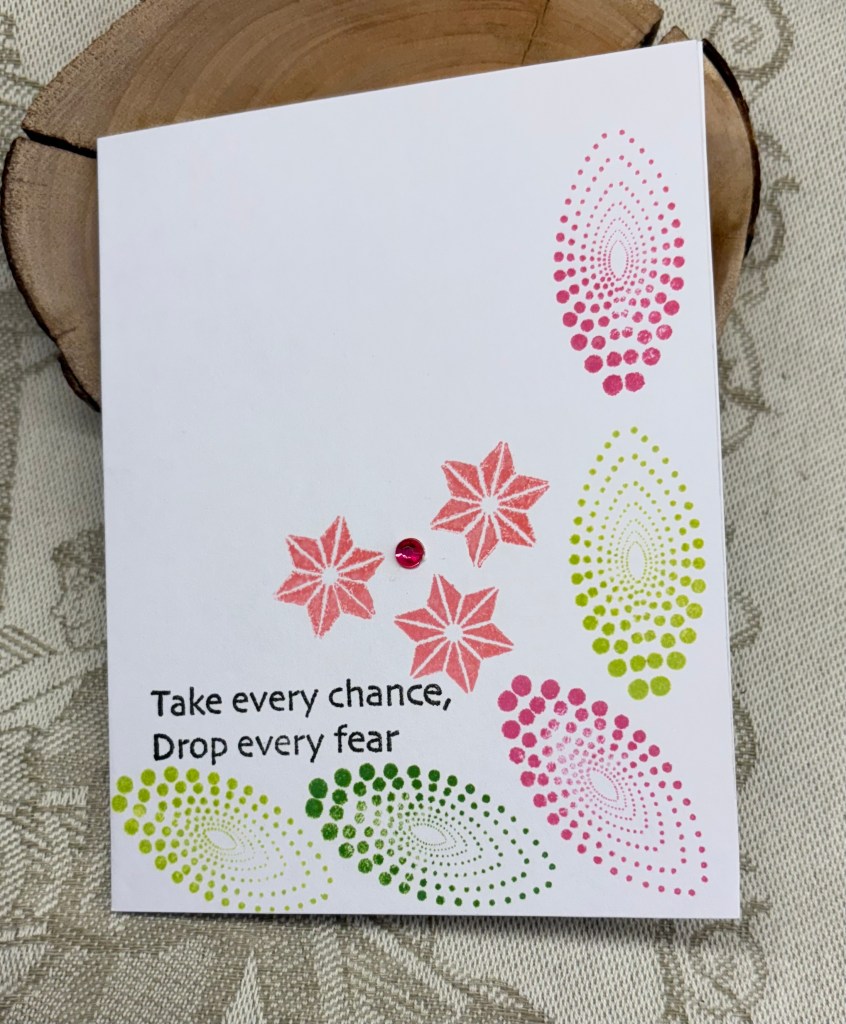
We have heat in a big way, and I am glad that where we live usually means we also have a breeze as it helps to keep the house cool. Down in the town it will be almost unbearable. Tomorrow my dragon boat team are racing in an area that will be even hotter and I am glad that I will not be participating. I tried one race last year, did not enjoy it and decided that racing is not for me. Practices I enjoy as there is less pressure and fortunately the team understand my limitations. My hands sometimes just won’t hold onto the paddle properly which is disastrous if in a race. And if any of you are wondering whether your scissors are sharp, just do what I did and have them slip when cutting something. My finger is now bandaged so I don’t get more blood on anything. All I was trying to do was to cut my sentiment stamp in half so I could use it differently and I didn’t notice that the points of the scissors were going to hit my finger. BooHoo!
Thanks for stopping by, I appreciate you, your time and any comments you may leave. Have a great weekend.