https://cardz4galz.blogspot.com/ has a new challenge and we are asking you to feature your patterned paper. Pamela has chosen this challenge and she will also choose the winners.
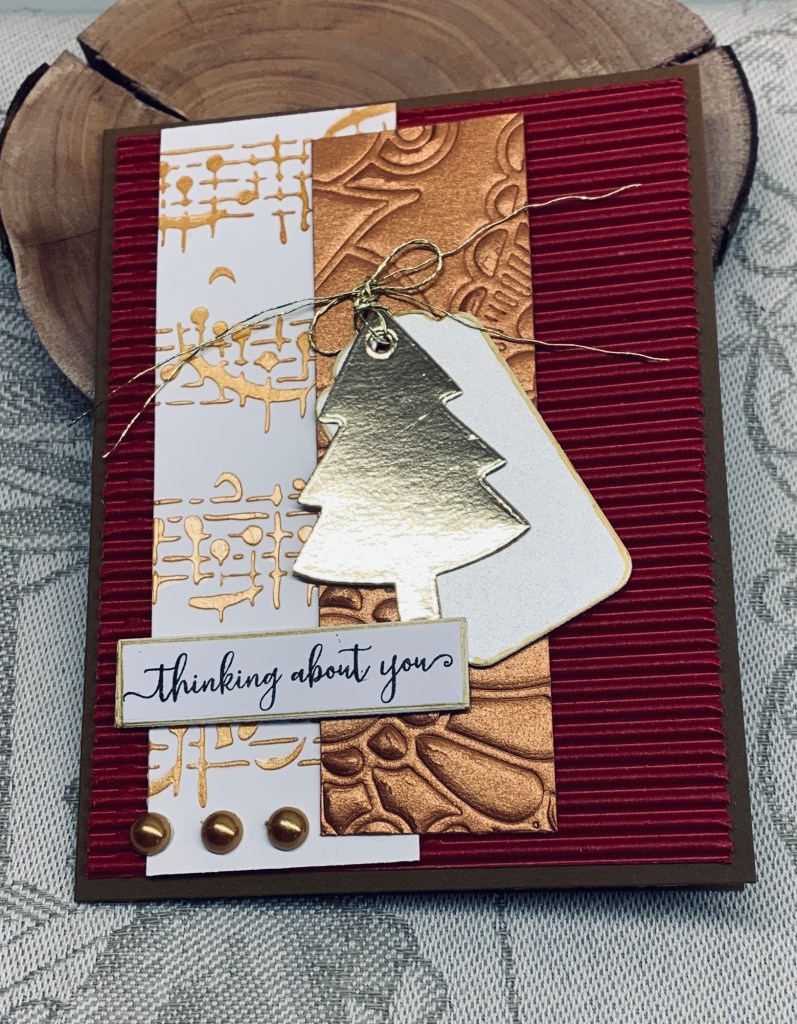
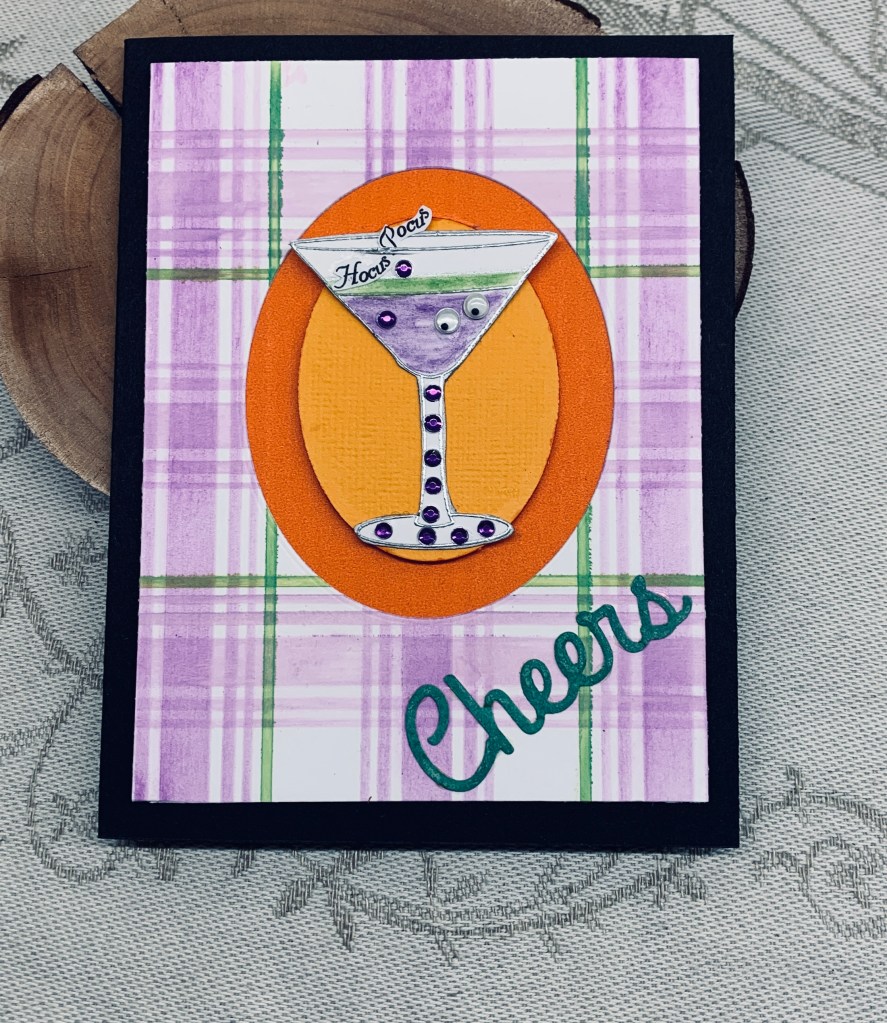
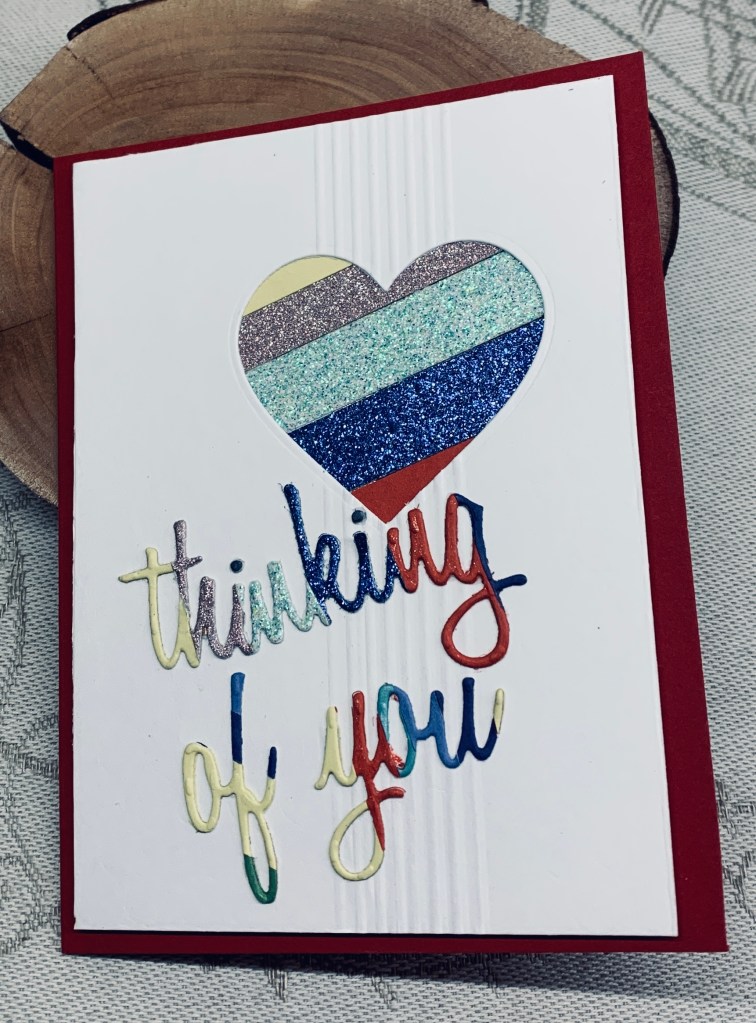
So many of us hoard our PP and I’m no exception to this. For some reason I hate to cut up. The ones I’ve used here all came from a crafting magazine from long ago and I’ve been saving them. I decided enough was enough and I’m using them one way or another. This design is CASE’d from something Natasha Foote did and I managed three cards at the same time. They are quick and easy and require no measuring unless you are the kind of person that simply must have everything exact. That used to be me, but these days I don’t strive for exact or perfection.
I did use another small piece of PP as a background behind the focal panel and I also added some gold foil CS to give a border to my main piece. The sentiment is a freebie from Natasha, ribbon is from my stash and the little dots are from Waffle Flower. As well, I added a bit of gold to the sentiment words using a Sakura Gelli roll pen.
Thanks for stopping by and we hope you have fun posting your versions to our gallery.