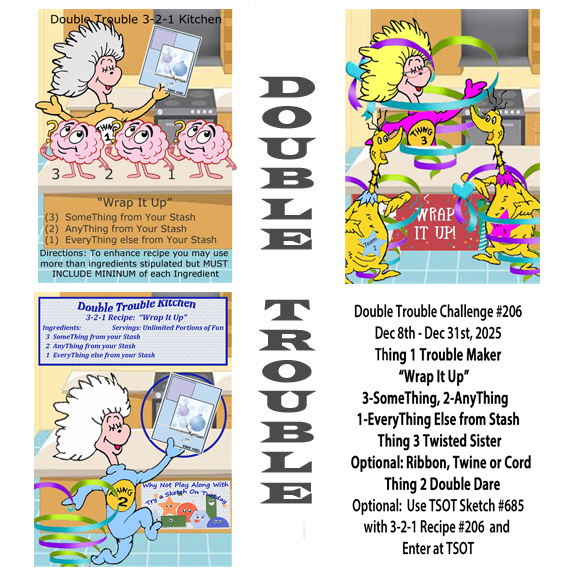
This card is inspired by two challenges, one at As You See It, and the other at Double D. One is a colour challenge and the other is about Santa’s and or Snowmen. A fellow stamper suggested I add this card to the following challenge: Neglected Stuff (12/25) Challenge.
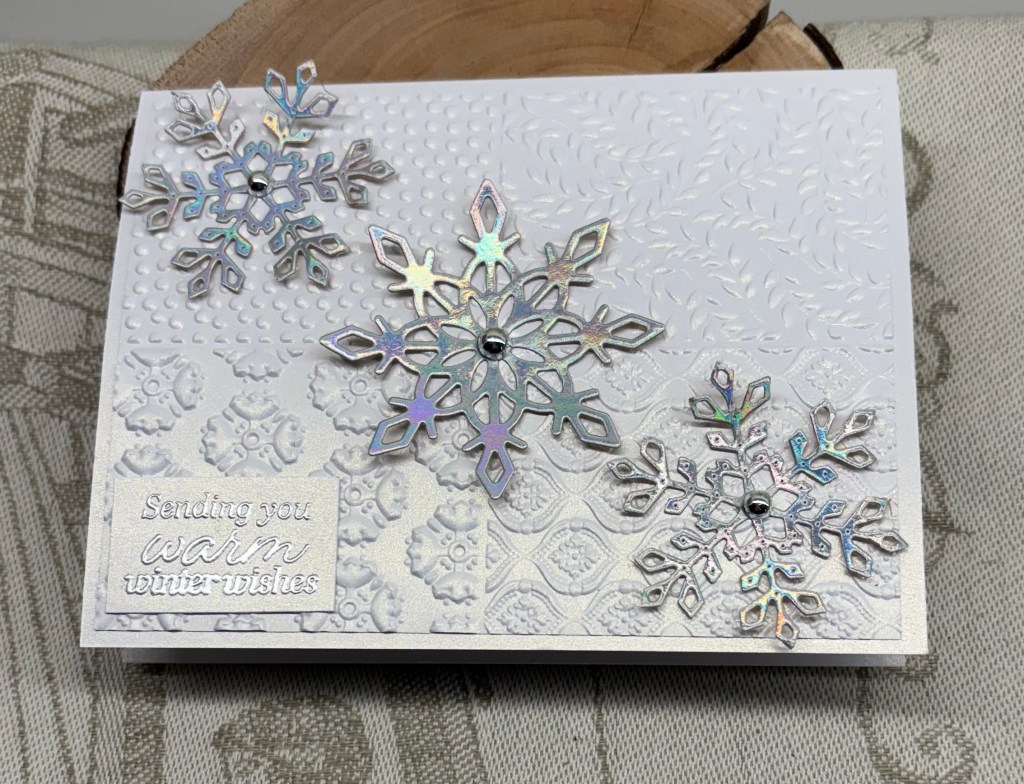
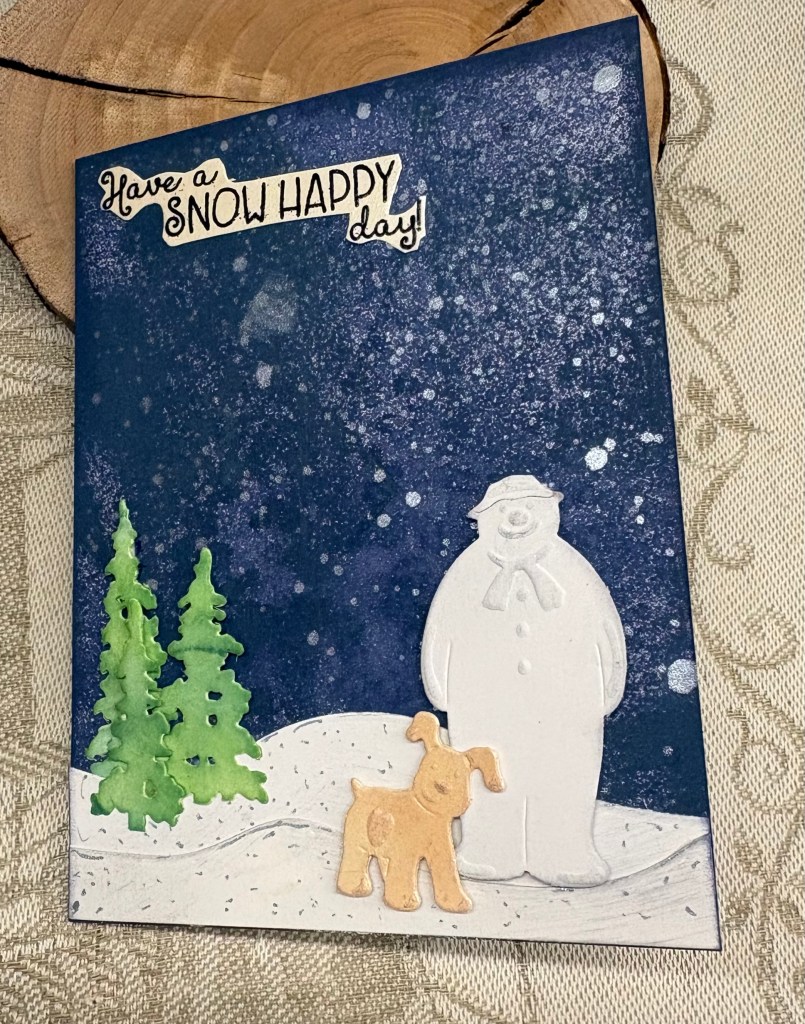
Using a very old die set acquired via Hunky Dory many years ago, and a tree die set almost as old by Crafters
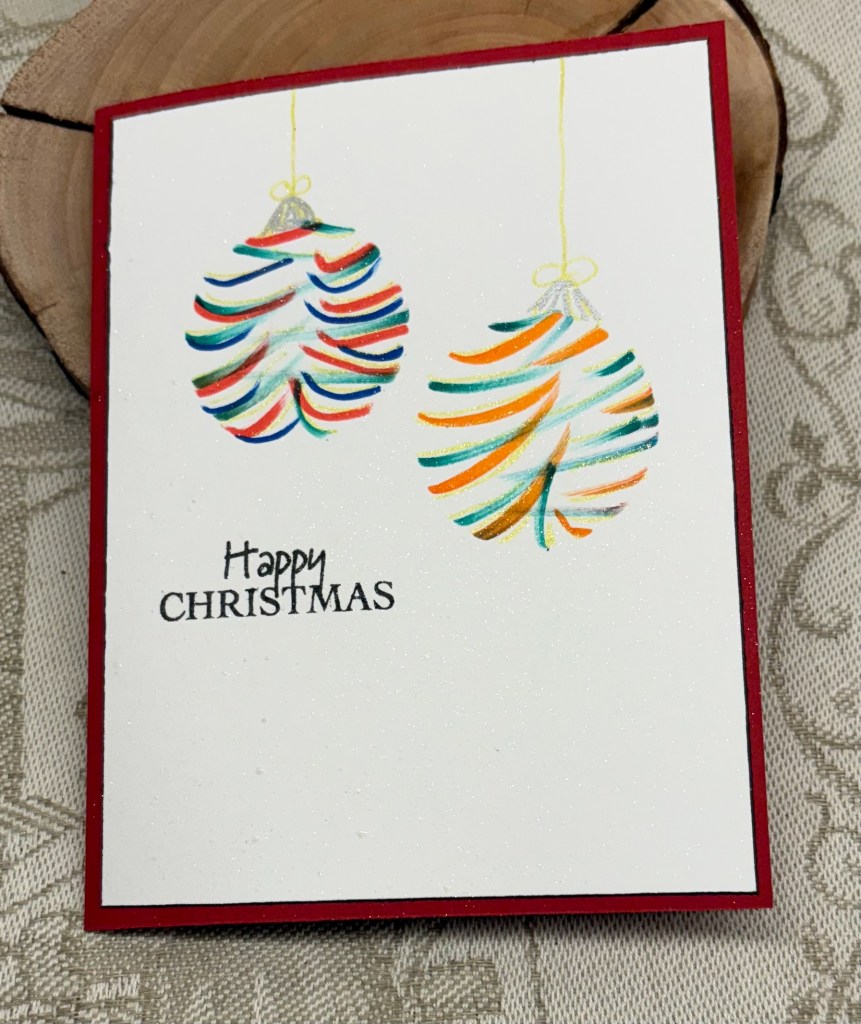
Companion, I proceeded to cut the pieces I needed. I used a Kokorosa die to create the snow hills. Sentiment is from Colorado Craft Company and heat set in black. My background was created by initially spraying Distress Ink and then sponging some extra over the top, after which I splattered it with Picket Fence paper splatter. When dry I added the rest playing with placement before gluing. I used a sparkle pen on the snow hills and lost shadow ink on the snowman for some additional definition.
Not a difficult card to make although I managed to get ink everywhere. I quite like that my sky looks as if a blizzard is happening. So another card for my 2026 stash, as I’m basically done for this year. Thanks for stopping by, I appreciate you and any comments you may leave.