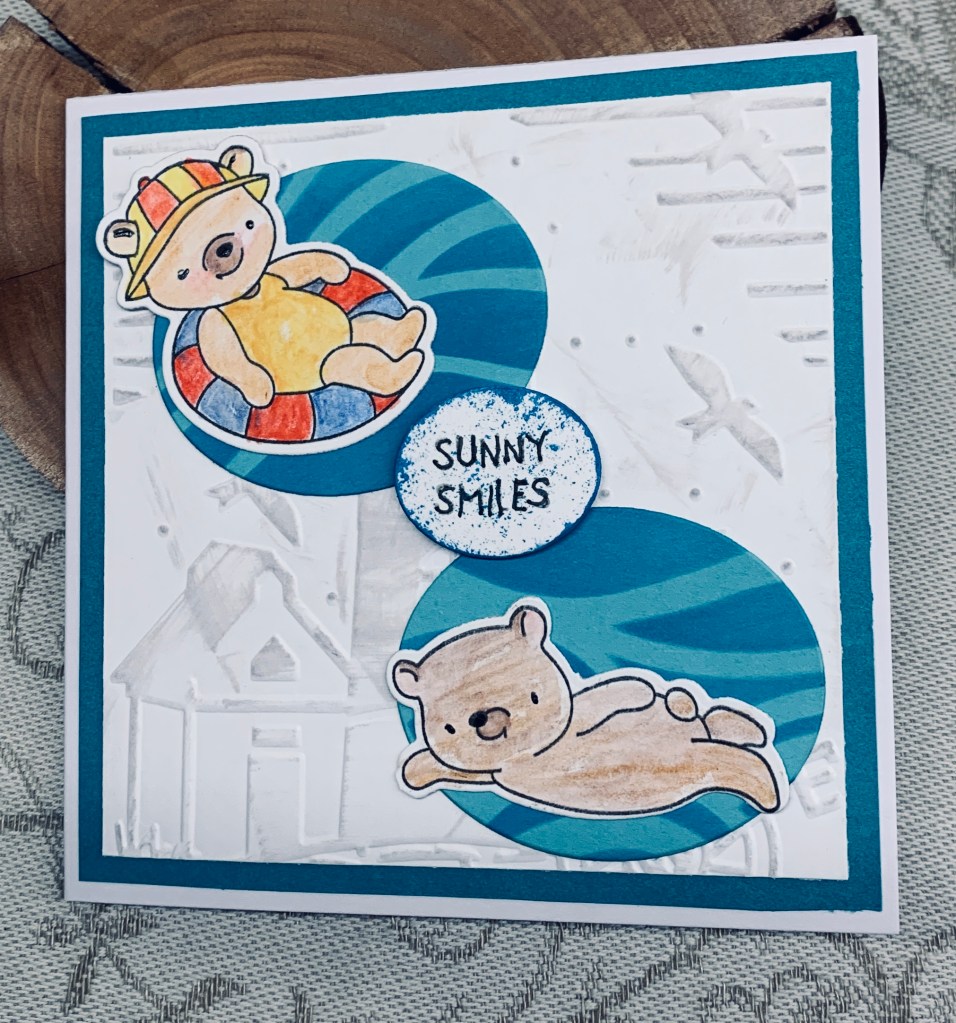
As you See It has a fill in the blank challenge (at the Beach) and I came up with this card. As a child in Britain, we didn’t go on holidays much as my parents didn’t have the money. But when they did have some extra cash we used to go to the Netherlands to visit family. My uncles used to take us to a local lake on hot days and they taught me to swim. It became something I was fairly good at and I continued to learn better techniques through school. These days, I no longer go swimming and sitting on a beach bores me to tears, much to my hubby’s chagrin. He would spend as many hours as possible on the beach and in the ocean, but we’ve learned to compromise so that each of us gets to do the things we like to do when on vacation. So I filled in the blank with swimming using these cute images from MVchifay Clear Stamps and dies. I stenciled a piece of blue CS using a stencil from Dina Wakley and Mermaid Lagoon ink. Then I die cut the ovals using Hero Arts infinity dies and added the die cut and coloured images on top. With another scrap piece of CS I embossed it with a Couture Creations Seascape folder, swiped it lightly with Lost Shadow ink. This was cut it into a 4 x 4″ square which I backed with a slightly larger piece of blue and then added it all to the card front. Taking the sentiment from the same set I stamped and die cut it adding some ink to the edges and center.
I’m kind of pleased with the end result and it wasn’t a challenging card to make either. As the card has an embossed panel I am adding it to the current challenge at CYHTP as well. As the hat is striped and the float is striped it fits nicely into this challenge I think.
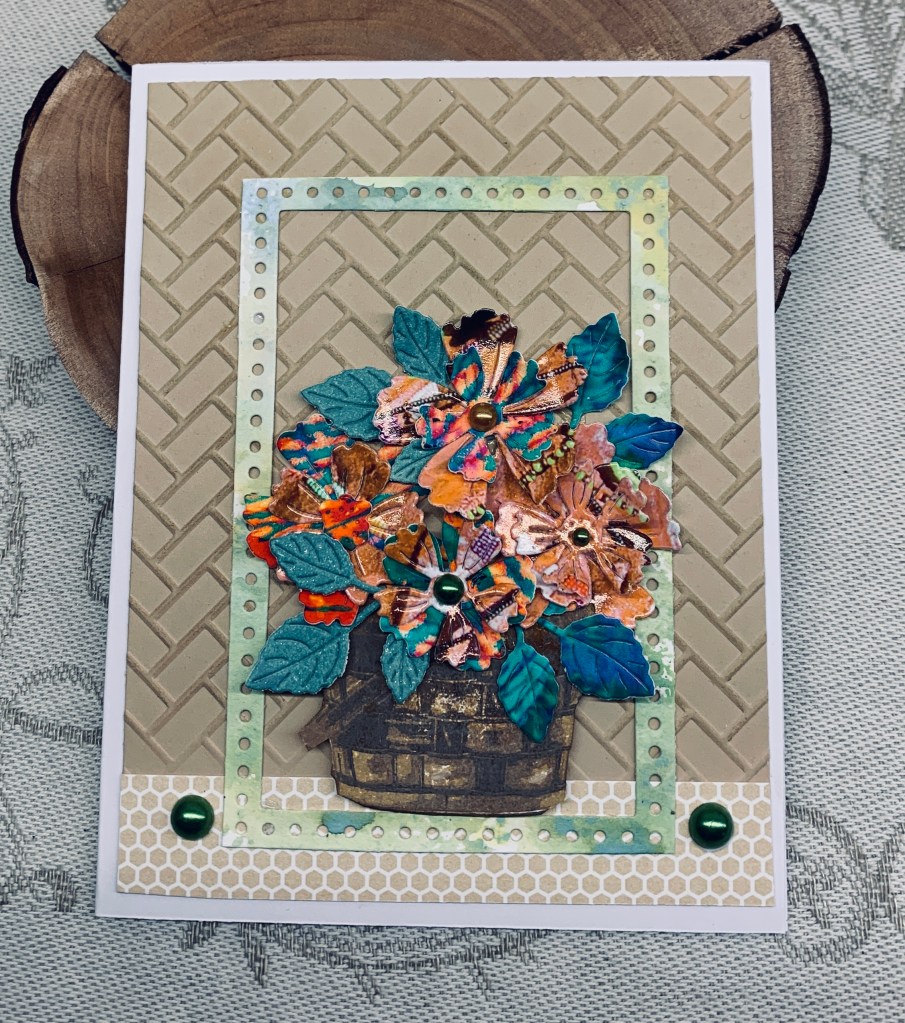
Thanks for spending time with me today, it is appreciated.