This is my last post today, although I have several other cards on the go I think its time to take a mini break.
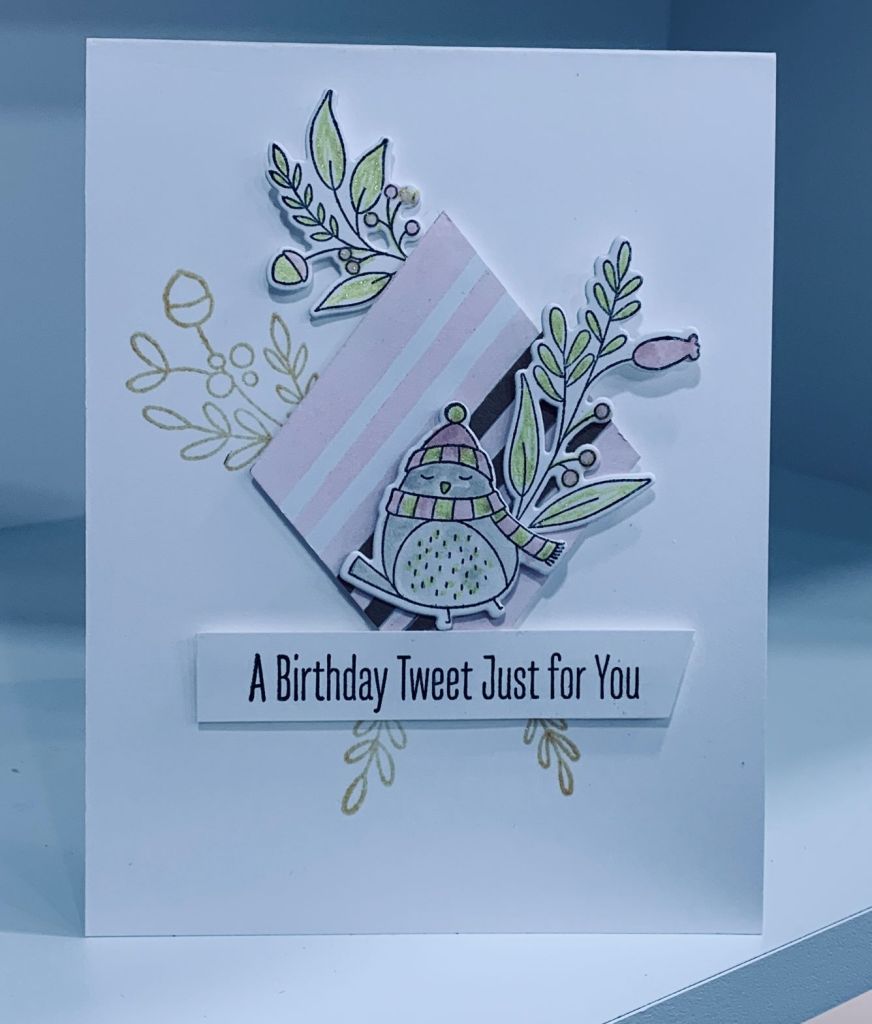
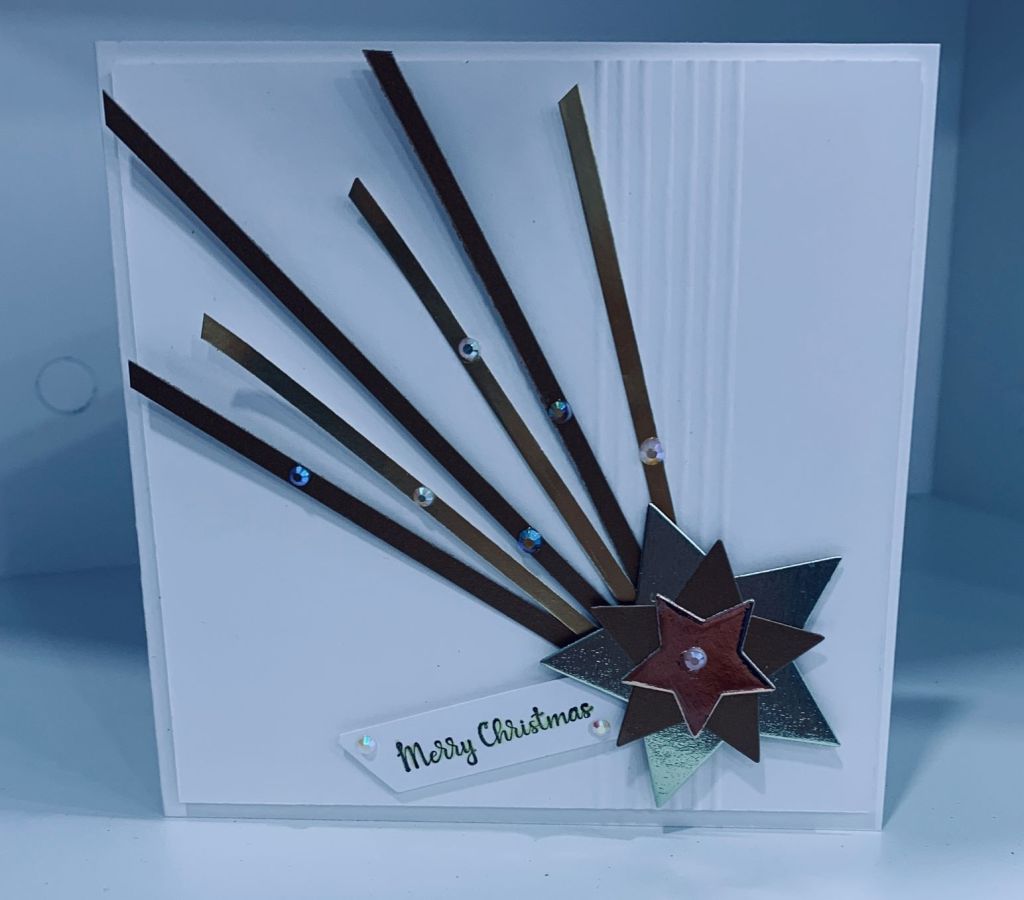
For this card I used a Crafters Companion cut and emboss folder that I haven’t used for a long time. Once it was cut and embossed I trimmed it smaller to allow a border when attached to the card front. The small fallout hearts were attached in the center space and I added some glossy accents to them. The main panel was popped up with foam tape and the sentiment strip was done using a stamp from Divinity Designs. I kept this simple as the embossing is busy. It was made with the Word Week challenge at JUG’s in mind but as it also works for the Anything goes challenge at CYHTP without the twist of dots I thought I’d add it as 2nd entry there.
My dog is sitting looking forlorn so I guess it is time to take her for another walk. We both can use the fresh air even though it is very gray and misty outside. Thanks for stopping by.