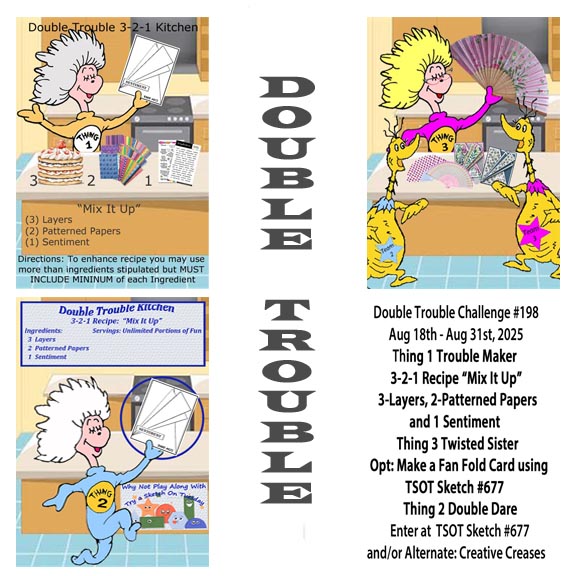
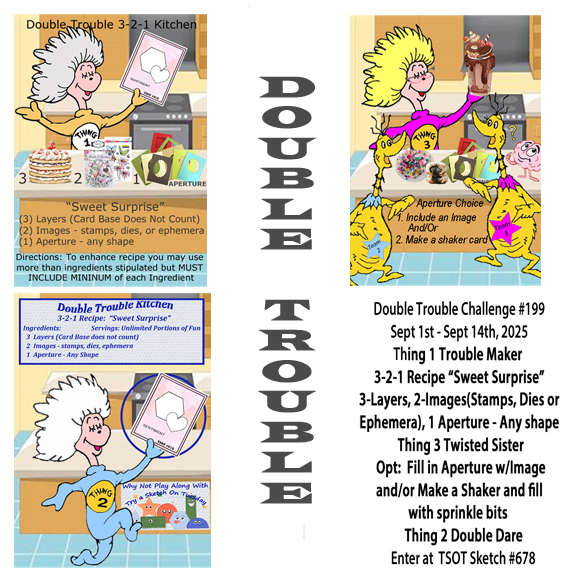
Our latest challenge here at Double Trouble is to have an aperture in your design. The recipe is to use 3 layers not including the card base, 2 images of your choice, it can be a die cut or ephemera as well as any stamped image, and last but not least an aperture. If you choose to follow the # 678 sketch at TSOT make sure you don’t post until after that challenge starts else you would be backlinking. My card follows the sketch but isn’t entered due to backlinking.
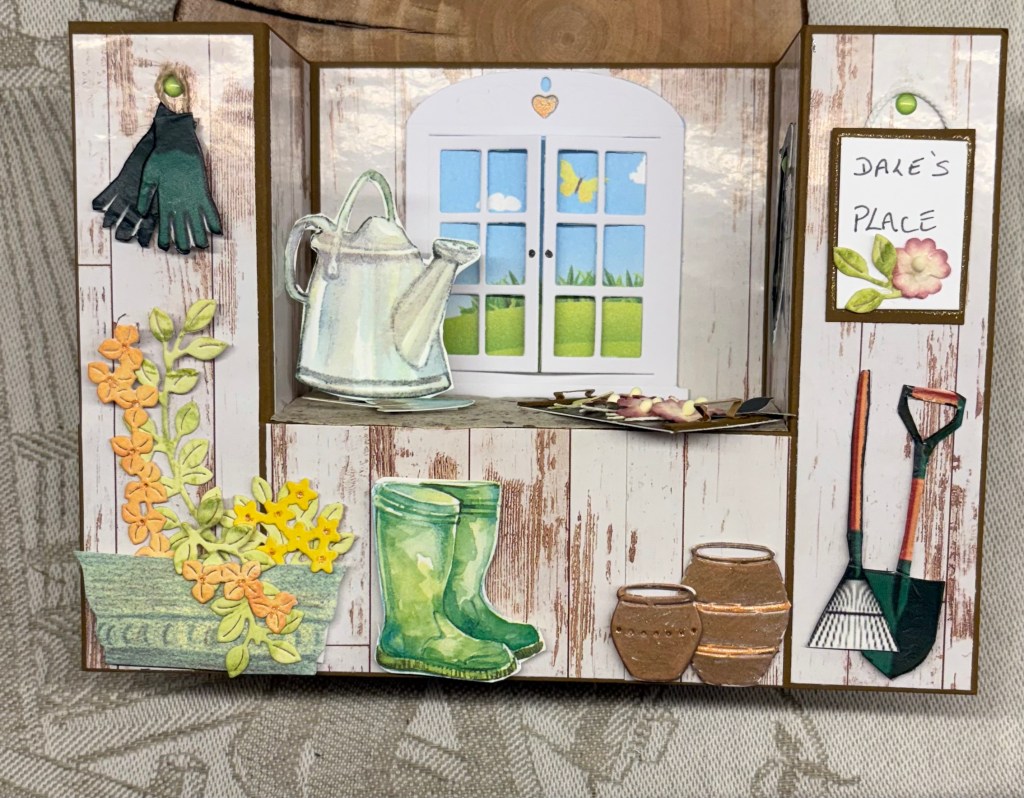
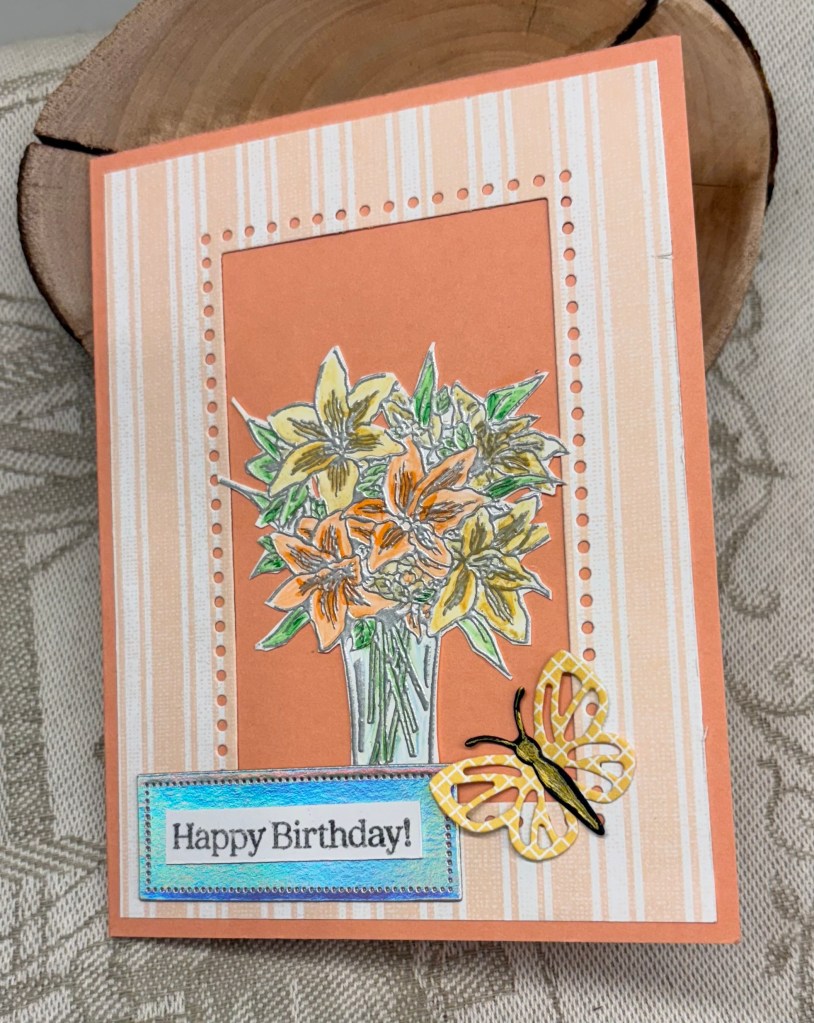
My Paper is from StampinUP and the aperture die is also from a set by them. In fact the sentiment base is another of the the dies from that specific set, called Everyday Details. The floral image was stamped and is from a new to me set by Inkadoo. I had done this floral some time back and didn’t use it at the time. As it was ready to go I fussy cut it and added it inside the aperture. I deliberately kept this card fairly flat as recently postage has gone up and it is becoming costly to mail anything that is thicker or that has embellishments. It has more than the 3 layers of the recipe but nothing has been popped up on foam tape. I think the little butterfly is also from StampinUP but cannot remember for sure but I definitely used some scrap DSP to die cut from. Sentiment is from a SSS set.
We sure hope to see your creations in our gallery and look forward to seeing them. Above all have fun and enjoy the process.
Thanks for joining me today, I appreciate your time and any comments you may leave.