The challenge at As You See It is: Challenge #354 – Dining Al Fresco. These days I’m not into sitting on beaches or on the ground in parks so I chose to keep my design as a more refined way to be outside. It is also our 45th anniversary tomorrow, which we both find hard to believe. I may give this card to my hubby which will make him laugh. Why? Well we usually forget our anniversary on the actual day and it has become a joke between us.
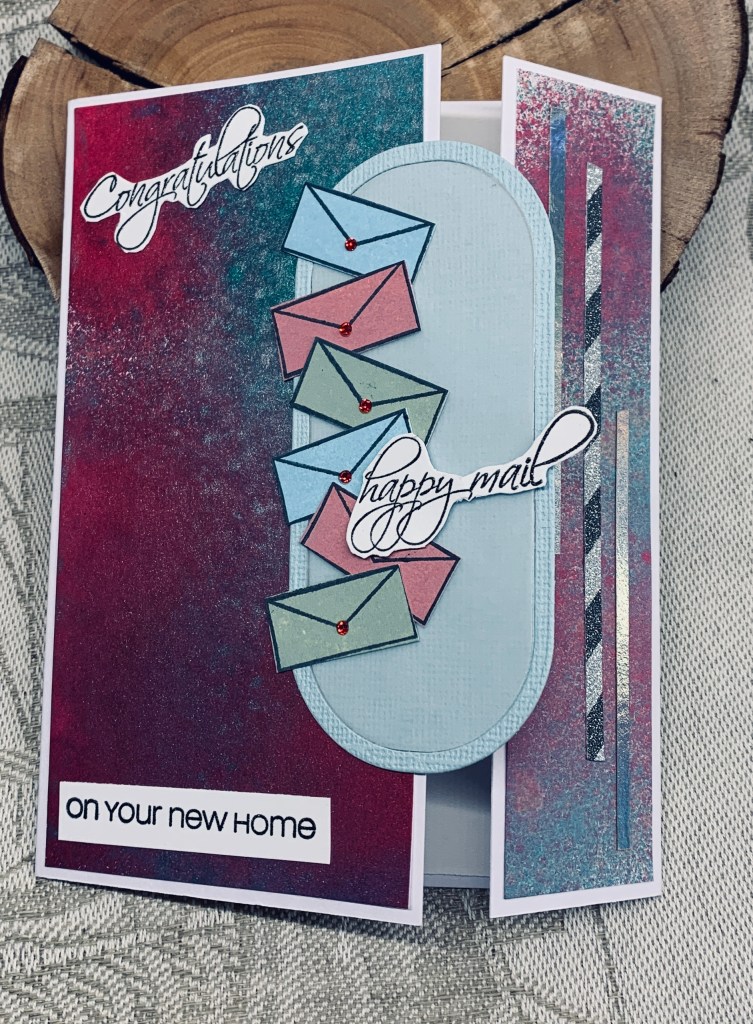
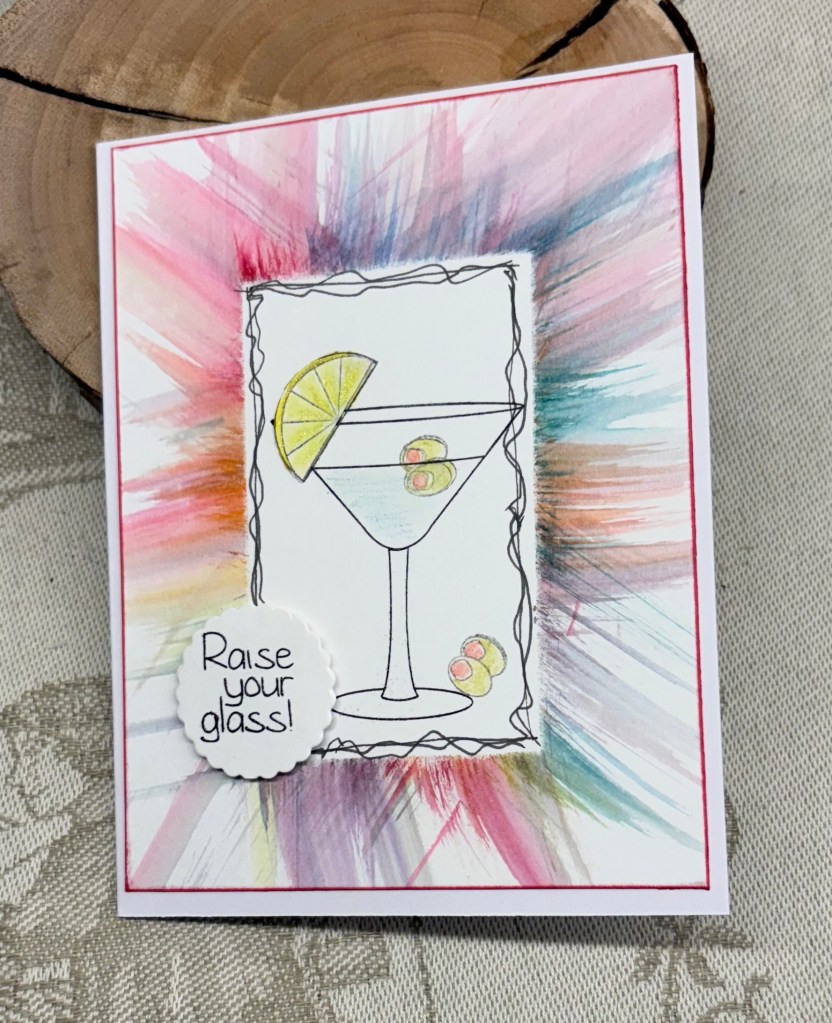
As it happened, I had this frame already cut on my desk because my original thought was to make a tablecloth and add things to it and I had the paper ready. After pulling it out various stamp sets I couldn’t find anything I liked that worked with what I had in my mind so instead I die cut the paper into this frame. Didn’t have time yesterday to do more but today I found this image and decided it would work. The stamp set used is from GKD and I stamped in black and then heat embossed clear. I added the birds by hand after sponging a bit of ink to give the look of sky. The sentiment is from a small YNS set and I cut it with an Infinity Oval from Hero Arts. Went around the edge with a marker and added the tiny heart. The corner hearts are the fallouts that I coloured solid red added a touch of glitter and Nuvo drops for dimension.
I’m actually pleased that I went in this direction rather than with what my original idea, as it has worked quite well and the card is more CAS. Thanks for stopping by, I appreciate you and your time.


.jpg)