lacey happy hello

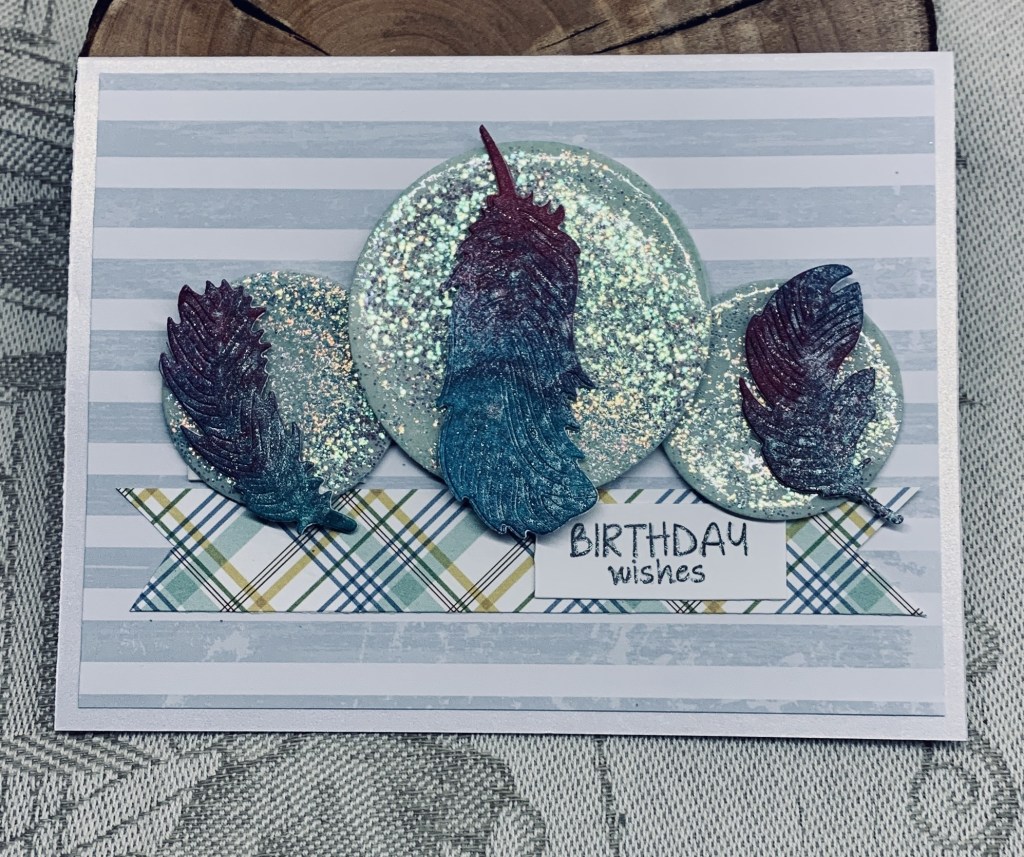
The latest challenge and the first one for 2025 at: Word Power January 2025 Challenge. I’ve not entered much into this challenge, but decided it was time I did so. Between Christmas and new year I had to go to an art store to replace a Sakura pen that had run out. It is something I use a lot so a necessary purchase. Of course I can’t be in an art store without checking out other stuff and I came across this die by Sizzix Tim Holtz that was on sale. Rather than just leave it sitting on my desk, as I sometimes do with new stuff, I decided to try it out immediately so I used some silver CS and this is result. I added it to some shimmer CS so it all looks a bit silvery. Then I found the shadow and matching die from Pink and Main and the second one is from Creative Expressions. I cut both shadows out of black scraps and used silver glitter CS for the actual words. As these words take center stage on this card it fits well into the Word Power challenge.

Although the lace is busy it looks pretty good and the words just fit nicely on top without hiding the background. My goal this year to to use most of my supplies especially some of the new items. I joined a kit club on a trial basis for a local craft store I used to patronize a lot when living on the mainland. They were offering a 3 month supply of kits from Crafters Companion at a very reasonable price. As yet I haven’t done one single project with these kits but I have opened them and I like the included products. I will begin using them pretty soon and we will see what I come up with. I didn’t continue with more than the trial offer, basically because I hadn’t even begun to use the 3 that I now have.

Thanks for stopping by, I appreciate you and your time.

sparkling circles

SSC350 Circlin’ Around is the current challenge at Sunday Stamps. As I’m still using up different scraps sitting around in an effort to clean up my craft room, I decided to use these leftover circles cut with Hero Arts infinity dies. Using Distress Oxide Speckled egg ink I added the colour then I carefully added Versamark ink on top and used Ultra thick embossing powder in several layers, after which I used a glitter EB powder which sank into the glossy layer as it melted, to look as you see it here. I was quite happy with how these looked when done, but I’m wearing the glitter and my floor is also wearing it. I guess that is why I don’t use this system much, lol. On another piece of CS, I sprayed 3 different colours of Mica spray all over it and when dry used some Spellbinders feather dies. These were added to the circles using foam tape and the circles also had foam tape added to the backs to lift them up from the background layer. The PP is from both a paper pad and Crafters Companion, the sentiment is from Kokorosa. In my last post I said YNS, but I had it wrong. Once it was all assembled I quite liked the end result and it is very sparkly and shiny in R.L. Hubby likes it too.

Thanks for stopping by. My day is coming to a close and I shall be preparing a meal soon so this is my last post for today. I took a minute to vacuum my floor, which looks better, but is still glittery in places.

heartfelt birthday wishes

This card has been on my desk for weeks waiting to be posted. I’m not sure why I didn’t post it before now. I embossed the card front using a folder from Concept Crafts and then added the rest on top. The inked background was done with alcohol inks on mineral paper and it was added to the gold background. The heart was a scrap piece from another project and was cut using Hero Arts infinity dies. The flower is another scrap piece and the dots are from the bits of leftover inked paper. Sentiment is from a YNS set. I used some foam tape to pop the heart up at the top.

I’m entering this card at CYHTP which is an anything goes challenge.

Thanks for joining me today. Hope you have a fun New Year celebration.

Stenciled thanks

With the holiday and having guests, I haven’t been spending much time in my craft room, but I did do a lot of clean up prior to Christmas Day. I found quite a few scraps and have since spent some time using them as well as trying out some new supplies. I have a few ready and will likely start posting them over the next weeks.

The card here is using both a scrap frame as well as a new stencil from Crafters Companion. It’s also using an old word die set that came with my Gemini. I used a part of the new stencil over the top of my ink blended piece using water on the stencil, waiting a moment and then lifting it off. It worked quite well and I liked the end result. Decided to use the frame to highlight the nicest part of the stenciling and added the word and small scroll top and bottom.

Its a very simple card and I’m quite pleased with how it turned out. I shall be entering this card into the challenge at Inkspirational.

Thanks for spending time with me today. I hope you all had a lovely Christmas and wish you a very Happy New Year too.

oh Christmas tree

SOS537 – My precious and Christmas Trees are the challenges chosen for this card. There are two items used here that I’ve been hoarding, one is the glitter paper border and the other is the pink thread. Although you can’t see it in to photo, the pink thread has something in it that is very sparkly and shiny. These items constitute my precious items for SOS and the tree obviously fits into the challenge at DD.

While cleaning up my craft room I found the pink thread in a drawer and pulled it out. I wondered if I could make it into a tree so I drew a triangle on some CS, added glue and then wound the thread across it in loops until it was mostly filled up. In retrospect I should have cut the triangle first, but experimentation means that we learn as we go. At first, although I liked it, I wasn’t sure how to use it but eventually decided on the gray background so I glued it down. Then it was a matter of deciding on how to finish the card. I remembered this glitter CS and pulled it out along with a frame die from Paper Rose. I liked how it looked cut so added a double layer of foam before adding it the edge of the gray. Then it was added to the silver metallic card front. The sentiment is from an old GKD set and I went over it with a glitter pen so it has a lot of sparkle in reality. The star was cut using an infinity die from Hero Arts.

Thanks for spending time with me today, I appreciate you all.

kitty kat christmas

This card has been made for some friends who adore cats and they’ve taken in a couple of strays along side their own cat. Stamp sets are from Hero Arts and GKD. The Hero Arts set came with matching dies but the packages were fussy cut. I stamped the tree and then coloured in the baubles with glitter pens. The chair image in the background and the packages were done with pencils. The cat on the parcel was done with pencils and then die cut. My original idea was to build the scene using masks, but that is more time consuming and I was feeling a bit lazy, so I used the dies to make my life easier. It was completed a couple of days ago and I’m basically done with making Christmas cards. However I was looking through challenges and realized this would fit into the DD challenge –CHRISTMAS TREES so decided to post it. I also just realized that I forgot to take photos of some of the cards that are now in envelopes ready to go, so even though I know there are others that would work for challenges, it is too late for me to add them.

Thanks for spending time with me today, I appreciate you and any comments you may leave for me.

snowflake flurries

I think this is my last Christmas card except for the wintery ones needed as thank you’s. My original intention was to use this one as a thank you, but realized I had forgotten someone so it is for them. No sentiment as yet but one will be added before I give it to them.

I had seen an image on Pinterest using a design similar to this and I liked it so I’ve basically CASE’d the design. I took a white layer and the EF was inked with Versamark before being run through. Then I added silver embossing powder and heat set. I did much the same thing again on another piece which I cut down as you see in the photo. The larger panel was inked with a sponge using Tumbled glass and Chipped Sapphire. I felt it needed more depth of colour so I sprinkled just a smidgen of Colour Burst powder, spritzed with water and set it aside to dry. When dry I added the triangular piece and then my last StampinUp snowflake to which I added a die cut from GKD silver snowflake and the star.

Our party yesterday was a success and lots of fun. Glad we did it then as the day was lovely and roads were good. Today we have snow mixed with rain and the roads are a mess.

The card is being entered into these challenges, December 14th 2024 Anything Goes With A Twist of Poinsettias and Peace on Earth Challenge #78

Thanks for stopping by, I appreciate it.

hexagon fun fold

card flat for mailing
upright showing the shape.

Another of my commissioned cards, this time with a golfing Christmas theme. I thought it would be a nice one for the challenge at Krafty Chicks challenge #746 – Christmas so am entering it there. I saw this fold on Pinterest and searched for a tutorial so I could make it my own version. I could have figured it out, but sometimes it is just easier to see how it is done and this tutorial was really easy to follow. The paper I used is from a paper pad from last year. My images are all from a stamping buddy who gifted me with an envelope full of golf related images and I am really grateful to her for them. She knows who she is. I fussy cut the Tee ball and the Santa hats using pencils to colour. Then I coloured the focal image using pencils and some glitter pens. Once it was coloured I fussy cut it strategically so it stayed together as one piece and I edged it with a black pen. Once I had the card base cut, scored and folded I added all the smaller panels and then taking the suggestion from the video I added a strip of plastic at the centre so the focal image has more stability. Except for the Tee balls everything is glued flat, although as this card is to be gifted personally not mailed, more dimension wouldn’t have been an issue.

I’m really pleased with how it turned out and I know my friend is going to be thrilled with it as will her father for whom it is intended.

I think I have two more Christmas cards to make and then I’m done for this year. I wasn’t going to bother with these two, but have learned that the mail strike may be over next week. The government stepped in and is forcing them to settle. Obviously there will be a backlog to clear, but at least people will receive the cards sometime in January, late but not so bad as to matter. I’ll confirm with my stamping buddies as soon as I am certain the strike it over.

Thanks for stopping by.

white on white

December 14th 2024 Anything Goes With A Twist of Poinsettias and https://allsortschallenge.blogspot.com/ are the two challenges I am entering this card into today. I didn’t take the twist of Poinsettias and the card is mostly white on white. Supplies used are as follows, EF from Sizzix, Dies from Taylored Expressions, Unbranded mini houses/snow set, and the tiny birds are from Poppy Stamps. I added some sparkle spray to my background piece before using foam tape to add to the note card. Because I had been using a paper towel underneath my spray, I had the idea of using it for my snow banks which gives it both sparkle and texture. The trees are also popped up with tape but I added the church, lamp post and birds flat to the embossed piece. I find it interesting that white can be so varied depending on what one is using.

Thanks for stopping by, I appreciate it. Have a good Sunday, we are hosting a potluck tomorrow so I am finishing up in my craft room now, as I won’t have much spare time tomorrow.

snow globe

Christmas Ornaments Challenge is the current theme at DD, and I’ve chosen a snow globe as my ornament. The die I used is an old one by Precious Marieke and it an easy one to use. I just folded a regular size card placed the die with one side edge deliberately missed so I could keep the fold. The 2nd circle die is often used to make a shaker style, but I chose to use it to cut my PP (an old paper pad), the interior piece and the bottom of my stamped piece. My poinsettias are a few leftover from a different project and I used them to decorate the base of the card. I added some leaves and foliage that I punched with a Martha Stewart punch. The stamp set is by MFT. I coloured it with watercolour pencils and some sparkle pens then curved the base of the stamped area and fussy cut the top portion before using foam tape to pop it up slightly. Sentiment is on the interior, as the music PP makes it busy, which would detract from a sentiment on the front. This is another of the commissioned cards a friend requested and it had to have some music and or a church. My village scene features a church in the background and the PP speaks for itself.

It is another extremely wild rainy day here today and there were a bunch of ferry cancellations this morning. Anyone in a hurry to get to or from the mainland would have been out of luck earlier. Thanks for spending some time with me today, I appreciate you and any comments you may leave.