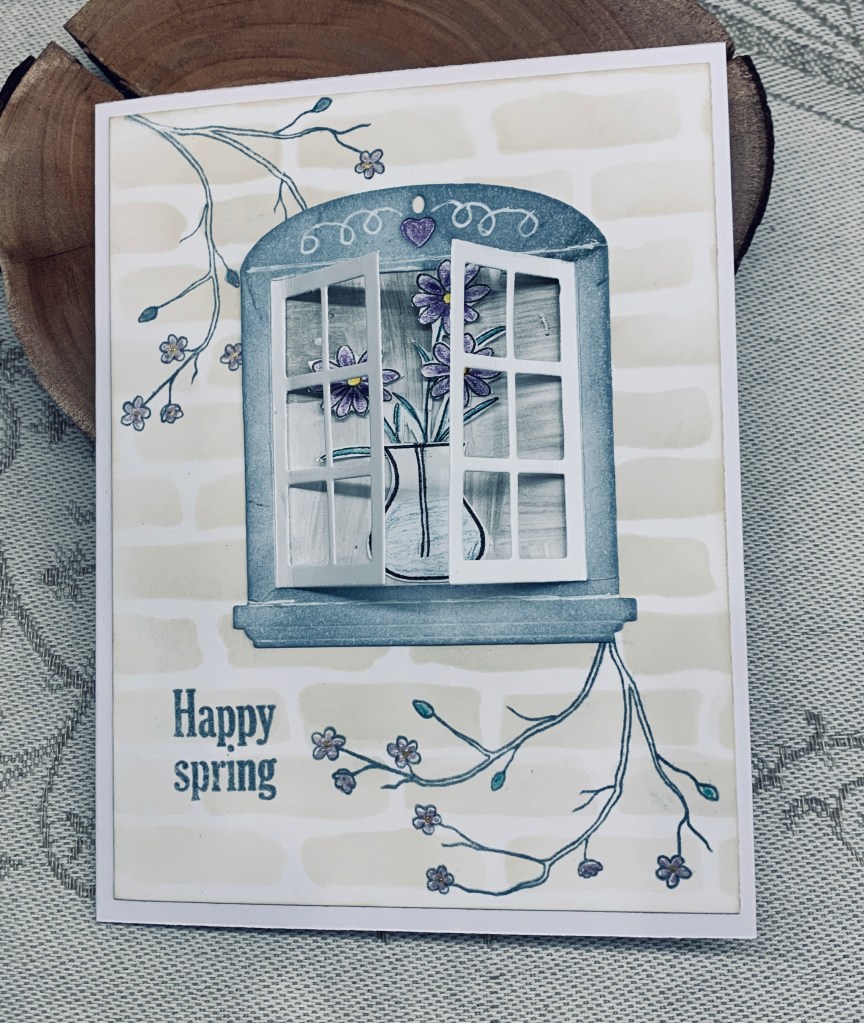

When I began this card, I didn’t really have a full idea in my head, but I did know I wanted to use this window die from Art Impressions. The card evolved by itself, as sometimes happens for me. Once it was die cut I masked off the shutters so I could ink around the actual frame and for this I used Speckled Egg ink. When it was dry I added a white gel pen into the embossed lines so they would show up more. I found a piece of PP that I thought would work behind the frame and added this and then I ensured the shutters would open . Taking an old GKD set called Vogue vases I stamped the vase and the flowers on a scrap piece and once coloured, fussy cut them. Pencils were my colouring medium. I placed my flowers behind the vase but did add the stems by stamping them lightly so they look as if coming from the vase. This was then added to the window. On another piece of CS I took a brick wall stencil and gently inked so the bricks would show using Iced Spruce. I cut this down to the correct size, but it needed something more so I took the cherry blossom stamp from the set and stamped as you see. This I coloured with metallic pencils. The window was added and from another old GKD set I took the sentiment and stamped that as you see. Added it to the note card and decided it was complete.
Not having children my husband and I often don’t bother with many of the holidays, except for Christmas and of course birthdays. That said when I home hosted ESL students, we would do something for them so they could understand the holiday. All that to say that Easter is more about spring for me and while I appreciate the meaning behind Easter, I am not into any formal religion. We are off to a live play this afternoon, so I’m happy I completed the card before it is time to leave.
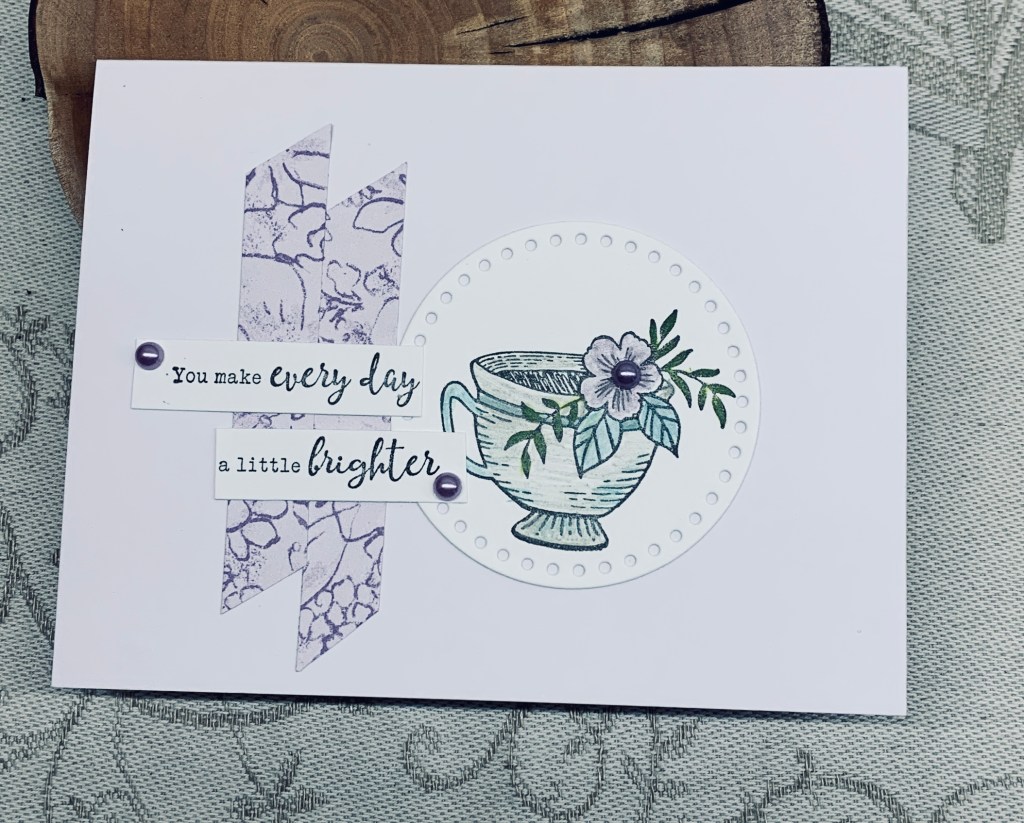
Thanks for stopping by and also for any comments you may leave.