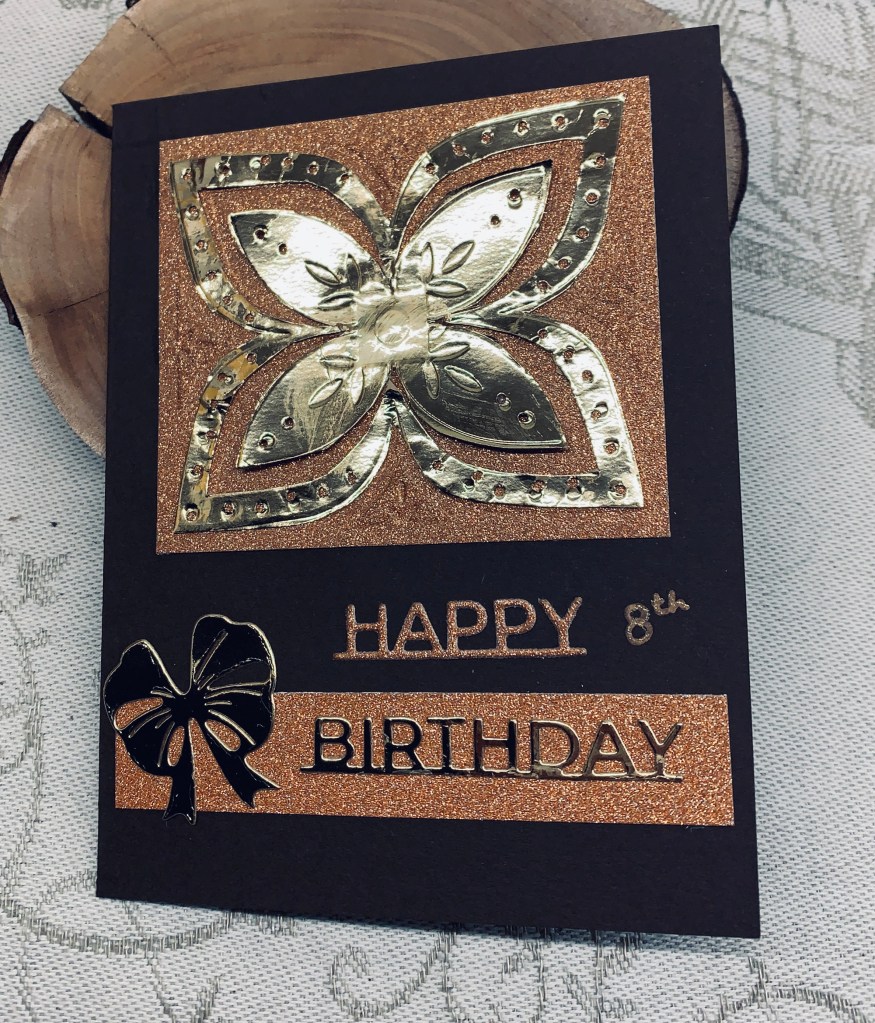

This card started as an experiment as I wanted to see what embossing on glitter CS would look like. First though I had to find my glitter CS which I bought prior to Christmas, set aside and promptly lost. I’ve been looking for it ever since and today I made a more thorough search and discovered it underneath a hidden birthday gift for my hubby. Almost forgot I had that too. I’ve moved the gift to a more prominent place just in case. (I really must put away some of my new supplies properly, LOL) So now I had my bronze glitter sheet I pulled out a folder by Spellbinders called carved tile. This folder is a slimline with 3 tiles but I only wanted one so I placed my CS carefully and ran it through. It kind of worked, but there wasn’t quite enough definition for my eyes. My next thought was to repeat the process on some gold CS and from that the idea came that perhaps I could cut out part of it and add it over the original one. I cut out the outside frame and went around the embossing with a tiny hole punch so when glued the bronze would show through. This took forever but I like it. Then I cut out the center section and used the hole punch again, which was much easier on this piece. Once I added it, I cut down the background portion a bit and then added the whole panel to the card front. I cut a strip of the bronze for underneath, added a die cut bow from an unbranded set and then used two small dies from another Spellbinders set and cut one in the glitter and one in the gold. I added them as you see and hand wrote the number with a copper marker.
I quite like the result even though it is extremely glittery and shiny. For an experiment it isn’t bad but for embossing to work on glitter CS I need a lot more pressure for it to really work well. It would be fun to actually send it Darlene and Diane, but for that I need a physical address.
Thanks for stopping by and all your comments are much appreciated.
.png)