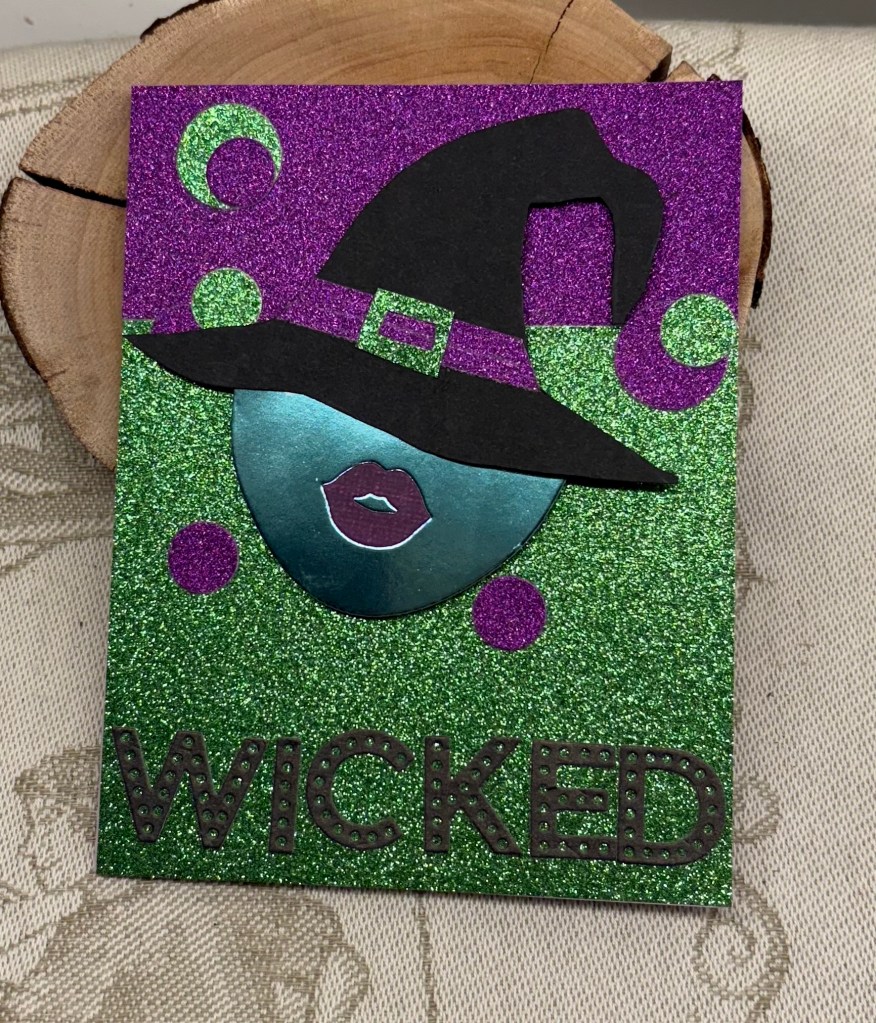
Halloween Colors Challenge is what Double D is asking for and I had to think a bit before settling on this design. I really didn’t want to create a Halloween card, but initially it was a challenge to decide on how to use the colours. It was tempting to CASE one of the designers, but I did this design instead.
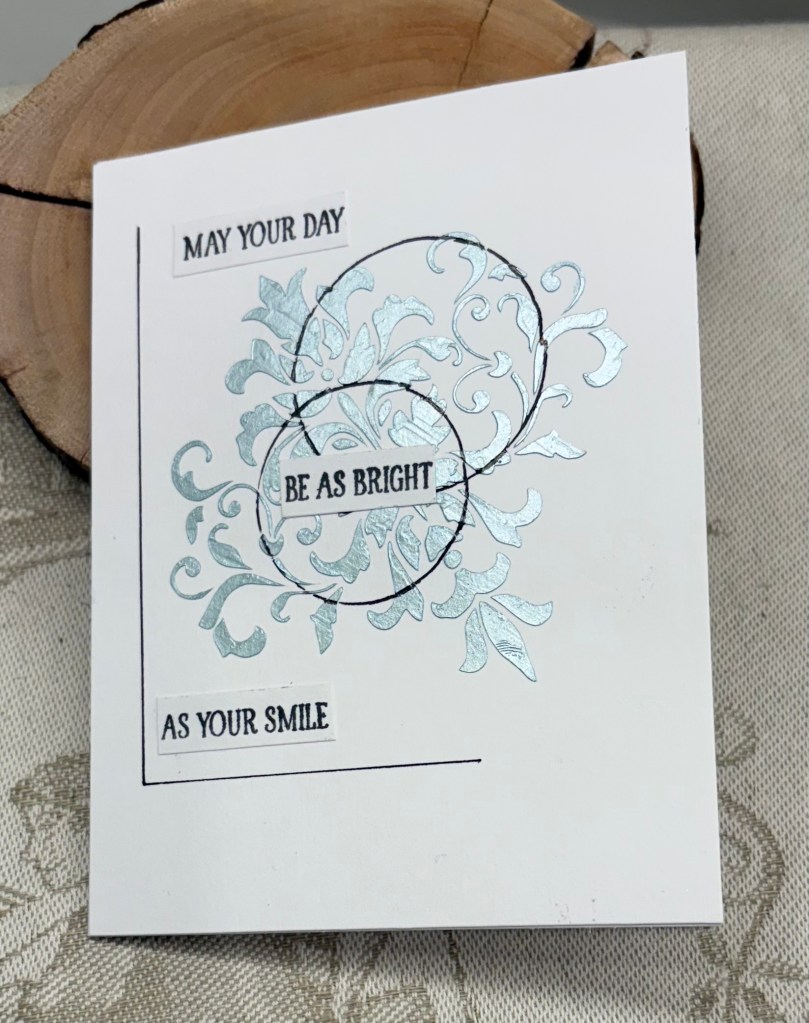
After going through my stencils I pulled out this fern design but I honestly don’t know where the stencil came from. Most likely it is a Crafter’s Workshop brand. After adding the inks I also heat set it with clear powder. I inked up a white card front around the edges in orange and cut a dark green border around the fern piece before adding it to the card front. From a GKD set by Melanie Muenchinger I took the circle stamp and the sentiment. Cutting around it I added some foam tape to the back and adhered to the card.
I really must clean up my space as my desk looks like a bomb has gone off at the moment. Perhaps this mess is contributing to my ongoing small slump in inspiration? I found a small stamp in a weird place and now have to locate the set it belongs to. I think I know which one, but it requires some searching to be sure.
Thanks for stopping by, I appreciate it more than words can express.