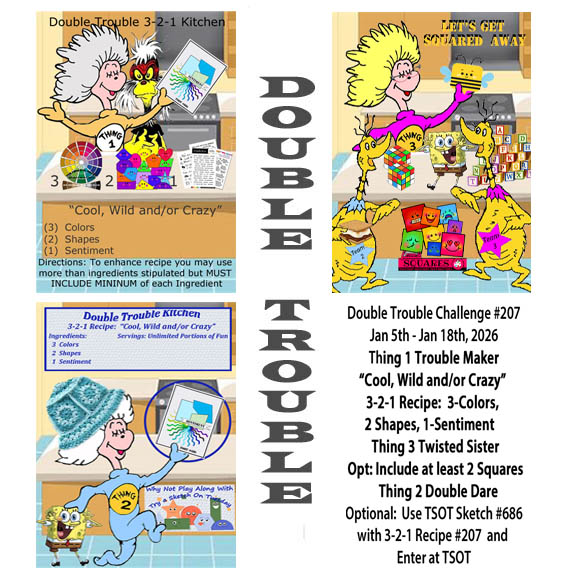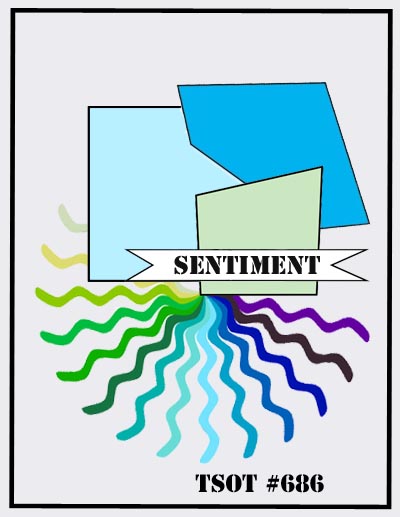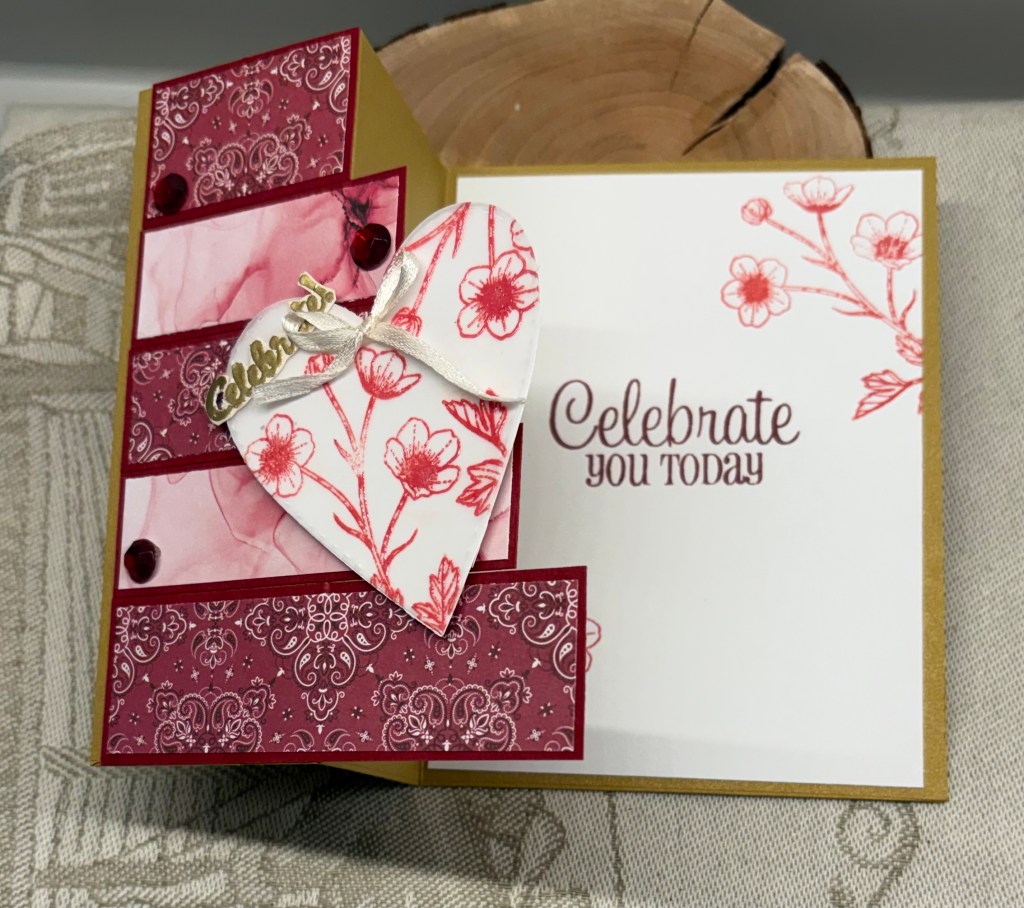
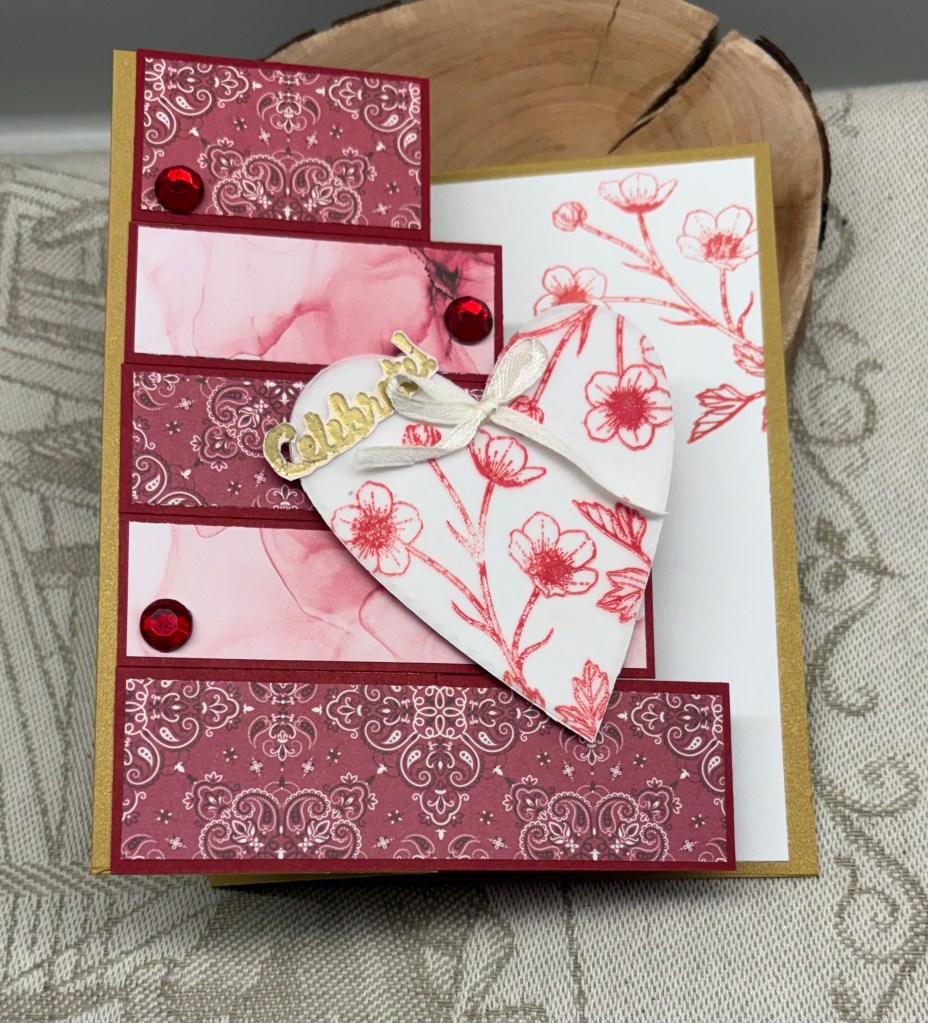
The challenge is all about using reds and I decided on this design and papers for the As You See It, Challenge #365 – Rhapsody in Red. There is a recipe included so I ensured I got all the ingredients as well.
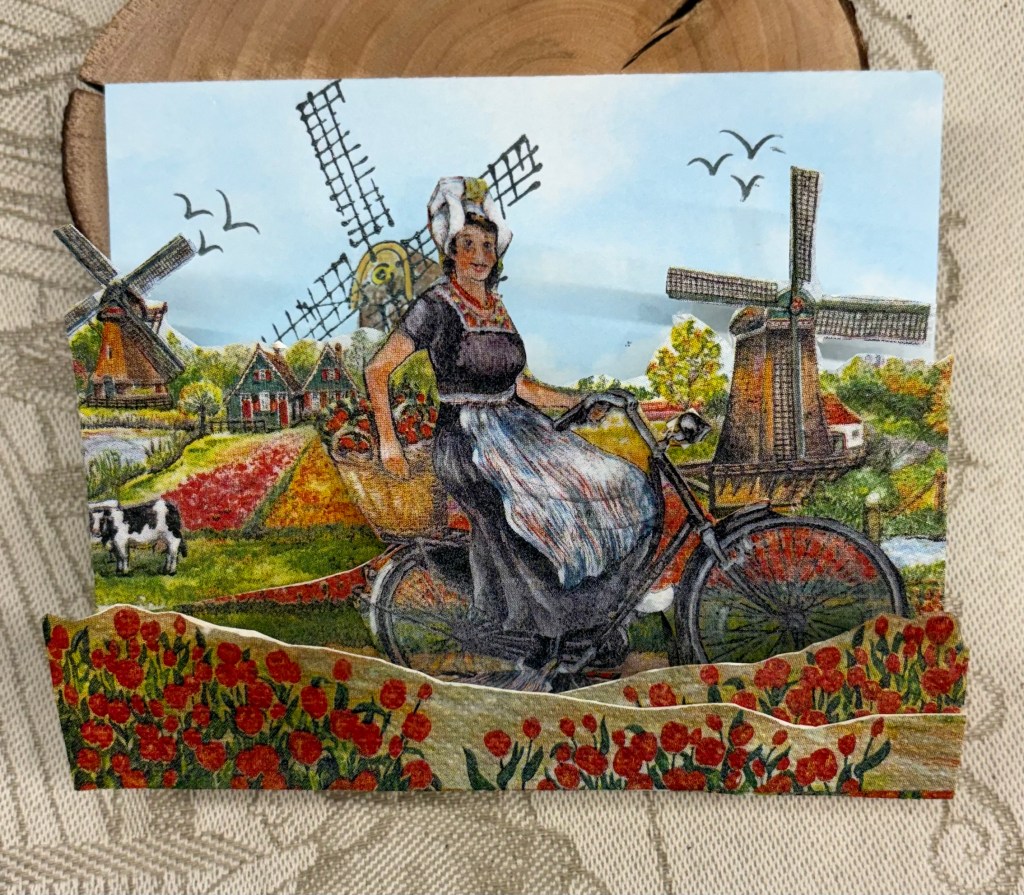
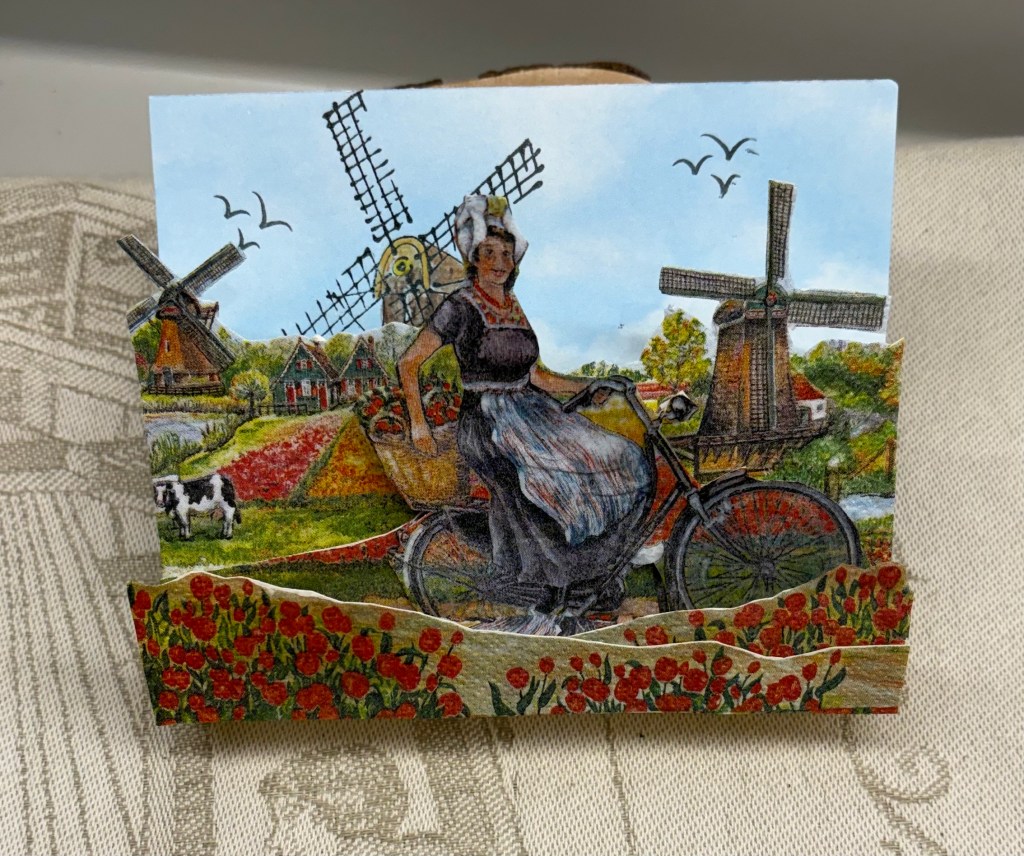
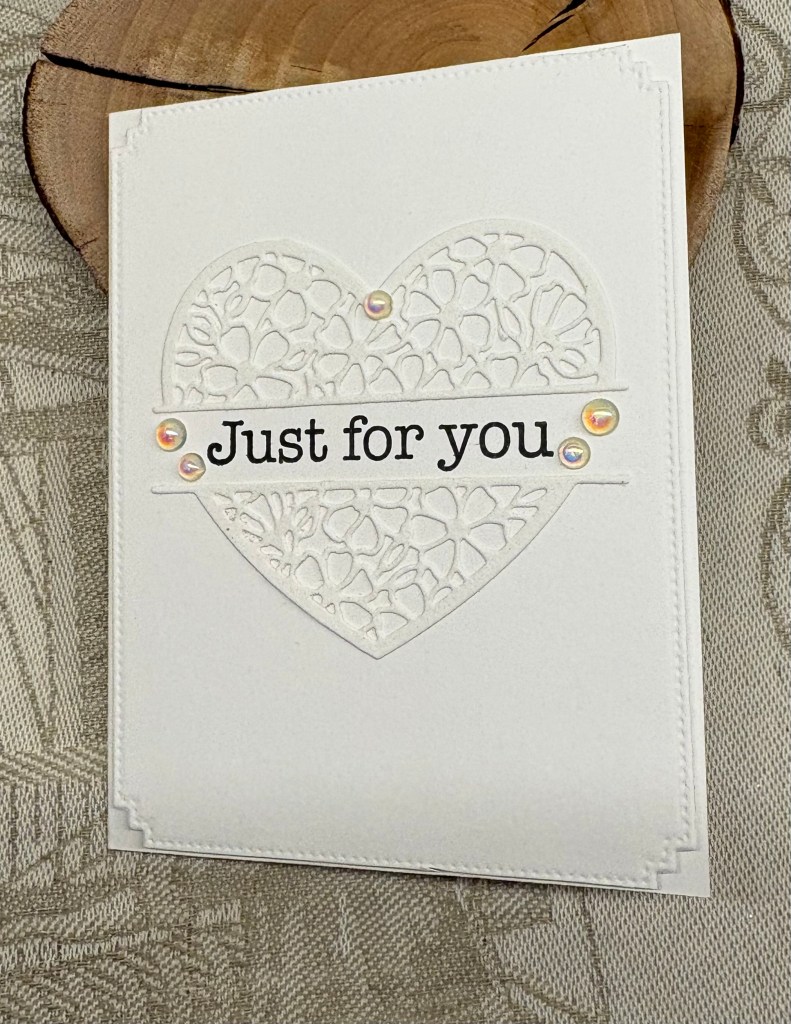
Firstly I chose my papers using a small paper pad from a dollar store. Having seen something like this on Pinterest that also had measurements and a tutorial, I took a closer look to see how best to proceed. The demonstrator explained her process and I followed it mostly, except that I wanted borders around my papers so changed it up a little bit. Once I had my strips ready I chose a neutral matte old gold card front and added them as you see. I die cut 2 hearts, one in white CS and one in Vellum using a set from Memory Box. Actually before I cut the vellum one I used a stamp from a Crafters Companion set already on my desk. I then stamped the floral sprig in Barn Door Distress Oxide and then heat embossed it with a clear powder. Once I was happy with it, I die cut it and attached it to the white one. I hope the vellum can be seen. I did try several coloured pieces behind it, but the white looked best. In my bits and pieces box I found a gold heat embossed sentiment which I fussy cut and added to the heart. And I also added a small bow. The heart is popped up on foam tape. The inside panel was stamped using a Hampton Arts set with Aged Mahogany ink, and I also added more red floral sprigs in a couple of places. The embellishments are from my stash and I used the bigger gems so they would show up more.
Thanks for spending time with me today. I appreciate that you stop by and also any comments you may leave.