special thanks

White-on-White Challenge at Double D and Just Add Ink #734…Something New Blog Hop! are two challenges that inspired this card. The folder is brand new and is by Memory Box, Open Studio and it came with two matching dies. I love white on white and am always fascinated with how different white can look on various card stocks. I started with the embossing and then die cut the two flowers which I also embossed. I added a tiny amount of green to the stems using a pencil. To give them some additional life I added some Versamark and heat embossed some white/glitter powder but the photo doesn’t really pick it up. It is very sparkly on my desk. I added a little more sparkle with some stickles.

Taking another piece of CS I roughed up the edges added some Versamark and heat embossed with the white/glitter powder. This piece was added to a card front and the embossed layer was added using a thick foam tape. The additional flowers were popped up on a thin foam tape. The sentiment and flourish were leftover from a previous project and I thought they worked well for this card so I added them. Finished it with some small Trinity Stamp embellishments. These particular ones pick up any colour around them which makes them an interesting addition.

Thanks for stopping by. I hope you are enjoying a nice day wherever you are.

bird-day greetings

Challenge #339 – Winter Frost is the latest challenge at As You See It and this one is a colour challenge. I thought about a design for a couple of days and then sawsomething in the group from GKD, by Karen Hightower, that was set out like this one and I went with that. My colours are as close as I can get with what I have using Distress inks and card stock from different sources. Card base is a darker basic gray with a slate gray background for the rest of the card. Ribbon is from my stash – no idea where I got these and I’ve had them for a long time. Stamp set is from YNS and the EF is another oldie that I have no name for but it definitely is a brand not a knock off. I did the birds and the balloon initially on some scrap CS and heat embossed them so I could add more colour. When they were dry I fussy cut each piece but took off the legs and the string. Then I added foam tape to the bodies and laid them on the top piece temporarily so I could lay out the stamps again. I re-stamped everything in Hickory Smoke and heat embossed for more definition. Then I added them fussy cut pieces on top so the birds now had their legs back as well as the balloon it’s string. I had cut the dry embossed piece to size, added foam tape and then added it to the lighter gray panel. Added the top portion the same way and left a small gap between the two. I wasn’t happy, so I had the idea of adding the ribbon which I liked much more. The sentiment was stamped and heat embossed but this stamp has a slight fault in it at one end and I tried several times to remove it. Nothing worked so in the end I angle cut the strip on both sides. It isn’t perfect, but better than the original. Too bad the company has gone as I would ask them for a replacement stamp if I could. I may try to cut the fault off, but it requires a very steady hand and I’m concerned I may ruin it completely. Overall I’m happy enough with the card that I am posting and entering it.

Thanks for stopping by, your time is appreciated as are any comments you may leave.

Stencil wonder

Happy New Year everyone! The first challenge of the year, at cardz4galz, is to use stencils. The theme is chosen by Lynda and she will also choose the winners.

I haven’t used stencils anywhere near as much as I probably should, so this challenge is a good one to get me using them. I had this scrap piece of square card and a new stencil from Crafters Companion to use. I also had some new stencil butter from TWC, and decided now was as good a time as any to try it out. The stencil is a multi pattern one so I chose the section I wished to use and when it was completed set it aside to dry. While it was drying I added ink to the die cut butterfly – from MFT – and then used another of the stencil patterns on top. It needed a bit more definition so I added the black body with a glaze pen and some stickles in gold. This was set aside to dry and as the other piece was now dry I went around the edges with a darker blue and a third part of the stencil until I was happy with the coverage. The sentiment is a freebie from Catherine Pooler I think. I inked around it but didn’t like the result much. In the end I used a black glaze pen on the letters and when fully dry cut the sentiment by hand. This I liked much better so I added foam tape and placed it as you see. The butterfly was added and then the entire panel added to a Navy blue card front.

For someone who doesn’t use her stencils much, this card in nothing but stencils and I’ve surprised myself in the process. Thanks Lynda, for helping me to do something outside of my normal comfort zone.

Thanks for spending time with me today, I appreciate you and your time.

I’ve been invited to share this card at https://stencilfun.blogspot.com/ so I have just added it there.

warmest wishes

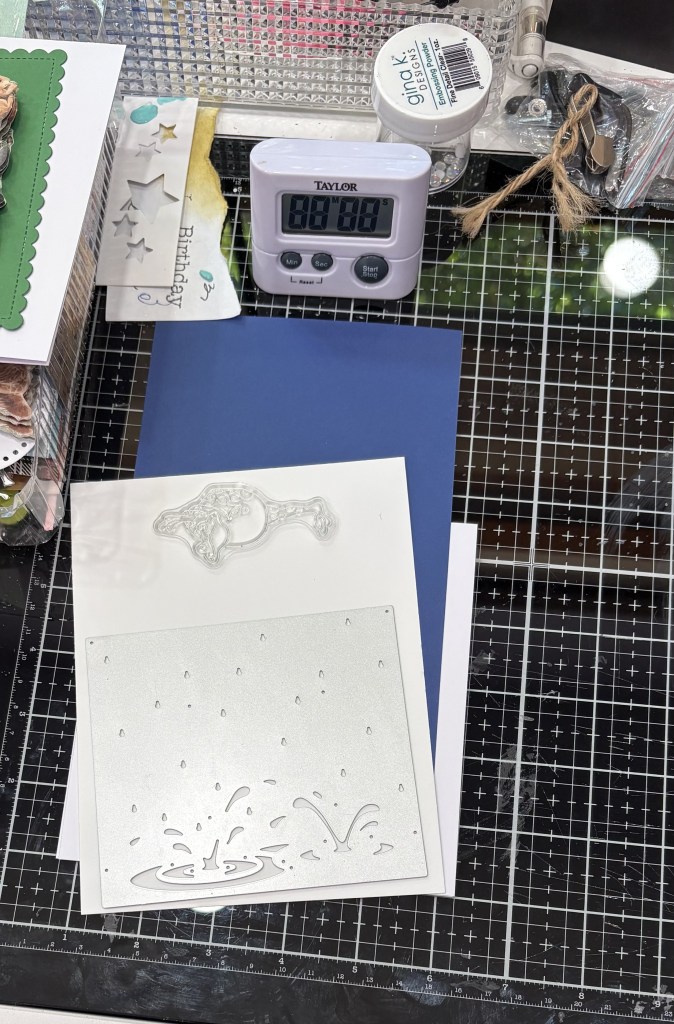
Last year I created some background panels by using up some of my scraps. This piece used here is one of those panels. Inkspirational is looking for pretty quilts, so I took a background die and put it through the machine. This particular die (don’t know the brand) has never cut that well, particularly on thicker paper so I decided to use it as a pattern to look as if quilt stitched and I added the center pieces separately. My original thinking was to punch out the pieces and back the panel with another colour, but the poor cutting didn’t allow for that. The whale was stamped and die cut using an older Hero Arts kit and to attach it I die cut the center out of the patterned piece backed the whale with foam tape. I wanted it to look as if it was stitched into the quilt like you see those puffy sections on real quilts so I popped it back in place before attaching it all together onto the card front. I added the splashes and used an incentive stamp set from GKD for the sentiment. This I heat embossed in silver and die cut using some unbranded banner dies.

This will be a nice addition to my masculine card file as I have a few masculine birthdays coming up soon. I also have to make a card for my hubby whose 75th birthday is in early February. Not sure what I shall do yet. Any ideas gratefully received, lol.

Thanks for popping in to take a look. I really appreciate it.

sweet friend

Color Hues Color Challenge #101 – Red & Kraft As you know I don’t do a lot of stenciling but I’m trying to change that and this is one of my efforts. I took a, gifted to me, homemade puzzle heart stencil, some Kraft CS and Festive Berries ink and added the heart. With the ink still wet I added some clear heat set embossing so it has some shine. Initially I wasn’t quite sure where I was going with this card so I set it aside for a few hours. Then I wondered what it might look like if I added some ribbon and found this shiny twine which I added. It needed more so I pulled out a homemade dotted circle stencil and using a brush and some Vintage photo I added the small circles randomly.

The sentiment is from a small Creative Expressions set to which I added the silver scroll that was leftover from a different card. I was satisfied with the end result and in fact, actually like the card. Its always a bonus if I really like something I make as a lot of the time I don’t.

Thanks for stopping by, I appreciate your taking the time.

Stenciled thanks

With the holiday and having guests, I haven’t been spending much time in my craft room, but I did do a lot of clean up prior to Christmas Day. I found quite a few scraps and have since spent some time using them as well as trying out some new supplies. I have a few ready and will likely start posting them over the next weeks.

The card here is using both a scrap frame as well as a new stencil from Crafters Companion. It’s also using an old word die set that came with my Gemini. I used a part of the new stencil over the top of my ink blended piece using water on the stencil, waiting a moment and then lifting it off. It worked quite well and I liked the end result. Decided to use the frame to highlight the nicest part of the stenciling and added the word and small scroll top and bottom.

Its a very simple card and I’m quite pleased with how it turned out. I shall be entering this card into the challenge at Inkspirational.

Thanks for spending time with me today. I hope you all had a lovely Christmas and wish you a very Happy New Year too.

Skating By …

Billie has chosen a Christmas theme for our last challenge of the year here at Cardz 4 Galz. I actually made 3 cards almost the same except for colours. I used a Christmas background stamp from YNS and heat set it with Verdigris on vellum. After cutting the panel down a little I added the sparkly strip to ground the penguin image. He is from a new set, on sale, by Crafters Companion. Once stamped I also heat set the image so I could colour without worrying about it spreading in places I didn’t want. Watercolour pencils were used. When it was dry, I fussy cut the image and used a black pen around the edges. After adding foam tape he was attached to the vellum piece, which in turn was attached to the shimmer card front. The sentiment is from the same set. The other 2 cards are the same except one is blue and one is gold.

When this set and another similar one arrived, I was surprised at the size of the image stamps. I was expecting them to be smaller. There were no matching dies that I could see, unfortunately. I do like the fonts used for the sentiments.

Thanks for spending time with me today. We look forward to seeing your creations in our gallery. Above all, have fun in your crafting space and enjoy the Christmas season.

Christmas in space

The latest challenge at CYHTP is: Anything Goes Embossing with a Twist of WINTER FUN. I guess the twist isn’t taken with this creation as although its a fun card it isn’t strictly winter fun. As some of you are aware, occasionally I do a commissioned card for a friend and this is one of those times. This is for her step dad who loves anything scientific. I thought space and robots were perfect and turning it into a Christmas theme card was fun. After my recent Colorhues pink and aqua card I wanted to do another using the same layout and style. It took a few days of thinking before I had the idea to use rockets as the side panels and I got these from an Adobe graphic and photo program. I used my computer to get the images sized correctly and then added them to a dark gray CS to give a border. The center panel was using CS and some Rub On images along with a stamp from the Robot set by Brutus Monroe. The Christmas sentiment stamp is from Hero Arts. Puffy Sticker’s are from a sheet I got at the local market. For the embossed panel I used a Sequin folder from StampinUp, on a metallic silver CS and I backed it with a dark gray for the border. I know sequins aren’t really a Christmas theme, but I don’t have a folder with stars and I thought these at least gave a space look to the background. I stamped the robots onto a scrap piece of heavy CS as fussy cutting is easier on a heavier weight. Once stamped I also heat embossed clear and then I fussy cut each one before adding a bit of sparkle to them. The bottom robot needed to look more Christmassy so I added a Rub on hand bell that I also fussy cut. Before I actually glued the panels onto the background I sprayed them with shimmer spray so they twinkle and also it has the look of snow in real life. Messed up the spacing slightly putting on the panels but I don’t think it is something that a non crafter would notice.

This was such fun to make even though fussy cutting was a challenge for my achy hands and I’m really pleased with how it turned out. I’m blowing my own trumpet, but hubby loves it and I’ve shown it to one or two friends who also think its a great card. Once in a while I think I’m truly inspired. LOL!

Thanks for spending time with me today, I really appreciate it.

paper wreath

Krafty Chicks challenge #742 – Christmas and I created a paper wreath. I was just fooling around cutting paper and out of curiosity wondered how it would look if I used both sides. I die cut the first circle frame using Hero Arts infinity dies in 2 sizes. Then did the same thing but this time used a smaller die to make a wider frame. Then the smallest circle became the center. When I put it together, I glued the center flat, the thicker frame was turned over and has foam tape to pop it up slightly and then the outer frame used thicker foam. The image on the center circle is ephemera that came with the paper and the bow is from a store bought card from last year. Sentiment is from YNS.

A simple card and a nice way to use up the papers. The hardest thing about it was adding the foam tape in tiny pieces so it wouldn’t show. Another time I may die cut some larger foam sheets into frame circles that can be added easily to the paper ones.

Thanks for stopping by, your time is appreciated.

Stained glass look

When I did the stenciling here it was just an experiment. At the time I didn’t have a clue whether I would use it, however as you can see I was able to and it is being entered into the November 2024 Stencil Fun Challenge. My concession to sparkle and shine is the two metallic frames around the image.

So why did I experiment, you may ask? Well sometime next year I need a design that is art deco in look and I have nothing in my supplies for it. My husband uses a metal bookmark which he left on the table and when I picked it up I immediately thought this has an art deco look. So I borrowed it, taped it to some card stock, masked off a little and proceeded to ink the sections, moving the mask as needed. I liked it so I placed the stencil beside the already completed section and repeated the process. My thinking was, it’s not bad and how can I use it? Last year I acquired these small transparencies which I didn’t really use, but as I had pulled them out to possibly use now, I realized that the angels would look quite good with the background. I made the two frames using metallic CS and some HeroArts infinity dies and added them around the panel. I already had the sentiment done and layered from yesterday and this too is from a HeroArts set. I used some foam tape to add the angels and although it shows through a bit it isn’t detracting from the look.

I’m quite happy with the end result and I may borrow the bookmark again to do some more stenciling. Thanks for stopping by, your time is always appreciated. I hope your weather is better than ours. We have one of those atmospheric rivers passing through so it is a very wet and dreary day. Even the dog prefers to be inside on a day like this but the local deer don’t seem to mind.