My BFF has a new granddaughter so I made a card for her. The challenge at As You See It is a Recipe for a Pastel Celebration and it seemed ideal to combine the card with this challenge. Before I start these recipe challenges I write down the required elements lest I forget one and then cross them off as I go.
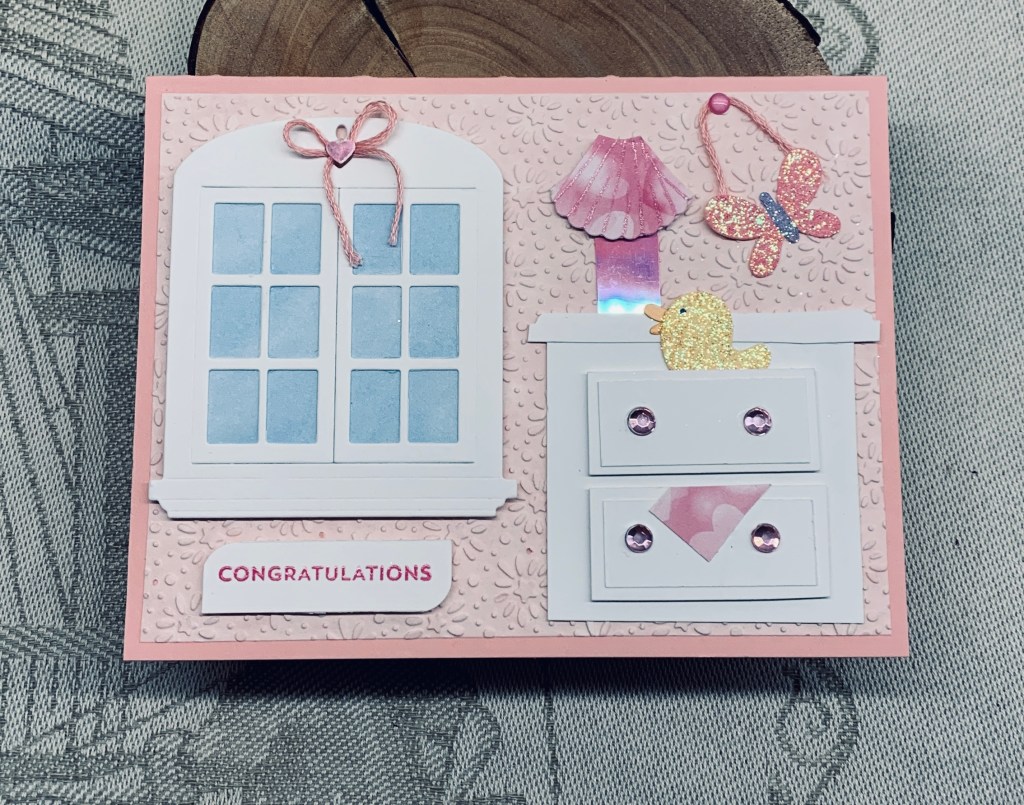
I was testing out a new StampinUP EF to ensure I had it the right way up and used the scrap pink piece for the test. Rather than waste it I added it to the card front as a background wallpaper for the rest. The window die is from Art Impressions and I backed it with some paper that looks like sky before popping it up as you see. Then I set about building the dresser to go beside the window. Basically I hand cut all of the pieces and glued them together. The sentiment is from MFT and was stamped in pink then heat embossed, after which, I rounded two of the corners before popping up with foam tape. The dresser drawers were also popped up with foam tape and I used two stickers from Doodlebug Design that I’ve had for quite a while. I used some valentine paper scraps to make a lamp shade and have the edge of a blanket falling from the drawer. To make the shade I used a scalloped circle die from Sizzix and then cut by hand. I wanted it to look pleated so I hand drew the lines, but it would have been better had I used a glitter pen as the black is a bit harsh. And the lamp base was a scrap that I’d saved and could finally use. Drawer pulls are gems from my stash. Twine is from my stash and I tied a small bow and hung from top of window adding the tiny heart that was a fallout from that space. Also used twine to look as if the butterfly is hanging.
Apart from the harsh lines I’m not unhappy with this card and I think my friend will love it even with a small mistake. Thanks so much for stopping by, you are appreciated more than you know.