Our Cards4galz challenge has been chosen by Pamela, and she has a theme of colouring. Lots of scope with this challenge so I’m sure you will all enjoy playing.
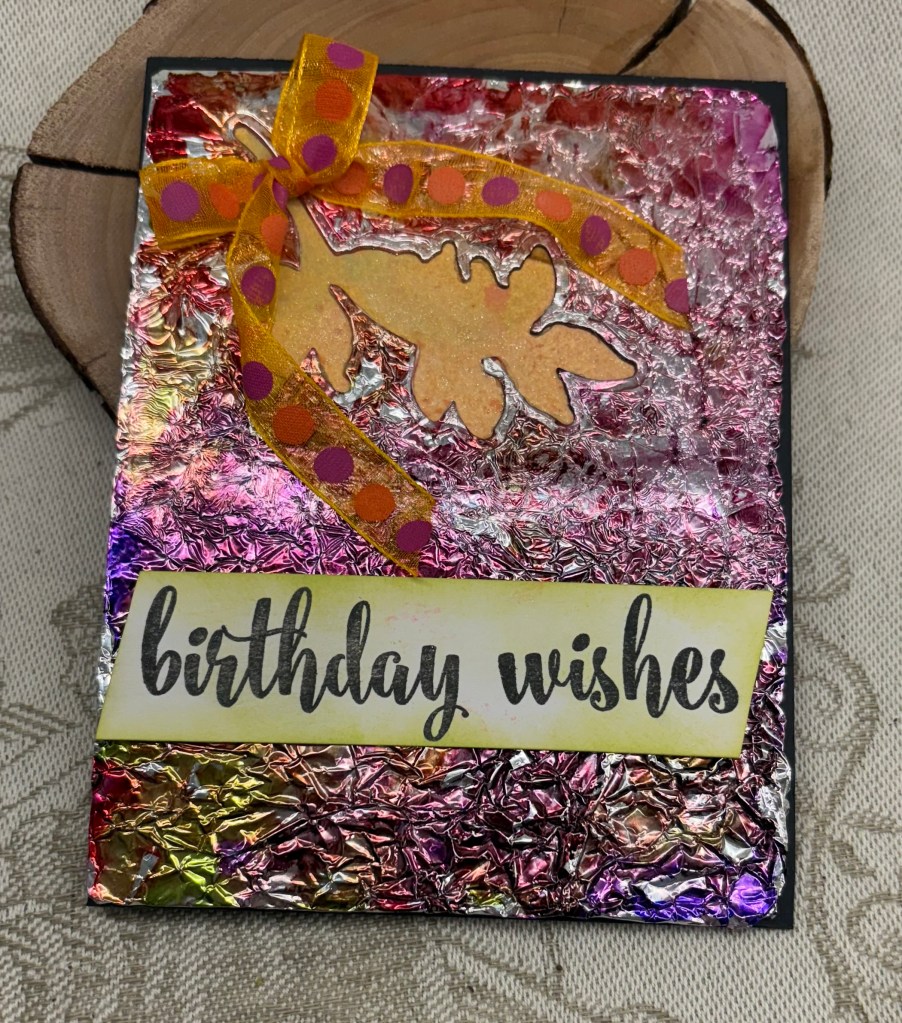
In my case I decided to play with alcohol inks and crumpled kitchen foil. I adhered the foil to some heavyweight CS but I didn’t try to smooth it out as I wanted the texture. Then I picked out my colours and dropped them on top with some additional alcohol to move them around. This is what I ended up with. I wanted to die cut a leaf shape from this, which I used on an earlier post. The process of die cutting meant that the top part flattened somewhat, but I still liked it. I had a piece of schmoosed ink CS that I added behind the opening and then I attached the entire piece to a black note card. The sentiment is from GKD and the ribbon is from my stash. I added some colour to the sentiment piece to soften it as the white was too white.
A messy, but fun process and I liked the end result as the colours blended quite well. We hope to see your creations in our gallery and enjoy the creating process. Thanks for stopping by, I appreciate you and your time.