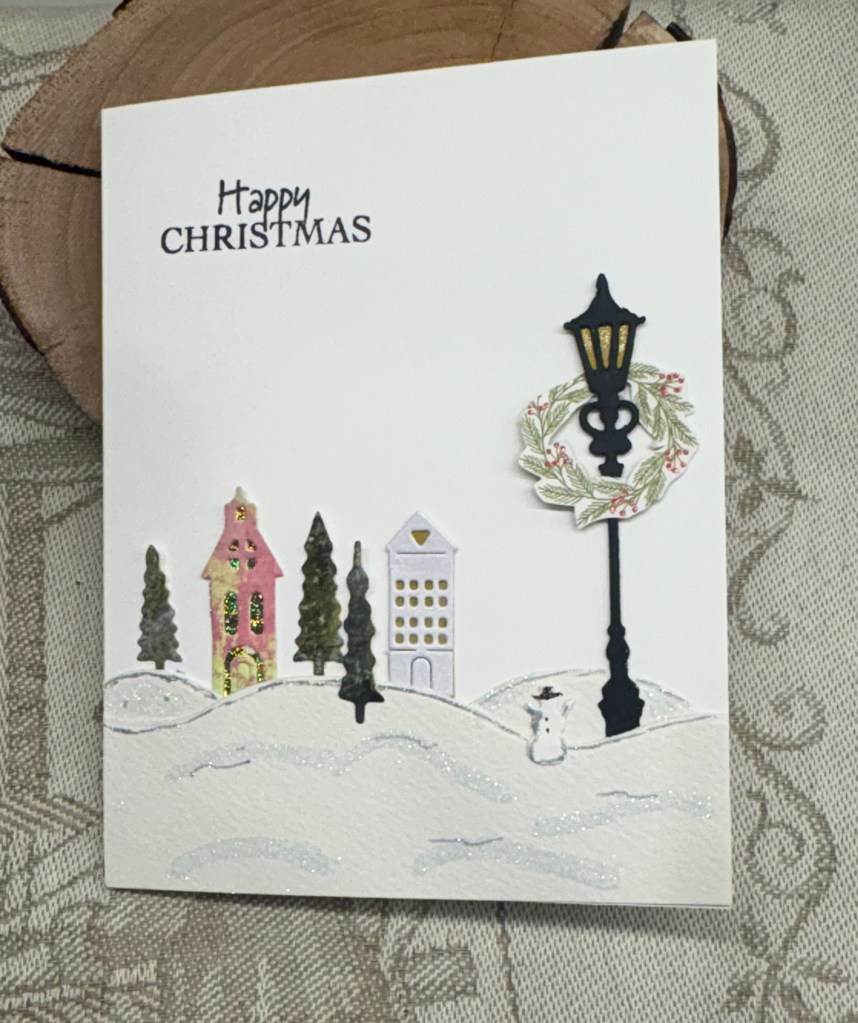
With my mojo mostly absent in recent weeks, I was so fed up that I headed to a craft store in the hopes of reviving it. While there I discovered this set of Spellbinder dies, promptly purchased it and made this card almost as soon as I got home.
My papers are from StampinUp and I added sparkle to the stars in the background. After cutting the pieces I attached them as you see and then added the snow people as you see. It was a bit fiddly putting them together but I was smart enough to keep the pieces in little cups so I didn’t lose any. Spellbinders thought of everything here, as they even had dies that work to cover the holes from the back. I would have added black paper anyway, but having them die cut made it so much easier. They also thought of adding a small mark where the noses should go.
I’ve managed to get quite a few cards done this past week, so I must count them to see where I am at. My aim today is to get all the labels done and the cards signed and into envelopes. Our mail is working (kind of) as they are back to doing rotational strikes so some items are getting through. I shall likely mail most of my cards as soon as they are ready in the hopes that they get through the system. Better too early than awfully late and people can put them aside until they are ready to deal with Christmas décor if they wish.
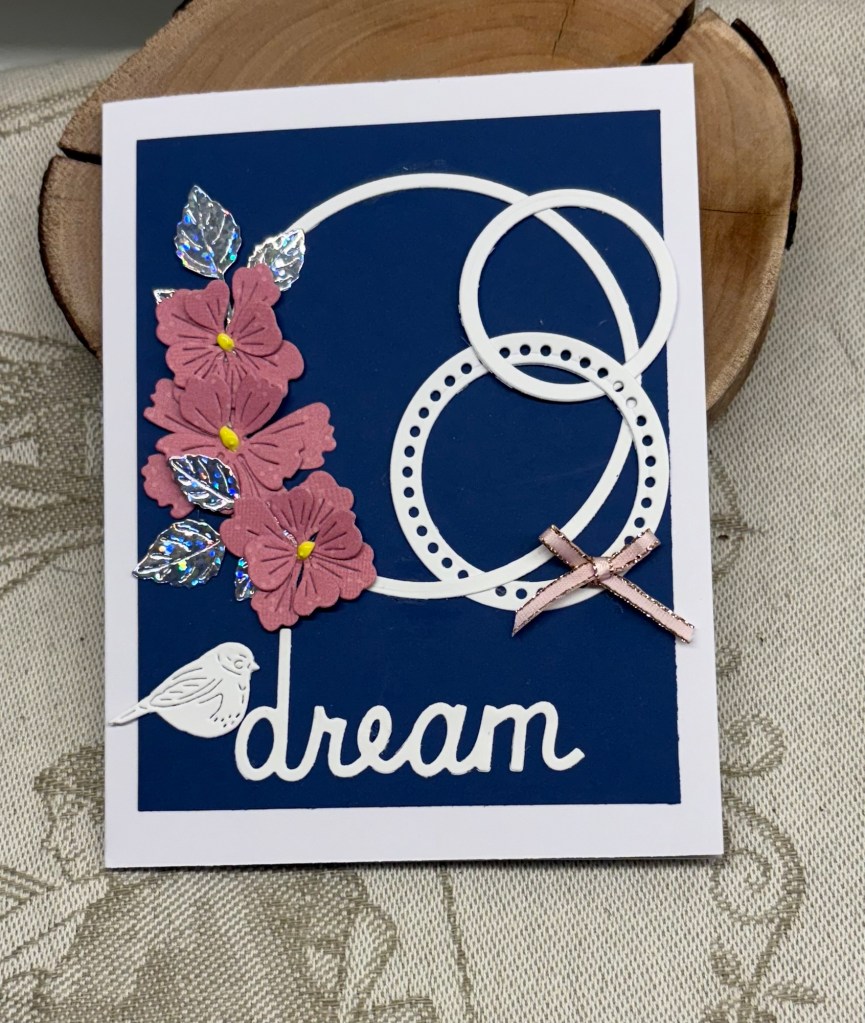
Thanks for stopping by to take a look. I appreciate your time and any comments you may leave.
This card works for the challenge at Peace on Earth Challenge #98 so I am entering it there.