Bird of Paradise

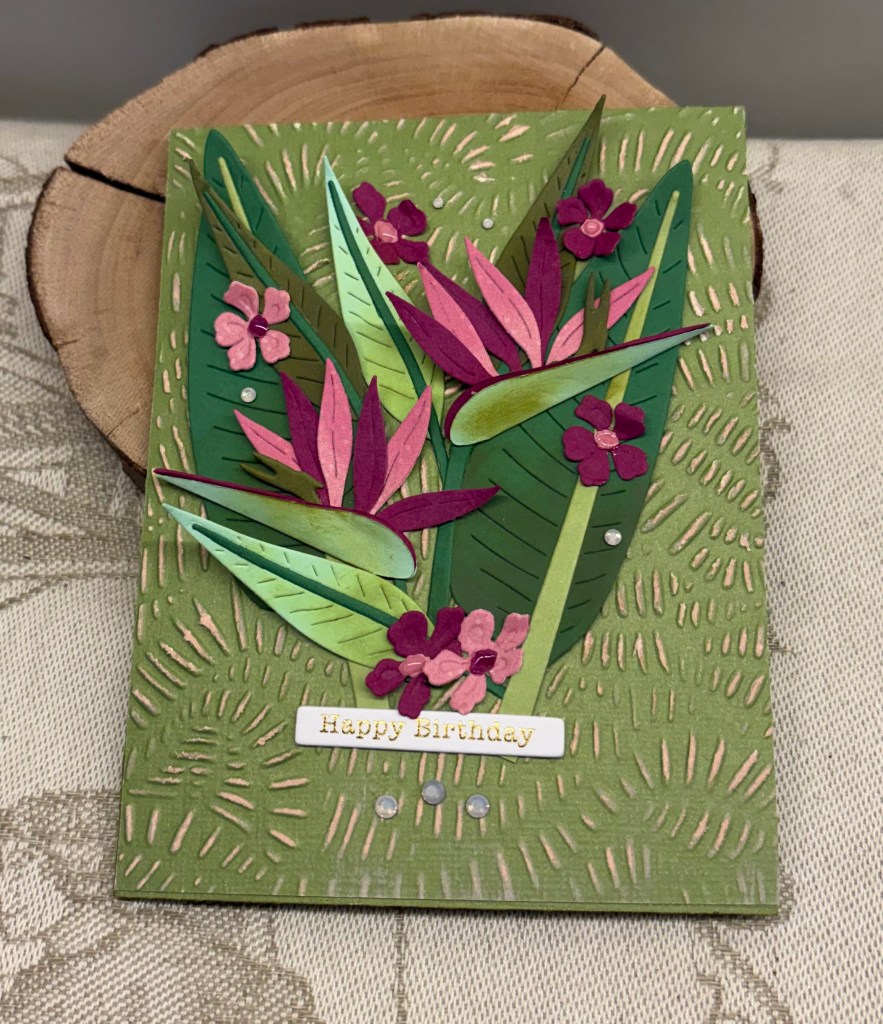
Using my new kit from Spellbinders and thinking this particular die set would be perfect for a colour challenge, I set about creating this card for Sunday Stamps – SSC387 Garden Grandeur. I think I’ve managed to use all the colours in this card although only 3 are truly required.

There is quite a lot of fiddly work to create everything here and my shading of various pieces isn’t brilliant. It takes time and practice to get this 100% right, but I’m sure my next card will show improvement. I picked out the various colours from my scrap pieces and die cut what I wanted to use. Laying them all out on a sticky mat I tried to add the shading, but one of my inks was too dry and I don’t have a reinker for it so it didn’t go as well as I needed it to. Then I proceeded to build the bird of paradise flowers and added the stems to the various leaves. My background was embossed using the folder from the kit and because I used a textured CS the raised pieces ended up white. I went over them with some ink so they turned a light shade of pink. I played with placement until I had something I thought would work and glued everything in place. It needed a bit more so using another set from the kit I cut a few flowers and added them as you see. The sentiment is from Open Studio because I was too lazy to use one from the kit and the tiny opal embellishments came with kit and are exclusive to the Weekender. The embellishments are truly pretty at Spellbinders so I’m sure crafters will be asking for them. I also added some Nuvo Crystal glaze to the flower centers.

I think I will pick a day when my hands are not as painful and die cut all these pieces again so I can practice putting things together and get better shading results. Actually I may do this with the other sets as well. It will help me to create some of the other ideas I have floating in my head.

Thanks for stopping by, I appreciate you and your time.

Untamed

My hubby gave me an early birthday gift, which allowed me to take part in the Weekender Retreat held by Spellbinders. This exclusive kit is an amazing one and I enjoyed the 15 hours of participation, although I didn’t actually create anything during the tutorials. I did this retreat last year and by accident my kit was late, meaning that I couldn’t prepare die cutting for the event. That experience made me realize that for me, it is better to watch, learn and create later. Therefore this year I made no attempt at homework and just watched to learn.

One of the things I noticed when reading some of the chat, was that so many participators seemed to get hung up on following exactly what the demonstrator showed that they forgot to be creative in their own way. Some even complained that the kit didn’t have all the colour card stock shown in the booklet. The booklet clearly states that not every thing used in the tutorials was available in the kit.

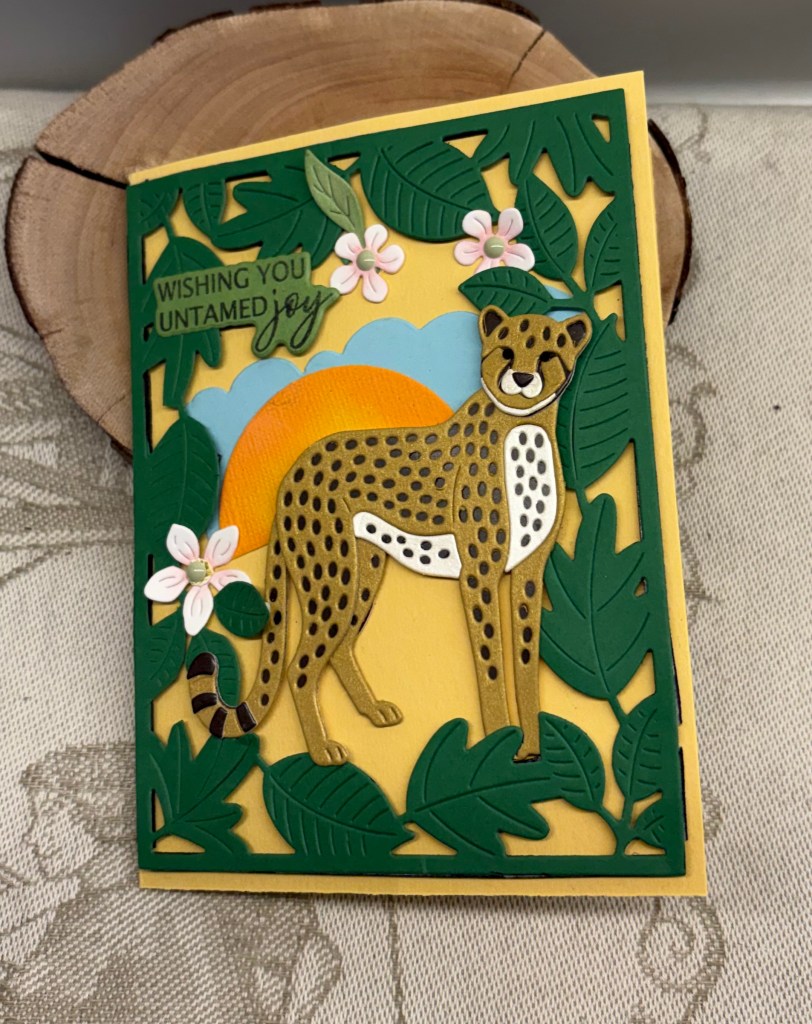
I already knew I wanted to create the jungle cat, but I also didn’t want to be cutting up my new and beautiful card stock to do it. So I went to my scrap envelopes and pulled out various bits to use. My cat uses a shiny dark brown background piece with a muted but metallic gold overlay and some cream shimmery scrap for the chest, stomach and face. I was just curious to see how he would turn out and I cut and put him together during a break between sessions. I was quite pleased with how he turned out. In the next break period I went searching for the leafy frame die which I thought was from Hero Arts, now part of the Spellbinders family, but is in fact from MFT. I decided to use this although I could have used quite a lot of dies from the kit and got something similar in design. Once it was cut I added some foam tape along the edges and underneath the leaves. The white of the foam tape was showing in a couple of places so I used a black sharpie and went around the edges that showed and then I attached it to the card front. With two dies from the kit I cut a cloud and the sun and added them behind the frame. And I had the little flowers made in a tray and decided to use them rather than cut others. These flowers come from last years Weekender kit and all I had to add was the flower centers which I did with enamel dots. The sentiment is from this years kit which includes the stamps and matching dies. Once I had this done all I needed to do was situate my Cheetah and foam dimension helped me get him to look good. A couple of tiny black gems for the eyes and the card was complete.

My card fits the masculine challenge at Inspirational – Challenge #368 – Word Prompt – For the Guys so I am entering it there.

foxy fun

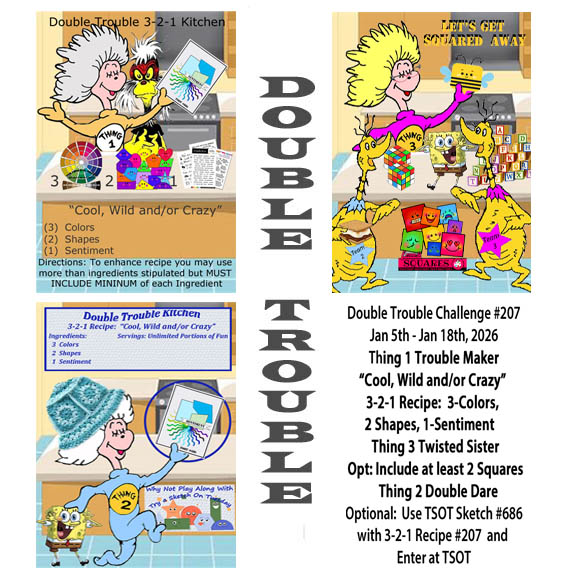
Happy New Year to all and here is the first challenge of 2026 for Double Trouble. Our recipe is to use: 3 colours, 2 shapes and one sentiment with the theme of cool, wild or crazy.

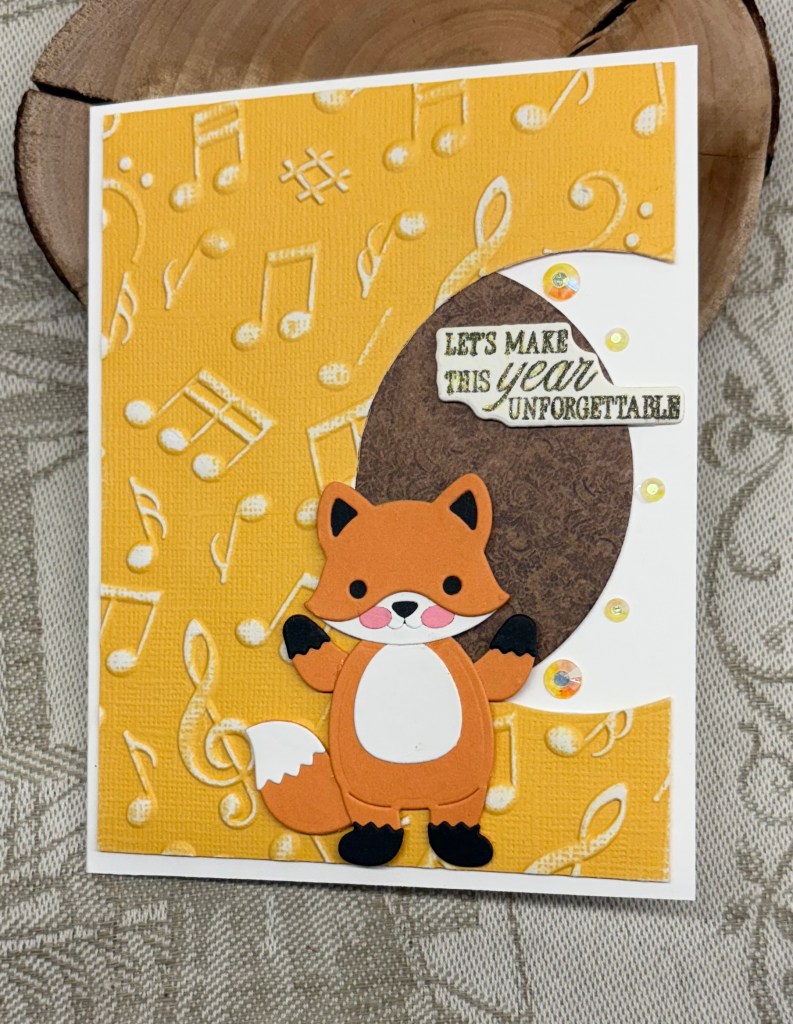
In my case I’ve chosen cool and wild as represented by the music background, it reminds me of cool jazz bands, and the Lawn Fawn wild animal fox. My shapes are the background panel, a circle die cut as well as the fox himself. The EF is from Spellbinders and I used a linen CS. I used a sanding block to take off some of the colour on the raised sections as I liked the look and it showed off the embossing more. My fox was built using scrap die cutting and then gluing the pieces together. The circle die cut is done with infinity dies by Hero Arts, the sentiment is from Spellbinders and the embellishments are from my stash. They pick up whatever colour they are close to, in this case yellow. My colours are Yellow, orange and pink, but if brown is considered a colour rather than a neutral I guess it would be four colours.

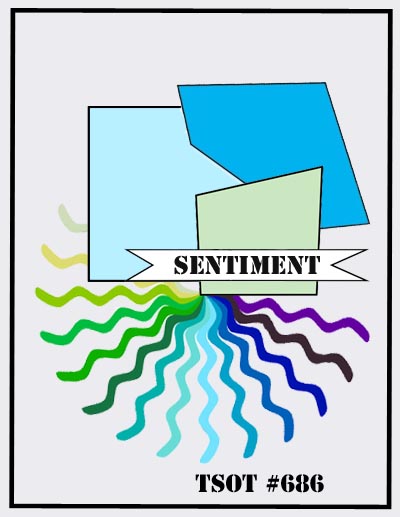
The idea for this card came from Pinterest, but it isn’t a CASE, just a general similar look. Remember that you can join in with the TSOT sketch challenge if you wish, but ensure that you aren’t back linking before you do so.

Thanks for joining me today, I appreciate your time. I wish you joy in your crafting and look forward to seeing your creations in our gallery.

caroling snow people

With my mojo mostly absent in recent weeks, I was so fed up that I headed to a craft store in the hopes of reviving it. While there I discovered this set of Spellbinder dies, promptly purchased it and made this card almost as soon as I got home.

My papers are from StampinUp and I added sparkle to the stars in the background. After cutting the pieces I attached them as you see and then added the snow people as you see. It was a bit fiddly putting them together but I was smart enough to keep the pieces in little cups so I didn’t lose any. Spellbinders thought of everything here, as they even had dies that work to cover the holes from the back. I would have added black paper anyway, but having them die cut made it so much easier. They also thought of adding a small mark where the noses should go.

I’ve managed to get quite a few cards done this past week, so I must count them to see where I am at. My aim today is to get all the labels done and the cards signed and into envelopes. Our mail is working (kind of) as they are back to doing rotational strikes so some items are getting through. I shall likely mail most of my cards as soon as they are ready in the hopes that they get through the system. Better too early than awfully late and people can put them aside until they are ready to deal with Christmas décor if they wish.

Thanks for stopping by to take a look. I appreciate your time and any comments you may leave.

This card works for the challenge at Peace on Earth Challenge #98 so I am entering it there.