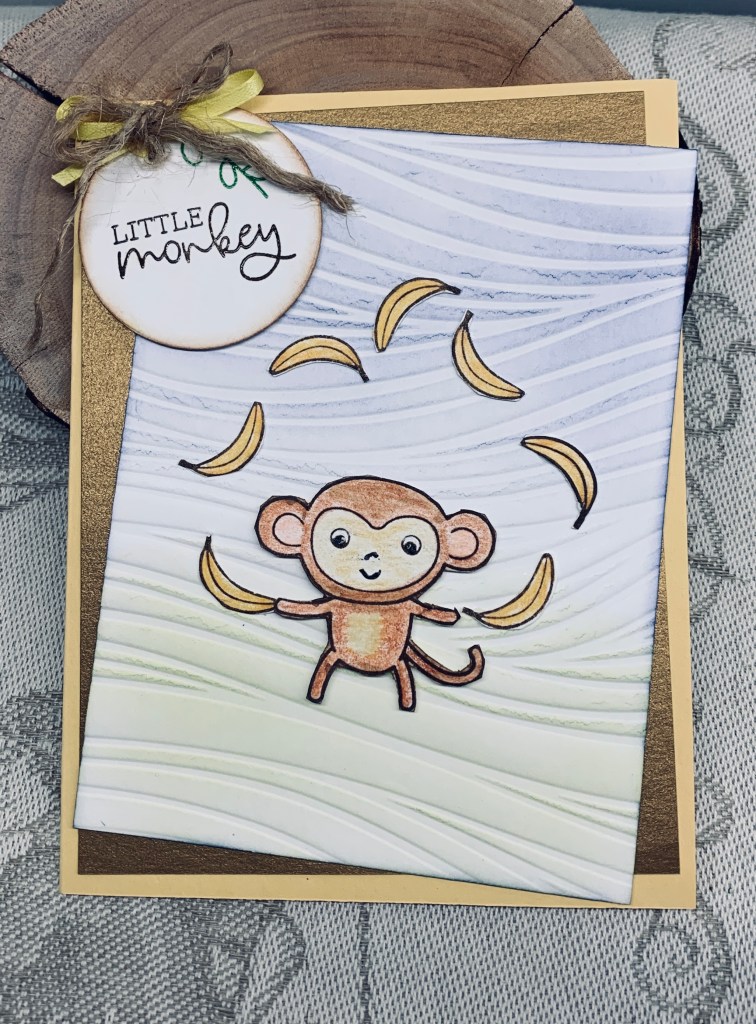
This is an entry into the current CYHTP challenge: Anything Goes with a Twist of ZOO / JUNGLE ANIMALS (5/25) I saw buddy Gayle’s card and decided I would do one too. I think it is great that we inspire each other.
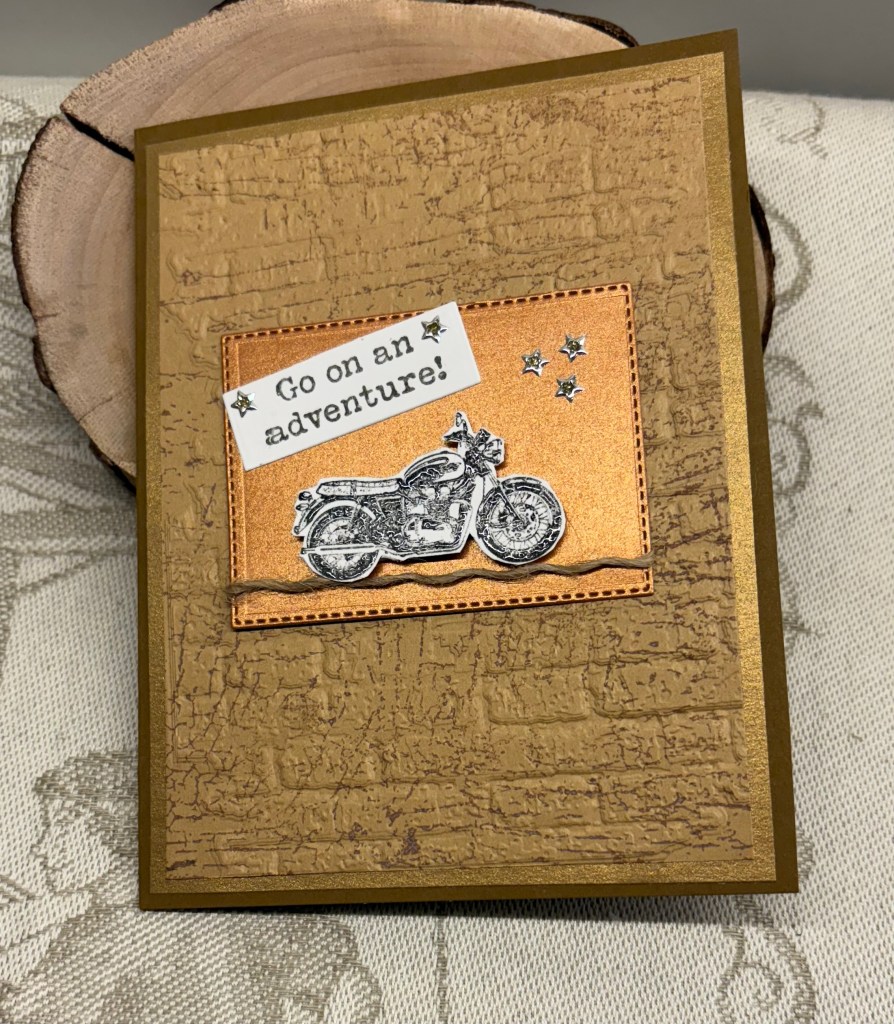
The image stamp and die are from MFT as is the sentiment and the clouds. The EF is from StampinUP and seems to be my go to folder at the moment. I suspect because it is waiting to be labeled and numbered so I can put it away. Procrastination on tidying up is ongoing. The stitched rectangular frame is from GKD and the sentiment die cut is from Recollections. I added some ink to the rectangle but left it somewhat patchy on purpose as it looks more natural to me. After stamping the image I used watercolour pencils and some Sakura pens. Once dry I die cut and added foam tape before attaching. The addition of clouds was an after thought. The card front is a textured CS.
I just received an early birthday gift from my hubby as he purchased a kit from Spellbinders and the online classes to go with it. The classes start on Friday. The contents are pretty good so I shall have some fun using them. There is another great EF inside the kit that I can hardly wait to use.
Thanks for stopping by, I appreciate it.