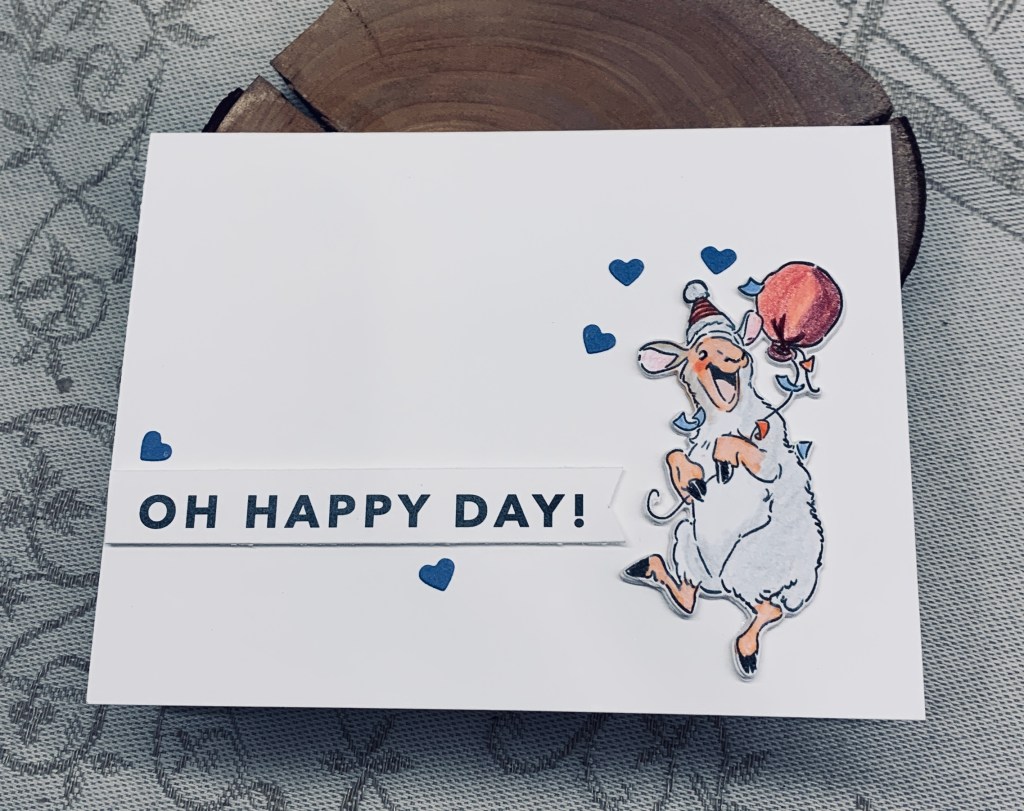
In my head I was planning a different card, and dare I say it, for a different challenge too. Because I didn’t read the instructions correctly I realized that this card simply wouldn’t work as planned and instead this evolved. It works perfectly for the Anything Goes at Less is More and is a simple CAS card. I used an A.I. set that has fun sheep images and pun sentiments. I used this image but my sentiment comes from a cut apart set, which at the moment, I’m unable to remember who by. I used pencils to colour the sheep along with an alcohol pen for the face and legs. I added some tiny hearts as embellishments and am quite happy with how it turned out.
Thanks for stopping by and I hope your day is going well.
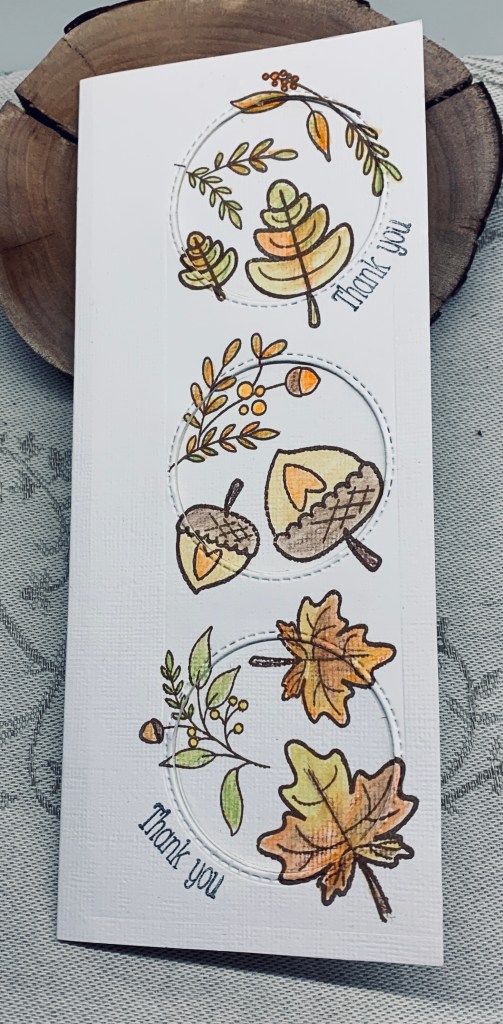
Our current challenge here at Cardz 4 Galz, is to use leaves as your theme. My card is using a new stamp set from Your Next Stamp and I paired the images with a few sprays and leaves from an MFT set, along with a sentiment from a Joy Clair set. Using some CS that has a grain that looks like subtle embossing I created a slimline card base and stamped the various images after marking where the circles would be cut. After I had coloured everything with watercolour pencils I used an MFT slimline stitched circle die to create the openings. Setting the die cuts aside temporarily, on the inside of card front I added foam tape, to which I added an additional piece of CS. Then I paper pieced the die cuts into the openings ensuring they lined up properly but were slightly set back due to the popped up card front. In retrospect I should have doubled up on the foam tape so it would have lifted a little more but I still got the look I was going for. I curved the sentiment slightly so it fit around the circle edge in two places.
I did see somewhere that a card creator named this as a reverse eclipse technique. So far I haven’t tried the original eclipse technique although I plan to. I am quite pleased with how this turned out and it was a fun way to make a card.
Thanks for stopping by and a Happy Fall to everyone. In our case we hope for some rain as we really need it.
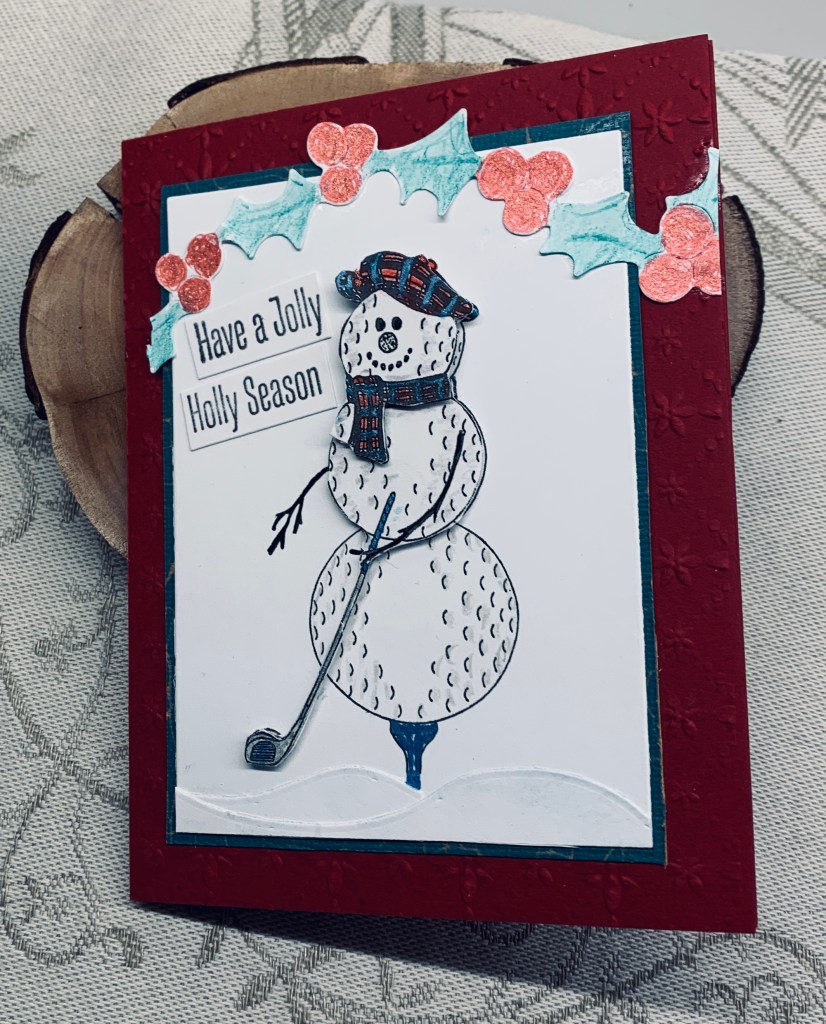
Thanks to one of my stamping buddies, I was able to do a Golf related Christmas card as requested by a friend. I used this image because I found it so cute although all of the images I received from this lovely buddy are great and will be used eventually.
What I did with this snowman involved a bit of fussy cutting which was pretty easy. I took the stamped image and photocopied it onto some card stock several times so I could cut out all the parts I wanted. I coloured in each snowman exactly the same before cutting. Each layer of the snowman was popped up with foam tape. Firstly I cut the top half of the body, including the golf club and then I cut only the head and scarf section. The snowman layer was added to some CS that is similar in colour to the blues used on hat and scarf. I added some snow hills at the bottom and part of a Sizzix holly berry garland at the top after I had adhered it to the dry embossed card front. The other half of the garland is on the inside panel. The sentiment is from an old Kaiser set and I cut it in half so I could stack as shown.
I think layering each section of the snowman onto the original stamped image has given it quite a realistic look and I’m quite pleased with the end result. It does look better in reality than on the photo, but photography skills aren’t my forte.
The card is being added to the following challenge:
Anything goes Christmas challenge.
Thanks for taking a look. I know your time is precious so I appreciate that you spend some of it with me.
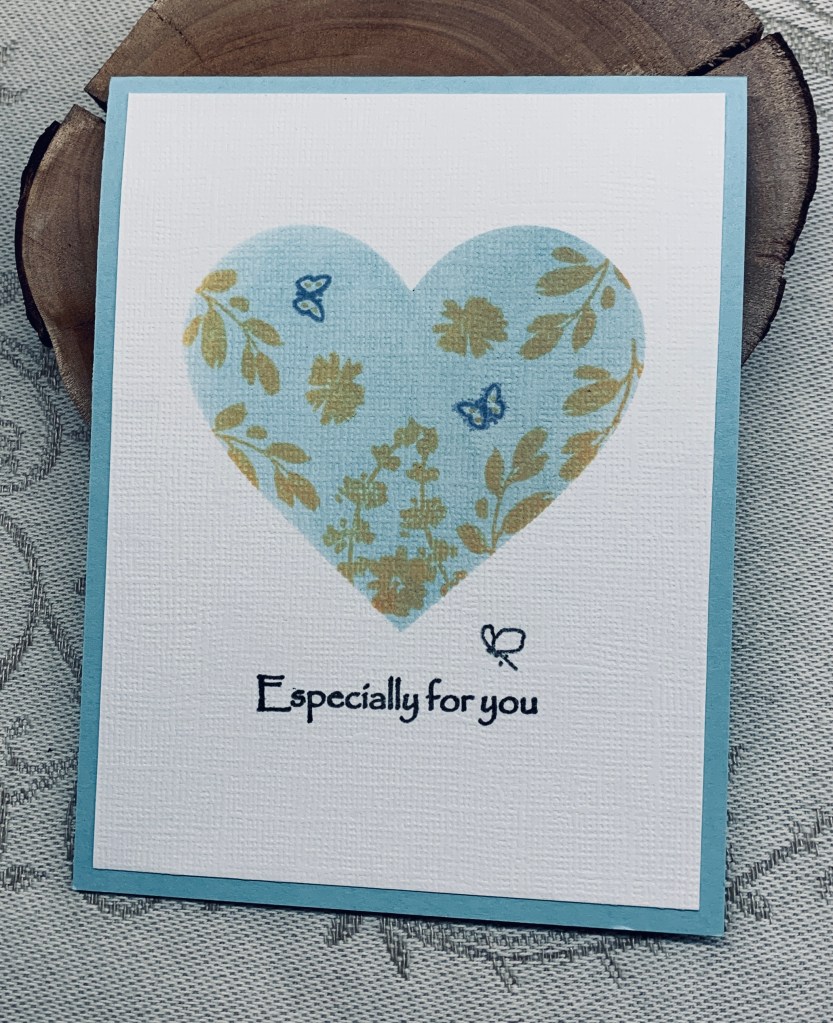
For this card I cut a small piece of textured CS from a new 6 x 6″ paper pad, purchased at the dollar store, and masked off a heart shape. Using Tumbled glass ink I sponged colour into the center. Then I took a small Gina K stamp set, gifted to me by a treasured stamp buddy, and randomly stamped leaves and flowers in Dried Marigold. I wanted some butterflies so I went through my stamp sets and found tiny stamps in a Penny Black set. These were stamped in a slightly darker blue with a couple of tiny dots of the other colour in the wings. The sentiment and tiny dragonfly are from the same set. Added the textured panel to the card front and called it finished.
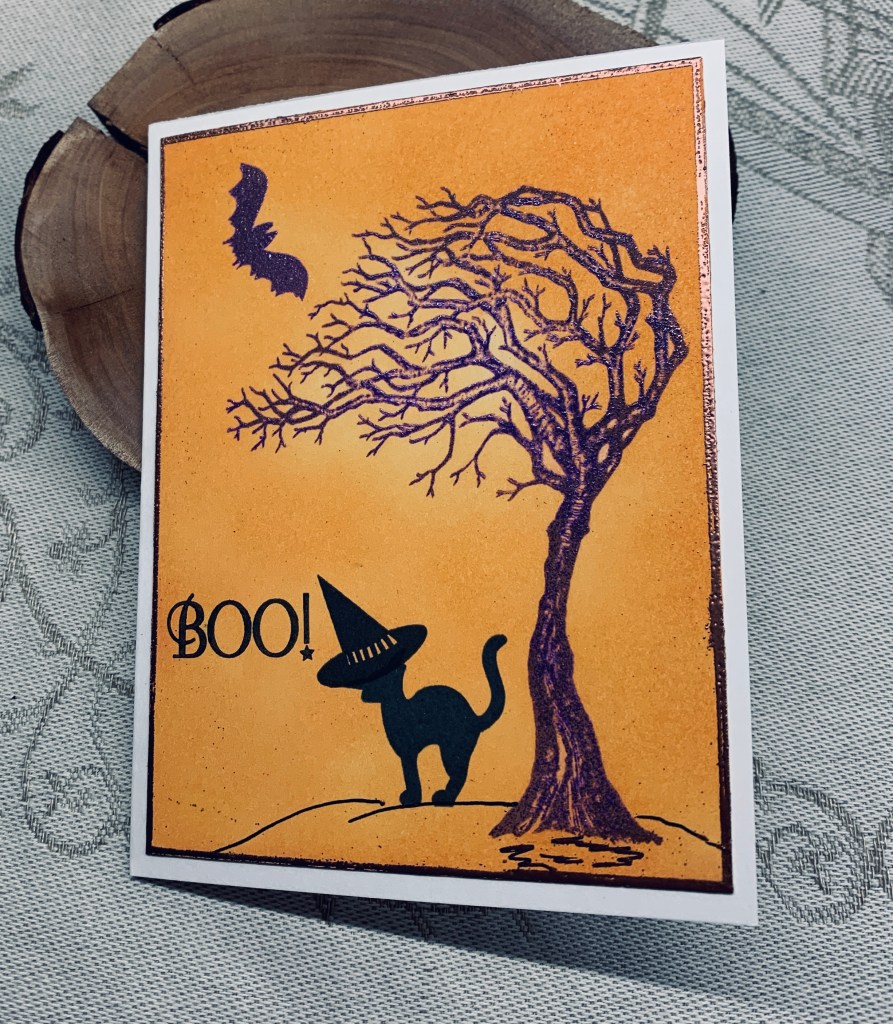
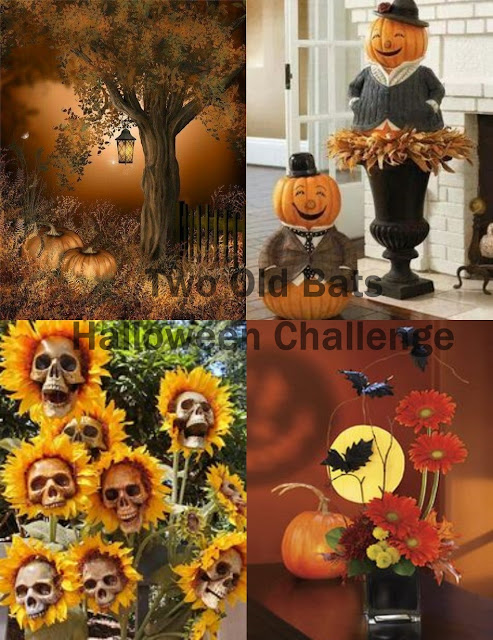
Every once in a while something sticks in your head and the only way to get it out is to create a card. Most of my friends and stamping buddies know that Halloween isn’t my thing and I don’t make many cards using this theme. That said the colour challenge at ColorHues wouldn’t leave me even though I submitted a card yesterday. So today I have created a second one making it a Halloween card which also fits with the Two Old Bats challenge.
Using a Lavinia Stamp and Wilted violet ink, I stamped the tree and then clear heat embossed it. After which I stamped the bat from the stamp set Wicked, by GKD in the same ink and heat embossed that. When it had cooled, I inked the panel using Spiced Marmalade making it heavier at the edges and lighter in the center. From the same set I stamped the cat and witches hat in black. Using a pen I grounded both tree and cat with some lines to denote a mound. I was about to add it to the card front, but felt something was missing so using an embossing pen and a ruler I went around the edge of the card and heat embossed with copper. Even though I prepared the card with an embossing pad, I still ended up with bits of powder stuck in places which really annoyed me. I hid the worst spot with the word Boo, and decided that a spooky themed card with a few stray speckles wouldn’t matter much.
Considering that I’m not into Halloween, I’m quite pleased with this one. Thanks for stopping by, it is appreciated.
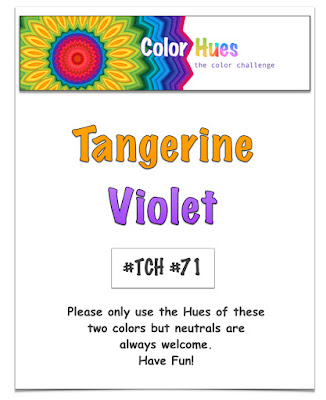
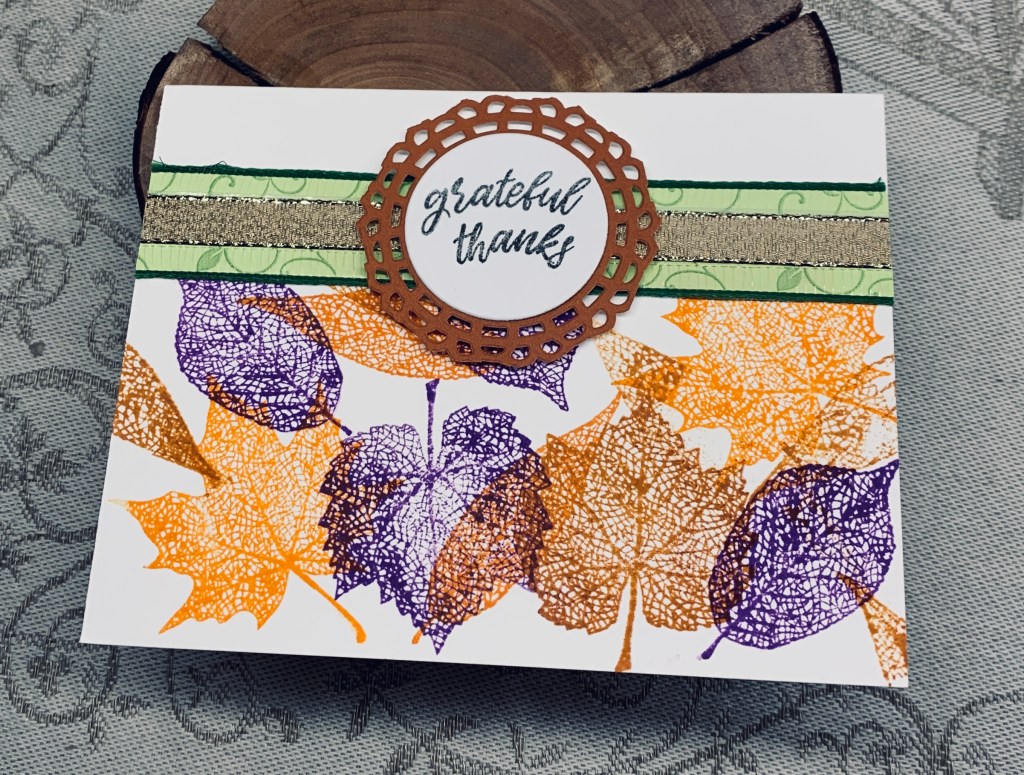
The new challenge at Colorhues is to use Tangerine and Violet and this is what I came up with. I used on older incentive stamp set by GKD called Skeleton leaves and I stamped the leaves randomly as you see in the photo. I used Distress Oxide inks in Carved Pumpkin, Spiced Marmalade and Wilted Violet with a couple of leaves done in Rusty Hinge. I added a paper ribbon border and a gold ribbon across that before adding the sentiment. The die cut is a store bought one that I trimmed one edge off as it was a bit big. Then I added an Infinity Die circle with the sentiment stamps from the same set as the leaves.
This was a quick and easy card to produce. It is the Labor Day weekend here and I hope that everyone has a fun time with what they choose to do. Thanks for stopping by.
The little commission I was requested to do, is now complete and this is the second one I did. In this case the recipient loves anything floral so I made a tree with my die cuts. I made quite a few poinsettias and then added several other die cuts from a stamp and die set from MFT. The background is a folder by Couture Creations. I added a bit of shimmer to the background and bling to the flower centers.
We have much needed rain starting here, but it is arriving with a thunder storm and we are saying prayers that it doesn’t bring lightening with it. Lightening could bring on wildfires which we definitely don’t need.
The card works for both the challenge at Peace on Earth and the one at CYHTP although in the latter case the twist for the challenge isn’t taken. Thanks for stopping by, I appreciate you and the time you spend with me.
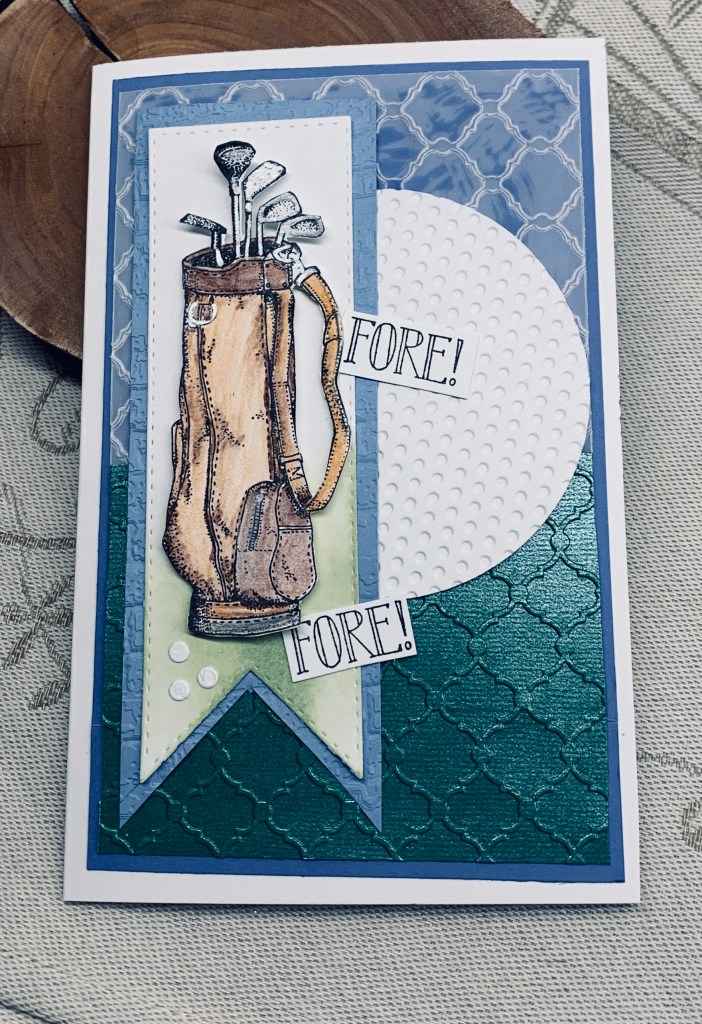
Welcome to the current Make My Monday challenge which is Hobbies for the next two weeks. Many people love to play golf and with the help of a wonderful stamping buddy I used this image to portray the sport/hobby of golf. I am so fortunate with my stamping buddy group as 2 of the ladies responded to a call for help when I asked for Golf related images. I have nothing in my own stash of stamps and had received a request for a Christmas related golfing card. I asked and received a bunch of stamped images from various stamp sets that I could use as I pleased. This image is from a StampinUp set as are the words. I coloured and fussy cut the image and popped it up on the unbranded stitched edge banner after I had added some green sponging at the bottom. I cut a larger banner by hand, as none of the other dies would work, then used an EF brick look folder for some texture. Using a swiss dot EF on the debossed side I die cut a circle with Hero Arts Infinity dies and also a few small balls for below the bag. The background was created with both vellum and a green shimmer CS using a folder by Life Style crafts and this was added to the darker blue piece so a small border shows. I deliberately allowed some glue to show through the vellum as it reminded me of the sky. The rest was added on top and then all was adhered to the card front. This is a slightly larger card for which I shall create my own envelope. It is not quite a slimline but is close.
The other received images will be used moving forward and I’ve already begun the requested Christmas one. Thanks to my lovely buddies I didn’t have to purchase stamp sets that may only be used once or twice.
I hope to see you in the gallery and thanks for stopping by and for comments too.
A friend requested four cards for Christmas, but one needed to also be a birthday card. Serendipitously, I had just completed this one when the music challenge appeared, so obviously it is being entered here. I’ve made a couple of these pianos before, but I changed this one up a little bit. The music score was found online and it was already aged so all I needed to do was cut it to size. The piano keys were all cut using a ruler and scissors, then added to the card, which had already been hand cut into a piano shape. I added an extra flap underneath the piano shape so that there is space to write a message. The poinsettias were all die cut using two different sets that I’ve listed in various other posts and some of the foliage is from a punch. I added some gold cord underneath and placed the flowers over the top. A few embellishments for the flower centers and I called it finished. I have one more card to make for this friend and have a background almost finished, but I still have to do more before I can say it is done.
These piano cards pack a lot of visual impact and are worth doing even if somewhat time consuming. I shall make a small box for it as an envelope would squish the flowers too much. I’ll post the others at some point I’m sure.
Thanks for stopping in to take a look, it is appreciated.
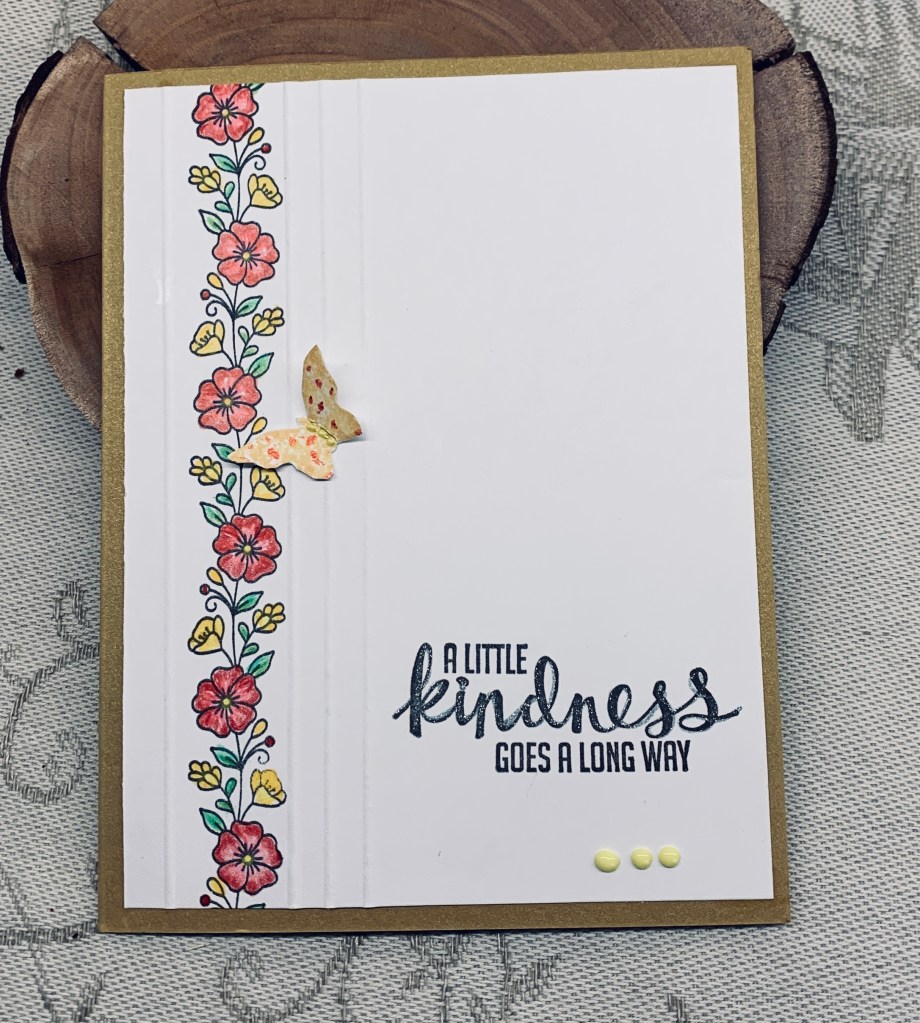
Recently I’ve seen someone show how to use colour pencils on some colouring pages and I decided to give the technique a try. I used a new border stamp found in a dollar store by Forever in Time and proceeded to use Prisma colour pencils with the result as you see here. I am really pleased with how this turned out and as my preference is to use pencils I shall be doing more colouring this way for sure. For some added interest I scored a few lines down the sides of the image. I added the sentiment which is from an old StampinUp set, and I also used the smallest butterfly from this set which was fussy cut. I added some red sparkle to the butterfly and some glitter to one word in the sentiment. Some Pops of Color on the body and underneath the sentiment and the card was done.
An easy card kept simple and just in time for the challenge at Color Hues. Thanks for popping in to look.