A Penguin Tree

My version
Where the idea came from.

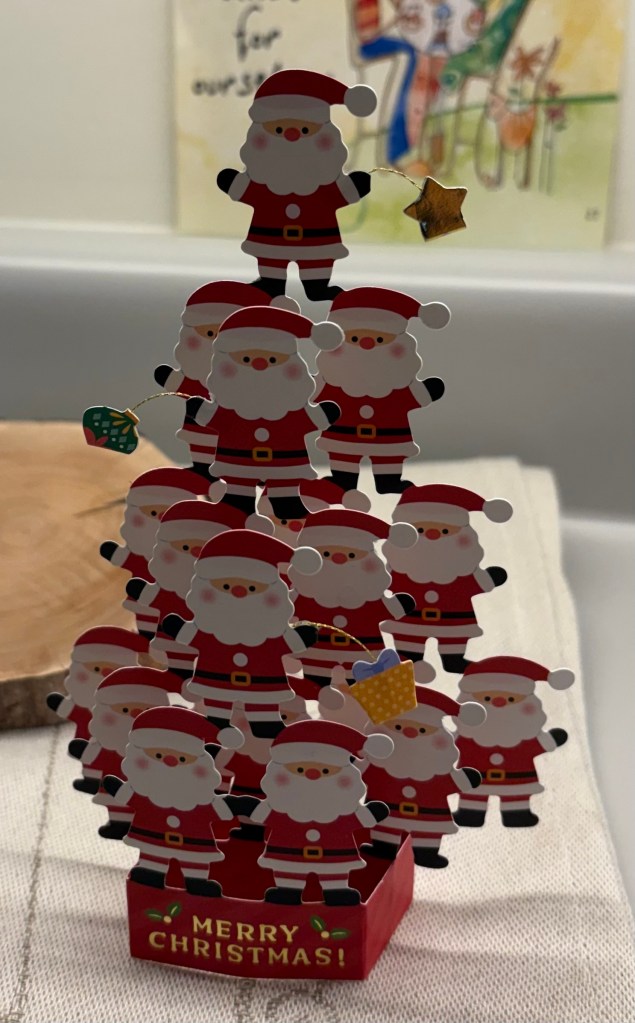
At Christmas last year, we received the displayed Santa card from a friend in Japan. Japan often has amazing mass produced 3D style cards. I often keep cards like this and put them on display each year, but I kept this one to hand as I knew I wanted to try to make one.

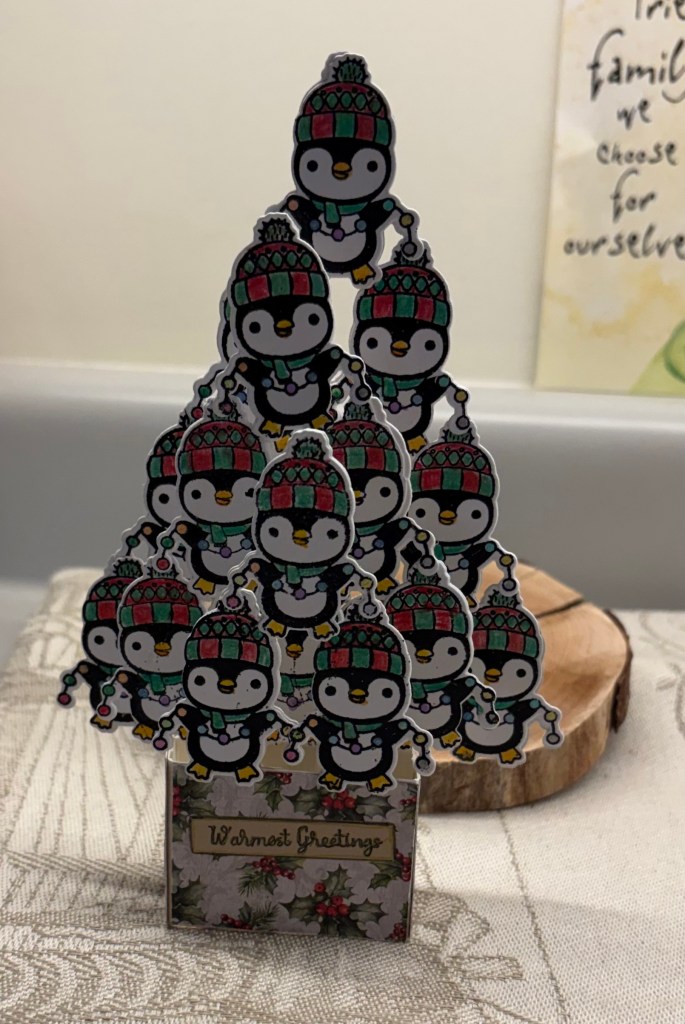
The challenge for me was I had to stamp, colour and die cut 19 penguins to build a card, whereas the original was printed and then laser cut one section at a time making it easy to build. I had to figure out how to attach them together and be strong enough to stand up, as well as getting the box size and scoring correct. As anything to do with arithmetic or math is always an issue, it took 3 tries and help from my hubby before I got the box size and scoring right. I deliberately went with a larger base as I knew my penguins would be heavier than the original card is. I added a center piece to the box ready for the middle layer to be attached. The penguin and die come from a Divinity Design set. I stamped with VersaMark and heat set in black. Each were coloured with pencils, then die cut, then I divided them into the stacks required for each section. During the colouring process I had been thinking of how I could attach them knowing that the tallest stack would need some support. I ended up using some fairly stiff packaging plastic cut into strips, long enough to attach inside the back part of the box and provide support for the next row of penguins. The image was chosen for the light string they are holding and I glued each light string to the next one in rows while also adding some glue to the feet. Each layer was built the same way, although I only needed the stiff plastic strips for the back layer. When I looked a the back of each layer it looked messy so I cut another lot of shapes to glue behind each one making it look tidy and clean. My gluing ended up slightly crooked, but the basic shape was there and no real tree is uniform, and I decided it didn’t matter. The box base was covered in some scrap PP before I attached any of the layers and it all folds flat quite easily. My sentiment is also a Divinity Design stamp but from a different set.

Making this box card was a long process, but I enjoyed the experience and actually making it from scratch without any tutorials to follow helps me realize just how far I have come since I started making cards all those year ago. I probably won’t make another, due to how time consuming it was, but it was fun to try.

Thanks for stopping by, you and your time are appreciated.

The card will be entered into the following three challenges all relating to Christmas:

https://lilredwagon.blogspot.com

Peace on Earth Challenge #116

MLCCB #69 Anything Christmas Goes

More Christmas in July

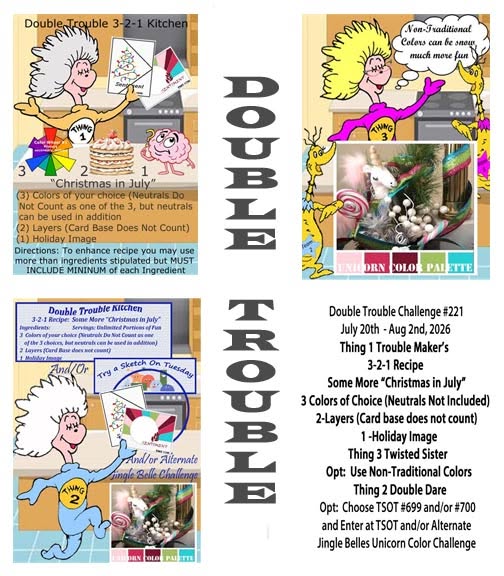
Welcome to another Double Trouble challenge. The recipe this time is: 3 colours of choice (neutrals not included) 2-layers (card base doesn’t count) 1 holiday image. Thing 3 Twisted Sister has the option of using non-traditional colours and thing 2 Double Dare is choose TSOT #699 and/or #700 Jingle Belles Unicorn color challenge.

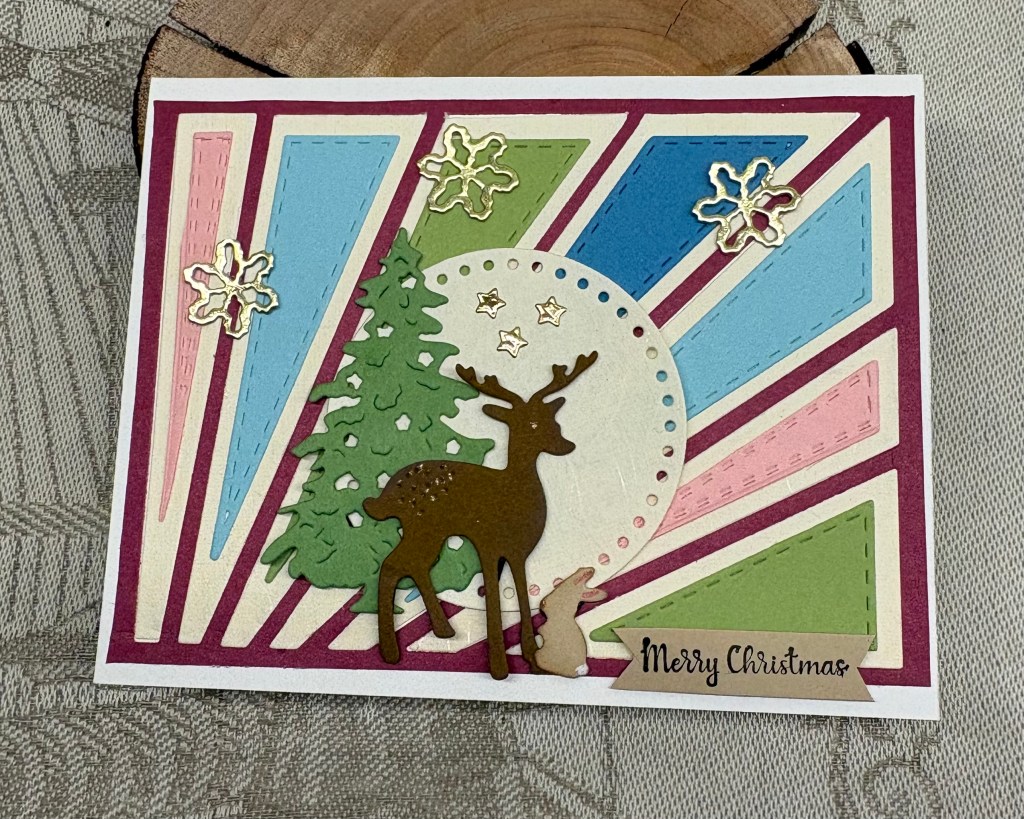
My card fits the sketch at TSOT but cannot be entered due to the backlinking rule. To create it I used a Crafters Companion Rays of Light die set and using scraps I die cut all the coloured pieces first and then attached them to the other pieces before paper piecing them into the frame I had already glued to the card front. This die set gives me 3 layers, but with the addition of the StampinUP die cut circle I now have 4. I used scrap pieces to cut the tree, deer and rabbit adding a bit of colour around edges and some gold sparkle to the deer. I used the star and snowflake dies with some gold CS to add some embellishments. These dies come from an unbranded set. The sentiment is from a Divinity Designs set.

My workspace looks as if a bomb has gone off, so my next task is to clean up and put everything away so I can find it again easily. I was outside this morning working in the garden, and now I’m tired so I guess the tidy up will be tomorrow.

We look forward to seeing your creations in our gallery and of course hope you have fun creating. Thanks a lot for stopping by, I appreciate you and your time.

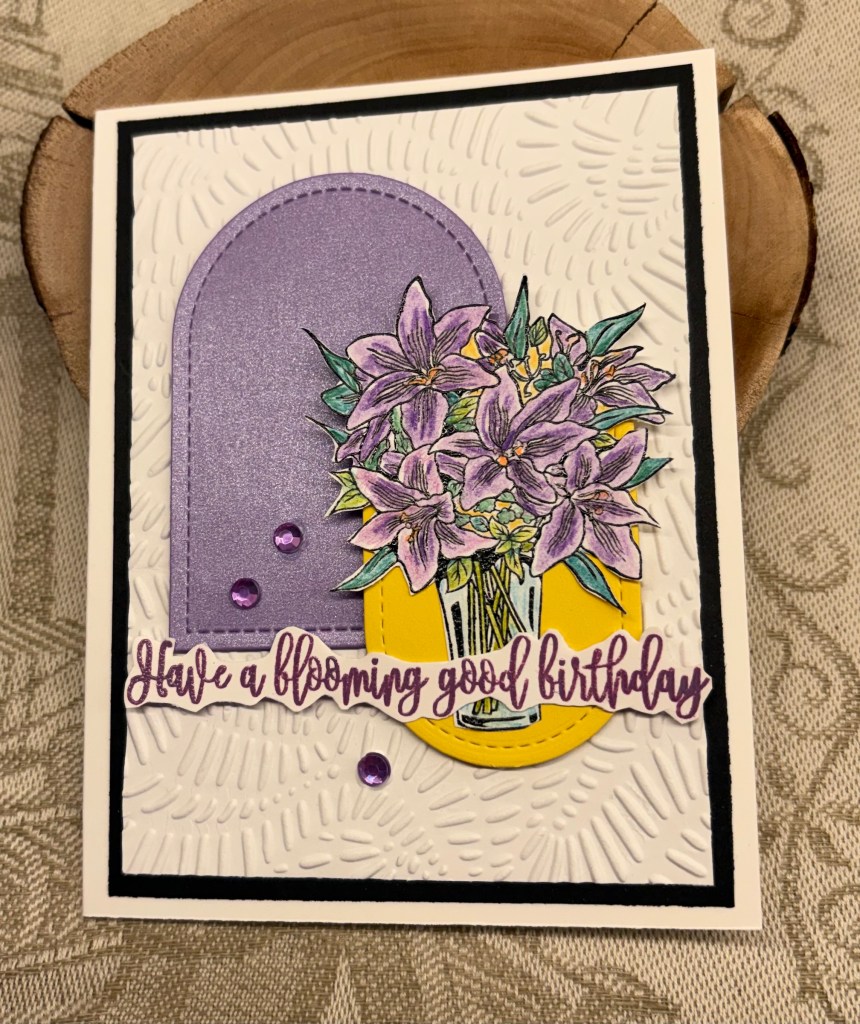
Blooming

The current challenge at As You See It is a fill in the blank on embossing folders and although I use them and like them, they also frustrate me due to never having exactly the right sandwich to go through my machine easily. It takes me forever to figure out the right amount of pressure to get the impression without hurting myself or the machine. Because of this I don’t use them anywhere near as much as I ought to.

My fill in the blank favourite is a 3D StampinUp folder called Soft Waves and I have actually used this one quite a lot. However the folder I’ve actually used for this card is a new 3D folder from Spellbinders and I backed it with some black CS to give a border before adding it to the card front. The arched die cuts are from Craft Addiction UK and I used some scrap CS to cut a medium size one and a smaller one. They were added with some foam tape and I turned the yellow piece upside down before attaching. The floral image is from Inkadinkadoo. I coloured it with watercolour pencils, then fussy cut before attaching on top of the yellow arch. The sentiment is from GKD which I inked using Dusty Concord and then heat set clear before fussy cutting around it. A few small gems finished the card. I thought I had some purple twine or very thin ribbon, but I don’t and what I do have on hand doesn’t look right on this design so the gems have to be enough.

My camera seems to have changed the lighting somehow as the photo looks cream instead of the actual bright white card stock I’ve used. The challenge at CYHTP has an optional twist of using purple. I have already added a card here but it doesn’t use the twist, which surprised my stamping buddies, who know its my favourite colour in any shade. So here is a second card for this challenge using the colour purple.

Thanks for stopping by, your time and of course you are appreciated.

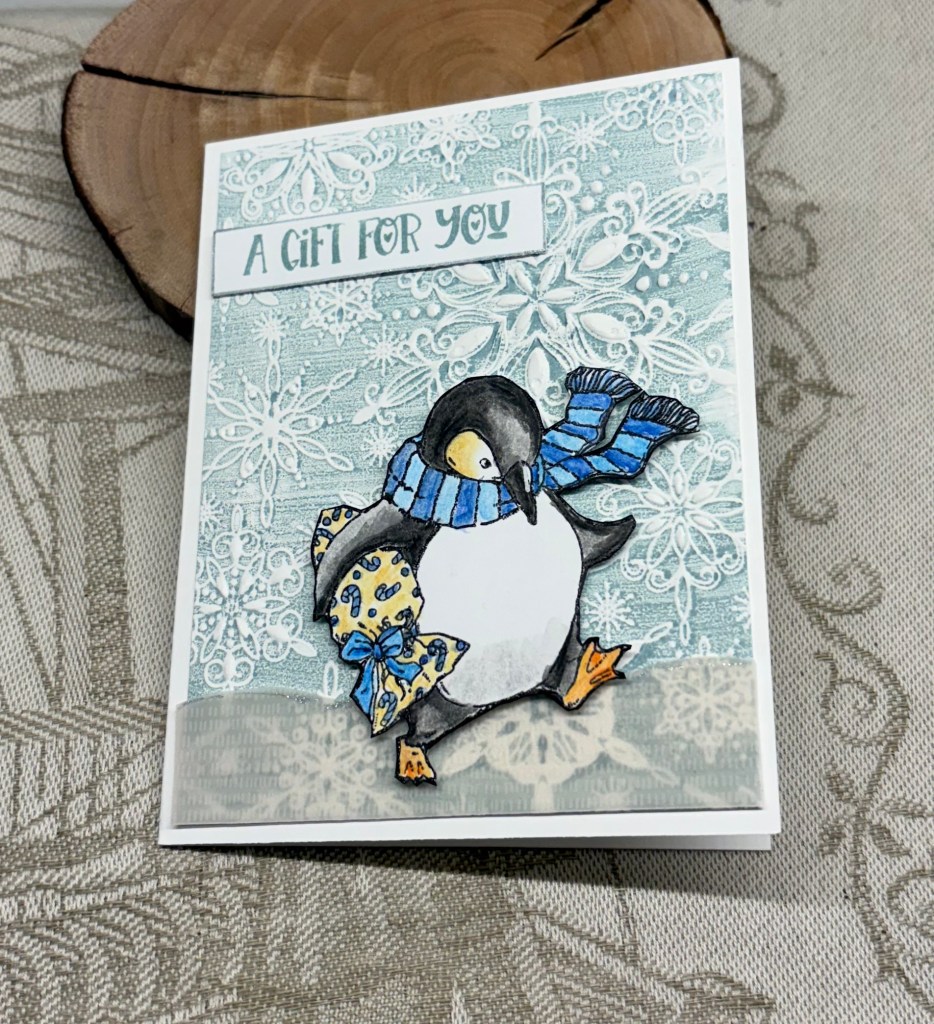
a gift for you

To make this card, I used a slightly textured piece of CS, some Speckled Egg ink and a folder from SSS. I inked up the flat side of the folder, added my card and ran it through the machine. This is the result and I love how it looks. I did a test piece first to ensure I had the right sandwich, so I now have another piece I can use at some point.

The current challenge at Seize the Birthday #318-Make Your Own Snowflake Background and using this folder from SSS, fits the bill beautifully to my mind. The stamps are from a Penny Black set. I stamped out the Penguin and then heat embossed it clear so I could use watercolour pencils. Once it was coloured and dry I fussy cut it and added some foam tape. Taking a scrap piece of printed vellum I cut a piece to ground the penguin and edged it with some glitter using a Sakura pen. Used the same pen around the sentiment edges. The Penguin was attached as you see and the card was complete. This card will go to a male friend whose birthday is coming up soon.

I’m really happy with how this card turned out and must remember to do this technique with folders more often. Thanks for joining me today, I appreciate you, your time and any comments you may leave.

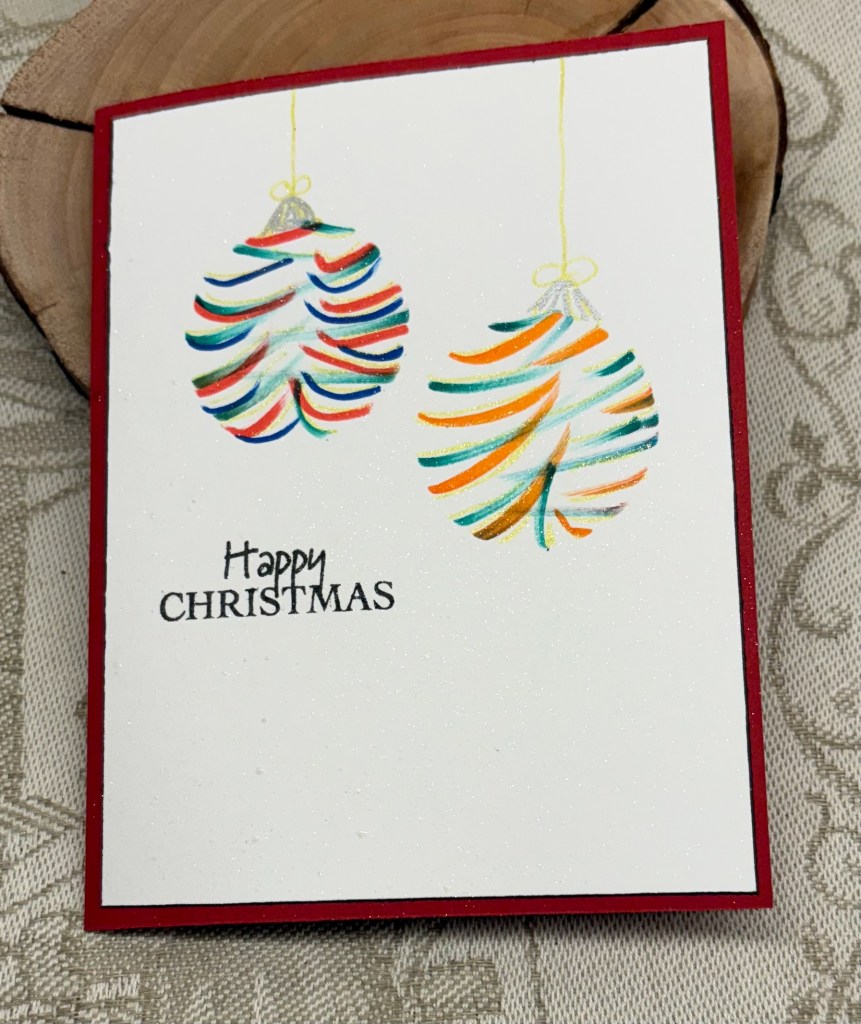
Christmas Sparkle

Our last cardz4galz challenge of 2025, as chosen by Dawn, is Christmas sparkle. Although the photo doesn’t show it clearly, my card is full of sparkle as I used sparkle pens by Sakura as well as a shimmer spray over the entire card.

To make this card I die cut, using Hero Arts infinity dies, a circle in a piece that could be used as a stencil. Following an idea seen on Pinterest, I used some fine tip brush pens by Sakura and flicked colour through the stencil. I added the hanging cord by hand using a glitter pen and other glitter pens over the brush strokes. The sentiment is from a set from Woodware.

I kept this design CAS as I felt the glitter was enough. Now it’s your turn and we hope you find the time to add your own designs to our gallery. We know the season is a busy one for everyone and hope that you have the Merriest of Christmases and a Happy New Year too.

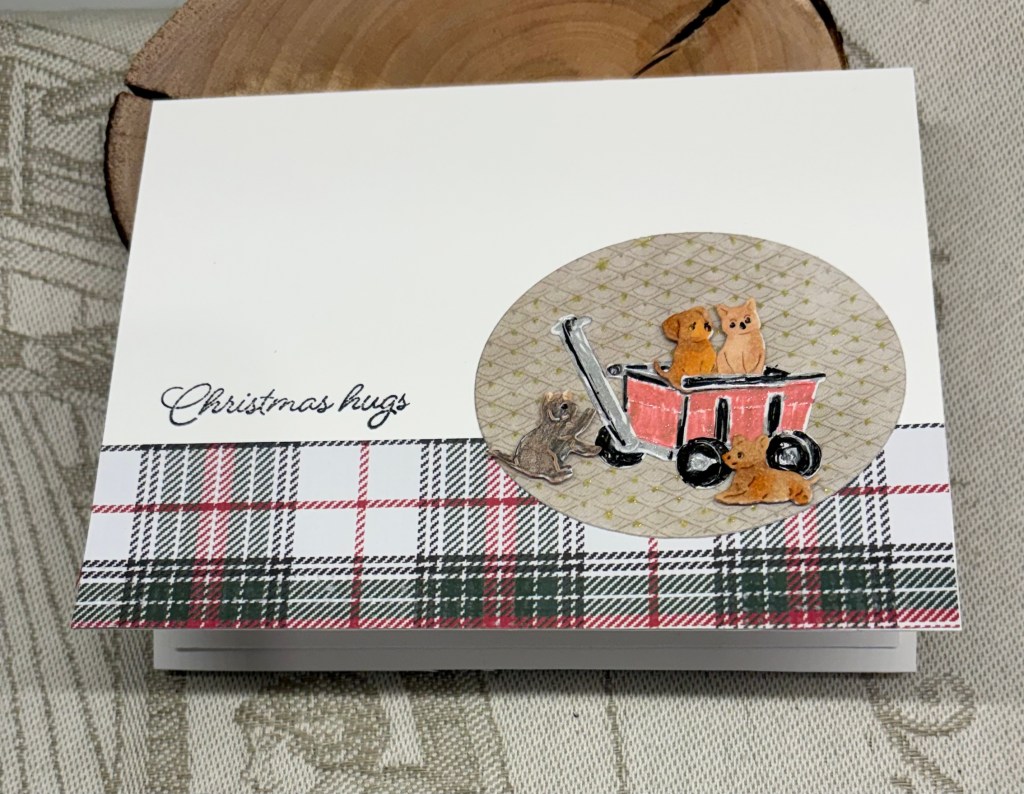
pet wagon

Sketch #566

Well here I am again being sidetracked by making another card, which came about because I wanted to use the dies before I put them away.

CAS Colours & Sketches are encouraging us to take either a colour challenge or a sketch challenge from 2025 and turn it into a seasonal card. My card is using Sketch #566 and I followed the orientation and shape of the sketch while changing what needed to be changed to give it a more seasonal look. The plaid paper is from the inside of a store bought envelope, the background oval (cut using Hero Arts infinity dies) is using a scrap piece from my stash. I jazzed it up slightly by adding dots of sparkle gold, but it doesn’t show much on the photo. It looks far better in real life. My little wagon and animals are all Gummiapan dies and my sentiment comes from a set by Crafters Companion. I love the font in this set and have used another of the stamps on the inside of the card. I used both alcohol markers and glitter pens to colour in the animals and wagon.

Although I don’t need any more Christmas cards now, I have several already completed for 2026 and this one will go into that stash. Thanks for joining me today, I appreciate you and any comments you leave.

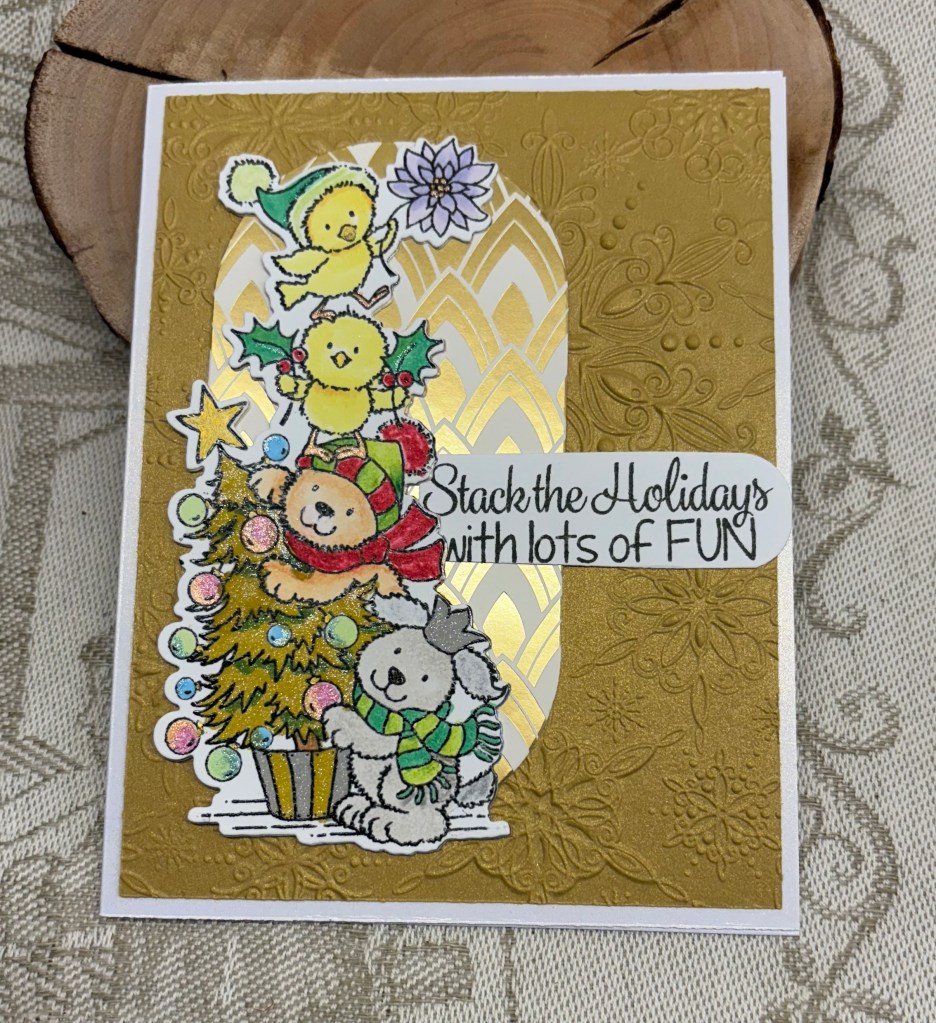
Stack the holidays

Sue J has chosen the theme, Cute Christmas for our new challenge at cardz4galz and this is my idea. Using some different coloured CS and a 3D EF from SSS, I created several background pieces so I could make more than one card using this YNS stamp and die set. I stamped the critters several times and coloured each one using combinations of alcohol pens, pencils and a little glitter here and there. After die cutting I set them aside to begin the assembly of each card. For this one I took scrap DPS and using a die set called Essential Modern Ovals I cut one and using different PP I did enough to use on the 4 cards. The sentiment was stamped and cut using one of these ovals as well. Except for the texture this card is basically flat so should go through the post without issues. At the moment Canada Post is back on strike, so if I manage to actually mail Christmas cards this year, it will be a miracle. That said I’m hopeful and preparing them just in case.

It is hard to believe we are close the end of another year and trust that you’ve all had some good times through 2025. We look forward to seeing your creations in our gallery, and above all, we want you to have fun.

diamond fold Christmas

Having seen Sam at Mixed Up Craft, and her new mini series on Diamond fold cards I chose this one to try for myself. I watched the video twice so I understood the basics and then as she suggested took a screen shot of the template so I could keep the measurements handy. After that I chose my base card and the PP before proceeding to follow along with the video. My base card is from Recollections and isn’t a heavy weight type which made it easier for scoring and folding. My paper is from a pack by Alchemy of Art purchased in a sale. And the silver CS is also from Recollections. The die sets used are from Spellbinders, and Essentials.

It isn’t a hard card to make, but it does take time as the scoring and folding are fiddly. I had to stop and start as my neck and shoulder kept causing my left hand to cramp, but I got there in the end. This is another card that will be given by hand to the recipients even though it does fold flat and will fit into an envelope. They are coming to visit soon so it will be waiting for them in their room. If postage wasn’t so high I would enjoy making more of this style and posting them, but the costs involved are making it prohibitive. The card I made for my sister cost me $8.50 to mail.

Thanks for joining me today. In between posting and keeping up with my little DT jobs, I’m also baking for my upcoming party. This particular dessert can be frozen for several months so it is an good one to make ahead.

I shall enter this card into the following challenges:

Just Us Girls Challenge #801 – WORD Week – Winter

Krafty Chicks challenge #794 – Christmas

MLCCB #65 Anything Christmas Goes

merry birth-mas

My last card as a guest designer at Seize the Birthday, and I’ve had such fun creating for each challenge. With this challenge asking us to use Christmas supplies and because I do have a male friend whose birthday is on Christmas day, I’ve decided this card is for him. This is always a birthday challenge but its asking us to use Christmas supplies to make it.

The strip of plaid CS used here is from a store bought card I received last year. The napkin music is the last piece of others I’ve used in the past. My Rudolph has been made by die cutting ovals and attaching them together. I cut a couple of small circles, one for his nose and another for his hands and I hand cut his teeth and then glued them as you see. Not my idea, but something I’ve seen on Pinterest and adapted for my own version. The bow is from an unbranded die set, the little stars are part of a die set by Marianne Designs and I used an MFT stamp and die set to create his antlers. A little bit of red sparkle on his nose and bow made him look more festive. The sentiment was created on my computer and is another thing I’d seen online. Initially I tried using stamps but couldn’t make it work nicely, so creating my own was the next option.

I’ve had a blast designing for Seize the Birthday and hope you have an equal fun time creating your own birthday cards with Christmas supplies. Thanks so much for stopping by, I appreciate you and your time.

tree delivery

Going to a craft store and sorting through their sale items is both a great and a bad idea. It didn’t take long to spend $100.00. The die set and the paper used on this card are all products from the sale. There are two different Santa’s in this set along with some other accessories and I created a second card along with this one.

Once I had cut all the pieces I slowly put them together, but first I added the colour and let them dry where necessary. For Santa I used alcohol markers and for the trees and truck I used water colour shimmer paint. The sentiment is from Woodware and the candy cane is ephemera from StampinUp. I used a glitter pen to add a bit of sparkle on the background, but it isn’t visible in the photo. My hubby felt this card was the cutest of the two.

Thanks for stopping by, I do appreciate you and your time.

This is to be a second entry into the Peace on Earth challenge #99.