Seaside Fun

Lynda has chosen the current challenge theme here at cardz 4 galz, and she wants to see seaside/coast style cards for challenge #278.

I decided to let some of my paper do the work on this card and used a patterned paper that looks like water. I also used some old fine sandpaper to create the beach sand look. Using some Kokorosa dies I added the foamy water at the join of the two papers. Then with another die set I cut the umbrella tops and coloured them as you see, adding a couple of striped beach towels among them. The die set has tiny people so I cut three, two as sunbathers and one who is body surfing.

This umbrella scene was inspired by a graphic in a TV show which is set in Mallorca. To give the umbrellas some dimension I shaped them a bit and added foam tape in the centers so they pop up. My hubby commented that this looks like an arial scene taken by a Drone.

As I’m not certain how I shall use this card, I’m leaving the sentiment off for now. Many thanks for stopping by, I do appreciate you and your time. We look forward to seeing your cards in our gallery and hope you have a lot of fun creating.

3-2-1 Recipe My Guy

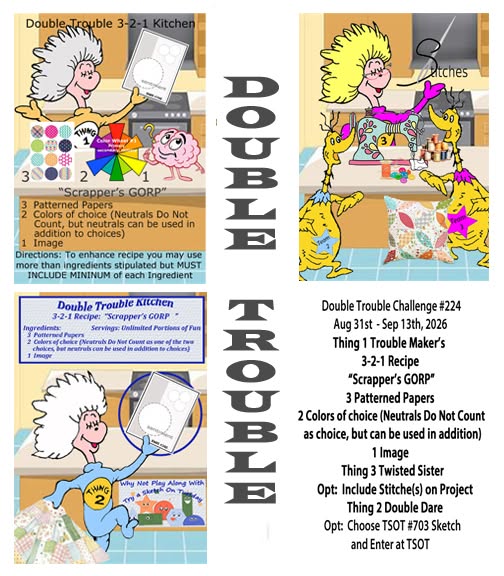
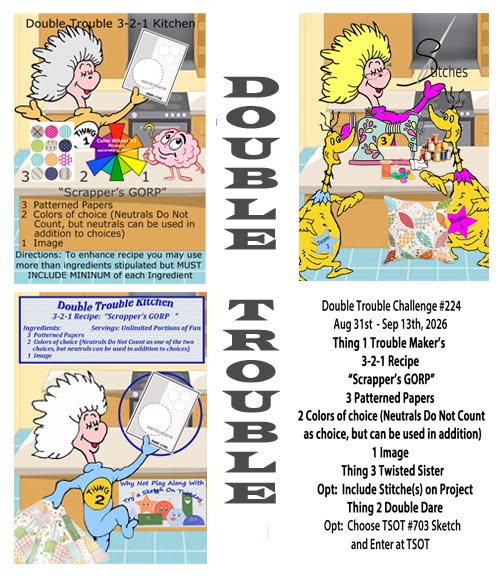
Welcome to challenge #218, here at Double Trouble. The current recipe is as follows: 3 – Washi Tape or paper scraps, 2- die cut elements, 1- Masculine project, Thing 3 is the option to use any element pertaining to your guy and Thing 2 is the usual Double Dare to use the sketch and enter into TSOT. Note that entering here means you need to take care not to back link your project.

As you can see I used a combination of inked paper scraps and Washi tape for my background. My Washi tapes are really old and why they are still around, is because I find they don’t stick well and often peel. As I type I can see some of it is lifting so I shall have to glue the ends in a minute. My die cut tool elements double as both masculine and the my guy option, because this card is intended for a friend who is always playing with tools and handyman work. As well there are 2 other die cuts with the glitter circle and speech bubble.

The tools come from a die set from MFT, and I cut them twice to have enough to glue around the circle. The sentiment is from GKD and the heart stamp is from Simple Stories. I used a scrap piece of gray CS and some silver scrap to cut the tools. I used Black Soot ink for the sentiment and then heat embossed it and the hearts were added almost as an after thought.

Now it is your turn and we look forward to seeing your makes in the gallery. Above all have fun. Many thanks for stopping by, your time and comments are greatly appreciated.

Jungle Blooms

If I am honest, I’m not at all sure I like this card although as often happens it may grow on me. I’m not sure why I feel this way about it, maybe it’s the splatter or my less than stellar stenciling? Oh well, it’s an entry into a colour challenge – Color Hues # 134 Pink and Turquoise and I did my best.

To make it, I used a few dies from my Spellbinders Weekender kit, most of them coming from the Tiki Toucan set. The slatted arch is from Craft Addiction and the sentiment is another Spellbinders as is the die that cut it.

I used the stencil set from the kit, first time I’ve done any layering stenciling and although far from perfect, it’s not a bad effort. When the piece was dry I cut it a little smaller and then added to the pink card front. Before I added it I used a little of the Picket Fence splatter paint but I think I went a bit mad. The flowers and leaves were cut from bits and pieces of scrap CS in close tones of the colours after which I inked each of them to give more impact. I played around with placement before adhering anything and managed to wind the little hanging vine pieces in between the flowers without messing it all up. I stamped the Hello with VersaMark ink and heat embossed white, but now I think I should have done it in black as it would show a little better. Using some embellishments from my stash I added a few here and there.

Now that I have opened up all the different die and stamp sets, I am about to put them away properly. Already I found a die I used yesterday underneath my machine instead of with the set and if I delay any of this I could lose some of the small pieces. Thankfully I have magnets and envelopes to put them in so I can label and add the graphics that show what each set contains and how they layer.

Thanks for stopping by, I appreciate you and your time.

Pocket Card with Tag

Welcome to challenge #277 here at Cardz 4 Galz and Billie A has chosen the theme of Brown and Green with twine/ribbon.

For my card, I have used some patterned CS from CTMH that I have had for a very long time. I scored diagonally so I could fold the corner as you see in the photo. And I also added another strip of the PP. This layer was then added to the Kraft card front. Using some beige paper and a Kokorosa tag shaped die I cut the piece to place inside the pocket. The die was for cutting a more rounded shape, but I only wanted the top portion. I only partially cut it and then used scissors to cut the rest. Using my new stamp set from Simple Stories I added the film strip to the tag and used the additional stamps in each section. There is space on the back for me to add a more personal message. The organza ribbon was added at the top.

Using a scrap of dark green CS and a stamp/die set from Spellbinders I stamped the sentiment, die cut it and added as you see. I finished the card with some green embellishments. This card is intended for one of my B.I.L’s who always enjoys my makes.

We look forward to seeing your creations in our gallery and hope you have fun as you create. Many thanks for joining me today, you and your time are appreciated.

Challenge #217 – 8th Anniversary

Welcome to our 3-2-1 recipe challenge and in this case you are to choose your Celebratory Raffle ticket and create a card using the theme that is part of your ticket. Thing 1 – choose your ticket colour, Yellow -anniversary/wedding, pink – birthday, Blue – masculine/ fathers day and green – graduation. Thing 3 is the option to use Kraft paper or like Thing 2. Thing 2 is a double dare to play along in the TSOT sketch #696. Take care not to back link when adding to TSOT.

As I need a card for a little girl who loves cats, I chose a PINK raffle – birthday theme and made the one shown here. The little cat is cut from some Kraft paper using a Kokorosa die set and I enhanced it with a bit of shading using ink. I added colour for the eyes, ears and nose using pencils. The rabbit was stamped using a Penny Black set, coloured with pencils and then fussy cut. The heart piece is from a store bought card that I received and saved. The blind uses another Kokorosa die and was cut from some scrap blue CS. The die didn’t cut well so I had to use a knife in a few places which meant it isn’t as clean cut as it should be. It is disappointing when a die doesn’t cut well and I tried on several pieces of paper and all had the same problem so it wasn’t the card stock I was using nor the pressure on the machine.

I added a lighter blue gray card layer to hold the blind and then added the cat as you see. The rabbit was added with some foam tape as was the heart. To hide the rough edges at the side of the piece I added some StampinUP embellishments. This was then added to the card base.

Now it is your turn and we look forward to seeing what you do. Above all have fun creating. Thanks for taking a look and also for any comments you may leave.

Splatter

In many ways I had no idea what I might do for the latest Double D challenge which is a SPLATTER Challenge. I looked at a lot of different card ideas, but nothing really spoke to me. In the end I decided to just fool around a bit and this card is the result of playing.

I used several stamps from my Crafters Companion set that is still on my desk. Choosing the floral silhouette image, I decided to ink it half way in green, stamped along the bottom of the panel, then I cleaned the stamp and using a purple ink I stamped the top part of the flowers. This looked okay to me so I chose another of the small stamps in this set and stamped the butterfly twice. Using a splatter image stamp which I tested on a piece of paper first, I then stamped in various places above the flowers. While doing this I remembered an incentive set from GKD that was also about paint splotches and splatter and I pulled out the splatter one testing it first on a separate scrap piece to make sure the yellow was the right tone. In my head I was thinking it might look a bit like sunshine. The sentiment was stamped and heat embossed clear. I added a little Distress spray and some shimmer on top. I also used a sponge around the edges of the layer before adding it to the card base.

This ended up being better than I expected considering I had no clear plan in my head when I started. It’s a lot like a mixed media card and I quite like the look that occurred. Easy to mail as well because there are no dimensional pieces to it.

We had a crew of people here earlier as they were scheduled to pressure wash the outside of the house and then do the windows inside and out. The back of our home is all windows and mostly they are 10 feet tall. Makes the house beautiful but too much for me to clean myself and I detest cleaning glass anyway. We also have 3 ceiling fans and the blades on those were quite dusty, so they kindly cleaned them for me. Not really their job, but they did it anyway as a favour. I’m now trying to catch up on other chores like laundry which was delayed due to the pressure washing. Being on a well, means we have to ensure that the pump can handle the load. Next year I shall try to schedule for a day that isn’t a laundry one. It is quite amazing to see clearly outside now the windows are sparkling.

Thanks for spending time with me today, it is appreciated.

Upcycled Store Bought Card

Our lovely neighbors gave us a card at Christmas and I simply couldn’t throw it away. Instead I upcycled it to what you see here. I had seen Frenchie Stamps do a tutorial on making a card like this so I searched and followed the instructions.

Initially I had an issue as I couldn’t seem to get things to fit. I set it aside partially complete. Over time I have discovered that sometimes my brain needs to percolate, without my being aware of the thinking. A week later I took another look, realized what was wrong and hey presto my card was done. The foiled sentiment strip is from a package by Open Studio.

The last of the folds isn’t quite right as I glued it a bit too tight, but only I, and now you, know this. The recipient won’t realize unless I point it out. It folds flat and my hope is that the postage won’t be more than the usual fees. There is a line of sparkle in the snow so I didn’t have to add anything more to it.

Thanks for stopping by, I appreciate you and your time. I also appreciate any comments you may leave for me.

Seeing Double

A while back, one of my Dragonboat paddling friends arrived at practice with a box of pre assembled craft items as a thank you gift to me. Until today I hadn’t tried to use any of them, but the flowers you see here work well on the latest challenge from Sunday Stamps.

The background PP is from a new paper pad I simply couldn’t resist buying and is by Crafter’s Companion. The lattice look die cuts are from a Spellbinders set that makes plaid if all 3 dies are used and the background for these was cut using a set from StampinUP. The oval sentiment die is from YNS I think and the sentiment is from Spellbinders which I heat set, and added foam dimension before adhering. The little hearts were leftovers and these are from an unbranded die set.

My original intention was to use another product purchased recently, but I can’t find it at the moment. I’ve been trying to tidy up a few things, but I’ve not managed to complete the task and I’m sure what I was looking for is buried temporarily. And the mess isn’t helped by a new kit from Spellbinders for their upcoming Weekender sessions. Its an early birthday gift from my hubby and I’ve unboxed the kit but haven’t put it in any order yet.

I’m grateful to complete a card this afternoon as my eyes are not focussing well after an eye check earlier today. Thanks for stopping by, I appreciate you and your time.

Seize the Birthday #326-Feature an Animal

I sure hope my sheep image is front and center enough for this challenge. The image and sentiment came from Art Impressions and I used watercolour pencils after heat embossing it. I did stamp the image on water colour paper in order to be able to use water colour pencils.

The oval aperture was cut using a CraftAddictions die set and I added some watercolour to the die cut oval, but then decided to add a rub on transfer from 49 and Market on top. All the leaves came from an older Hero Arts kit and were water coloured as well. I couldn’t find the die set I originally planned on using, which would have been more in keeping with the transfer, but in the end I quite like the quirkiness of having jungle leaves with a sheep and pine branch image. Its ridiculous but amuses me. And the sheep image is in itself quirky and fun.

Foam tape was used on the top layer to lift it from the oval shape below and to allow room for adding the jungle leaves. The stitched oval was added flat, but I did add dimension behind the sheep so the card has a 3D look and feel.

The card will be added to Seize the Birthday for their current challenge. Thanks for stopping by, I appreciate you, your time and any comments you may leave for me. Hope you all have a great weekend. It is Victoria Day here in Canada, with many families enjoying an additional day with family.

Beside the Sea Vacation Time

It seems a couple of challenge blogs have a water or beach type scene as their challenges at the moment. When I first created my post for the As You See It challenge, my original intention was to do something similar to this post, but my brain went in a totally different direction that day. In the meantime the Card Concept came up with a new challenge that was nautical in nature and my brain went back to this idea. I think my card fits into their Clean and Layered definition. And because I used a stamp set from GKD that I’ve had forever and not used in recent years, I dragged it out to use here and that qualifies the card for the challenge at The Neglected Stuff. Believe it or not, the sentiment stamp had never seen ink until today.

The small gold squares were leftover pieces from a post I did a while ago and my new Memory Box nested squares arrived the other day, so I chose one slightly smaller than these and using some scraps I die cut the next layer. I added them together and set aside while I did the next few steps. Taking a wave folder from StampinUp I embossed the white layer and cut it down so it was slightly smaller than the card front. Then I carefully added the squares doing my best to keep them centered and straight. Once ready I added it to the card front. Then using a few stamps from the set, I stamped the fish and star fish using Black Soot ink and heat embossed clear, doing the same with the sentiment. I coloured these images with Prisma pencils using an alcohol blending pen to smooth out the colours. Once fussy cut I added them as you see. I felt the fish needed a bit extra so I die cut some seaweed using another Memory Box die set. I matched the sentiment piece to the others using a scrap piece of the same gold CS. The tiny embellishments were added and the card was complete.

When taking the photograph I had some issues with how the light was on the card and I can see here that the embossing isn’t as visible in the picture as it is in reality. This 3D folder has quite a visual impact usually.

Thanks for spending time with me today, I appreciate that you take the time to look and comment.