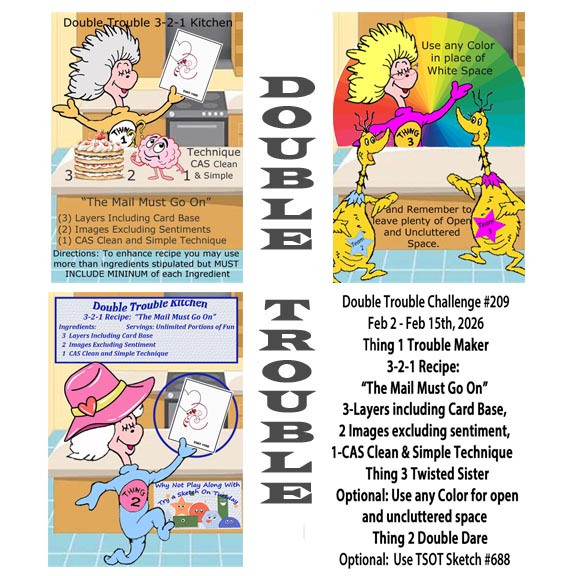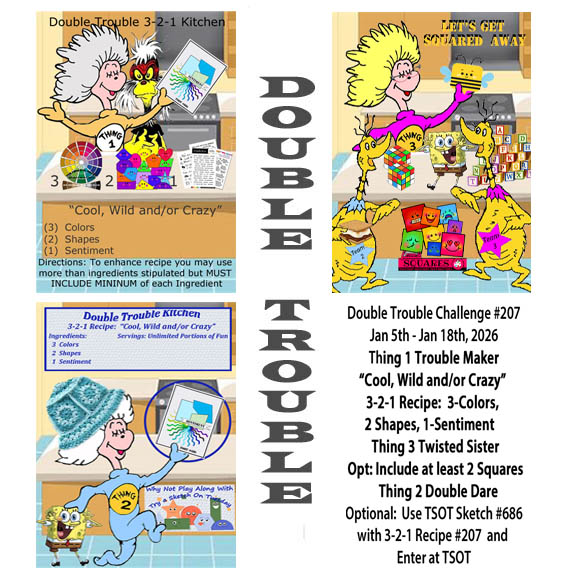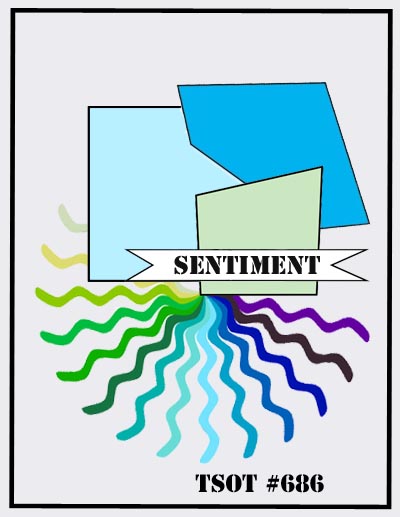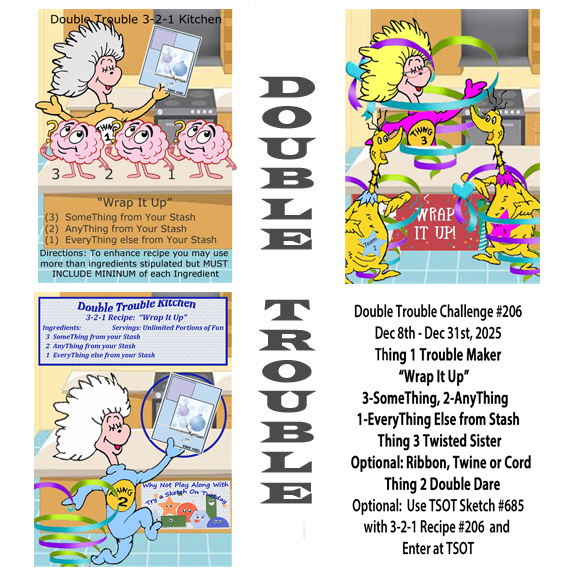
Hello again from Double Trouble where challenge #209 awaits you. Our recipe this time is 3- layers, including the card base, 2 images excluding the sentiment and to use a CAS style. You can use any colour but I personally prefer CAS with white space so that is what I used. As always you are welcome to to use the sketch from TSOT, but be careful not to backlink.
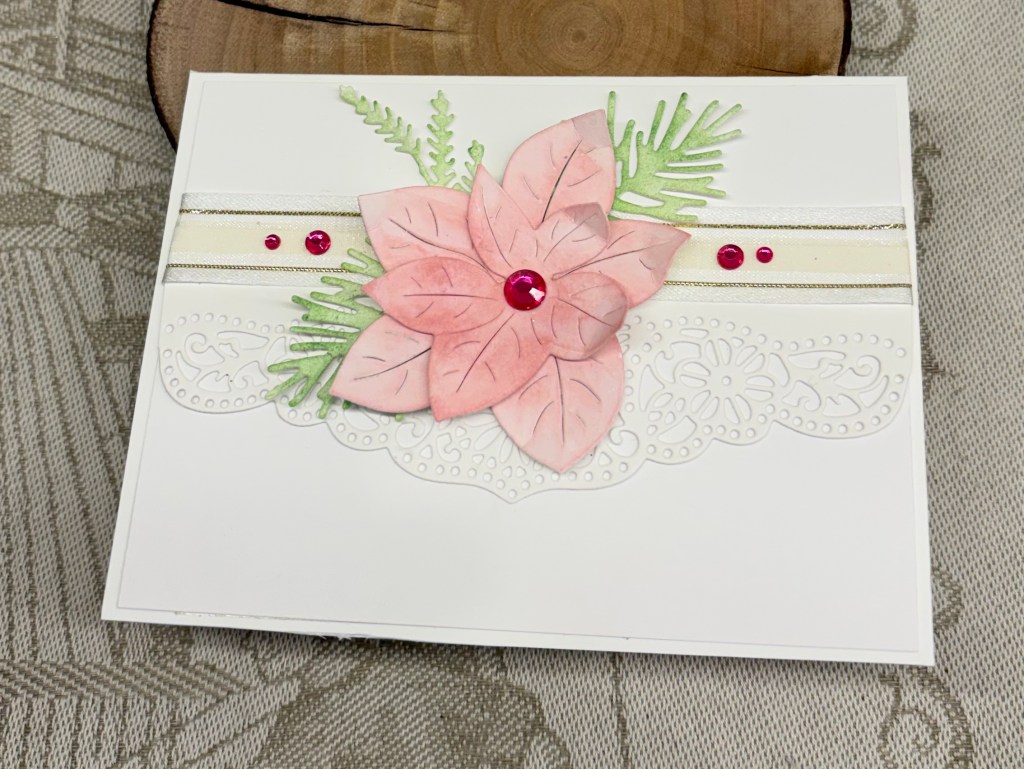
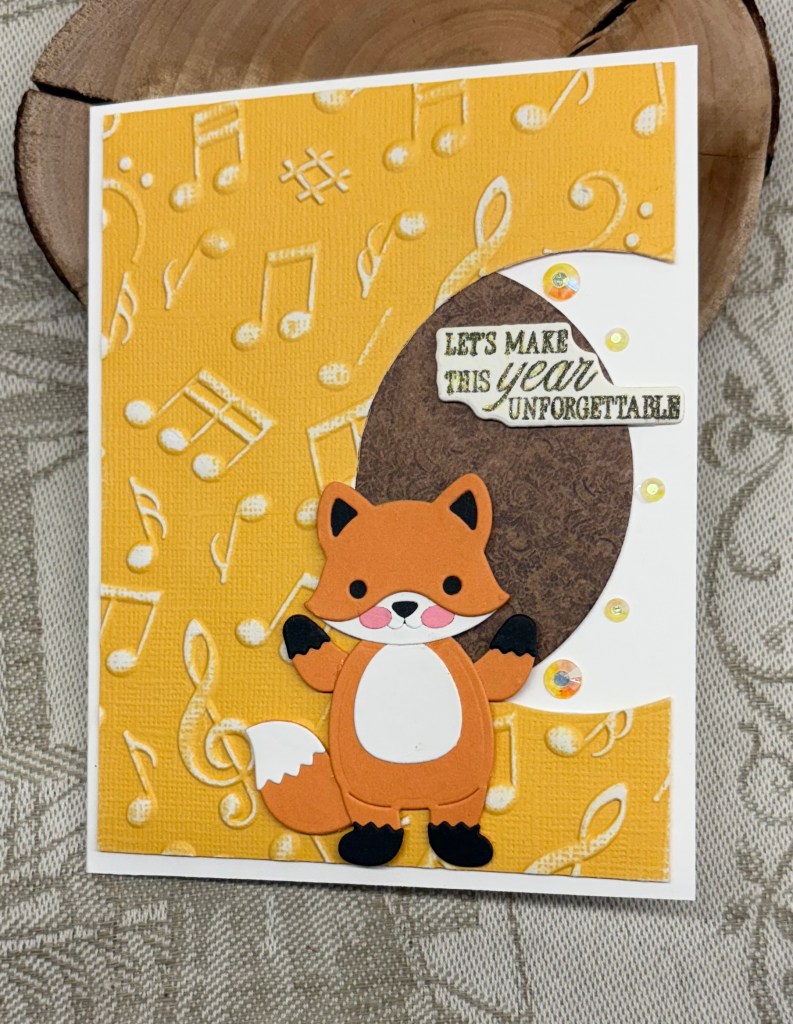
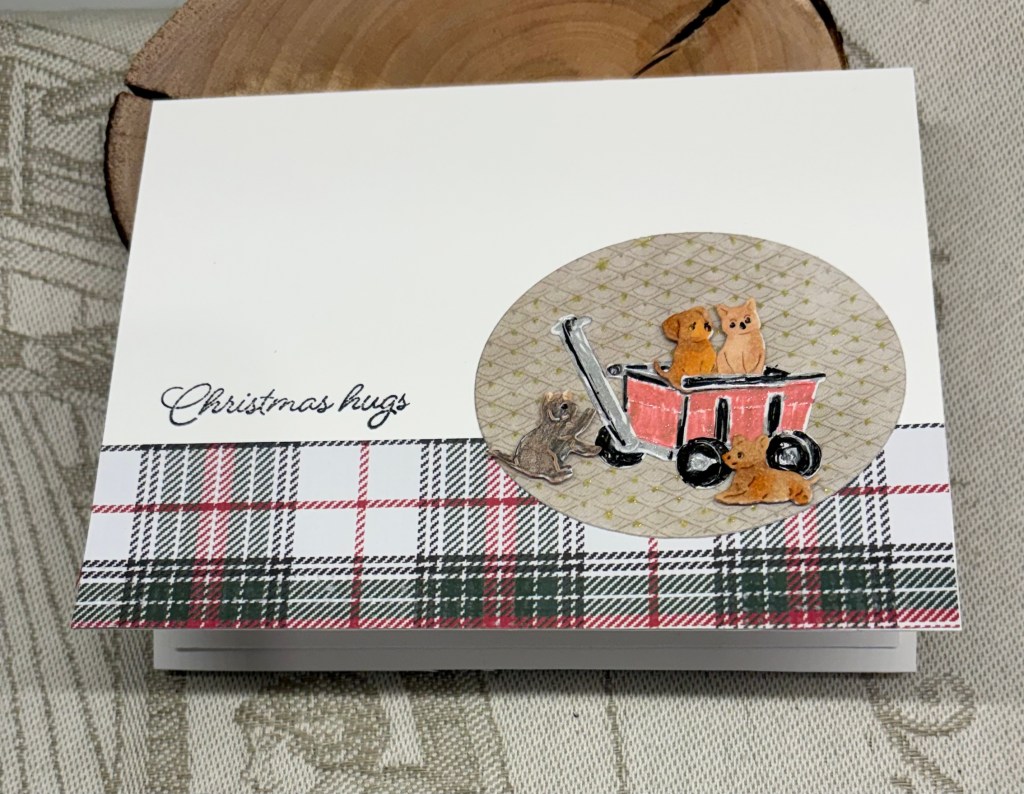
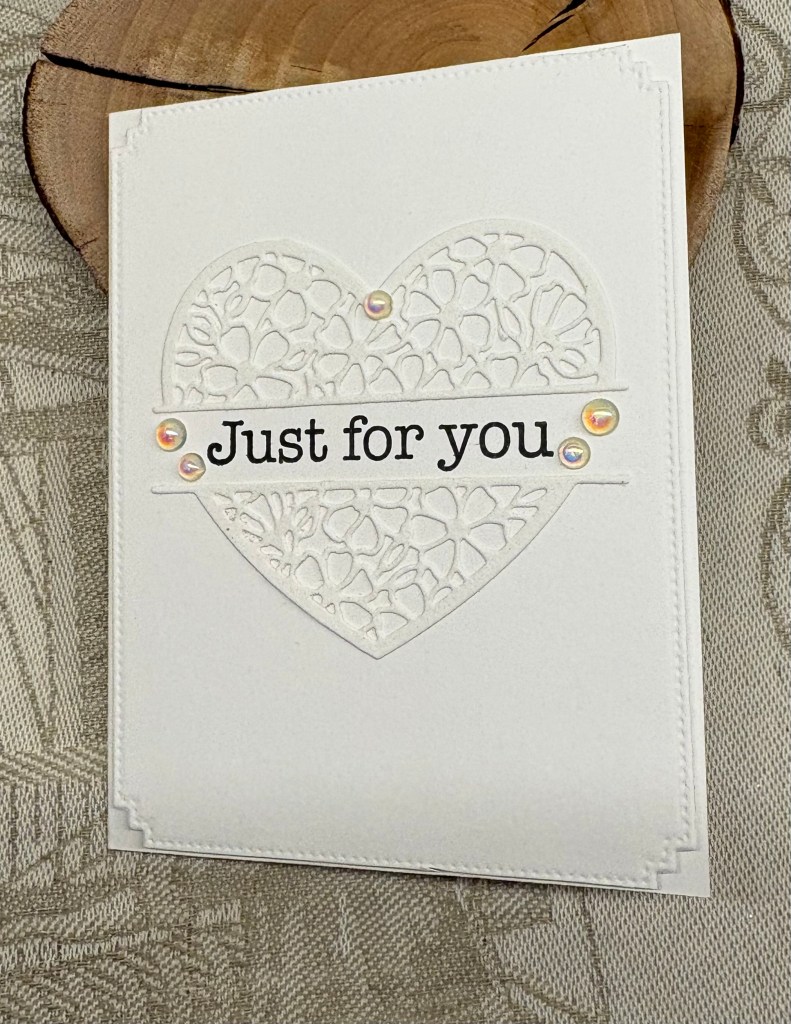
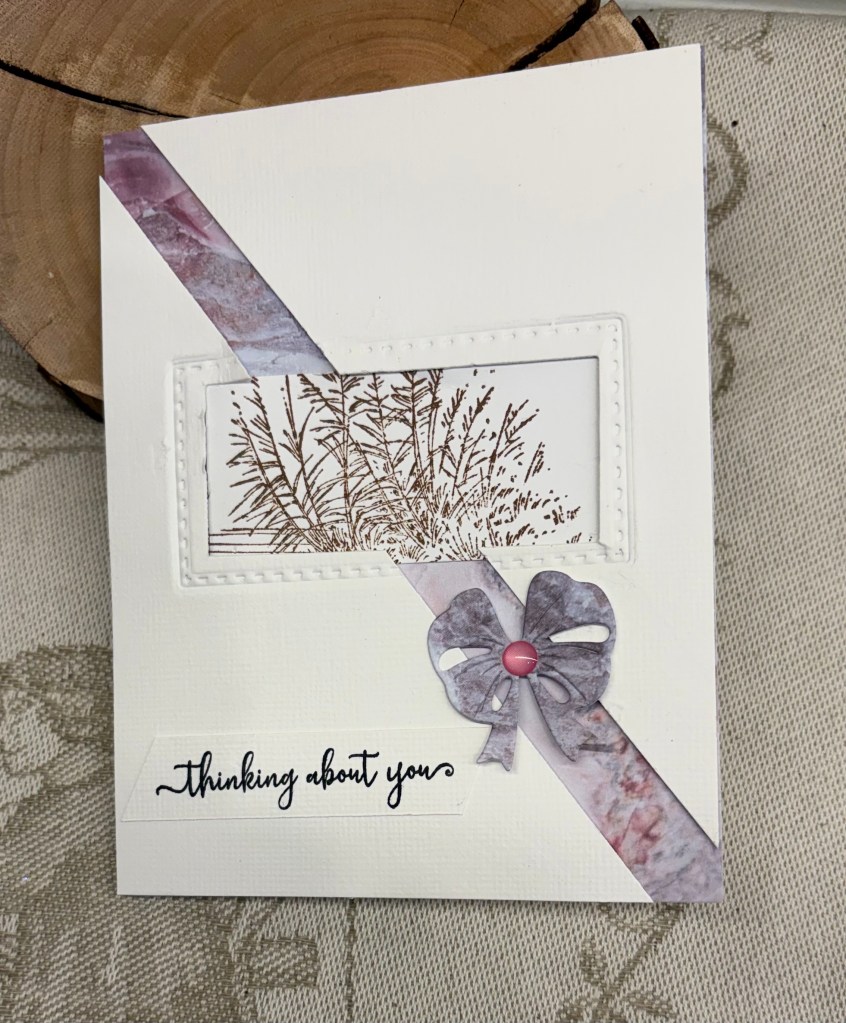
For my card I used a regular card base and added a layer of patterned paper. On a separate piece I stamped my image using a stamp from Nellie Snellen, which is bigger stamp but I only used a small section of it when it was dry enough to cut. I used an unbranded rectangular die set to cut the aperture from a linen look CS and embossed the edges of the frame. I cut the piece diagonally added foam tape and then adhered it on top of the pattern piece. I inserted the stamped image into the frame and added a die cut bow which is my second image and gives me a total of 4 layers as well. One small embellishment on the bow and a sentiment strip finishes the card. The sentiment is from Creative Expressions I think. The label on the storage pocket is damaged so I’m not 100% sure.
I have a friend who is struggling a little at the moment so this card will go to her. Thanks so much for stopping by, I appreciate you, your time and any comments you leave for me. We look forward to seeing your creations in our gallery – Good Luck.