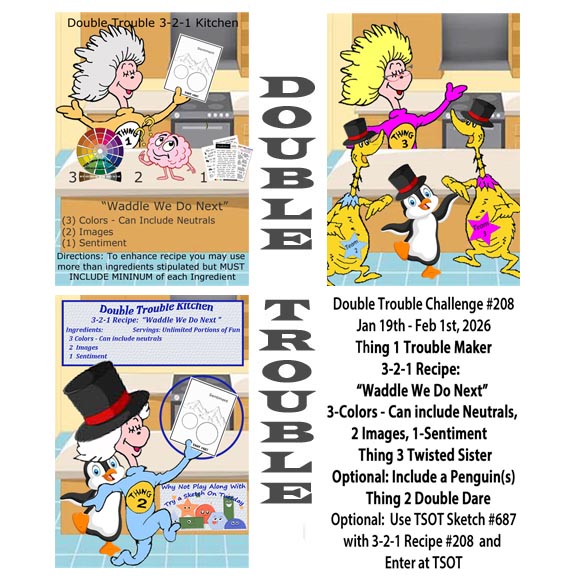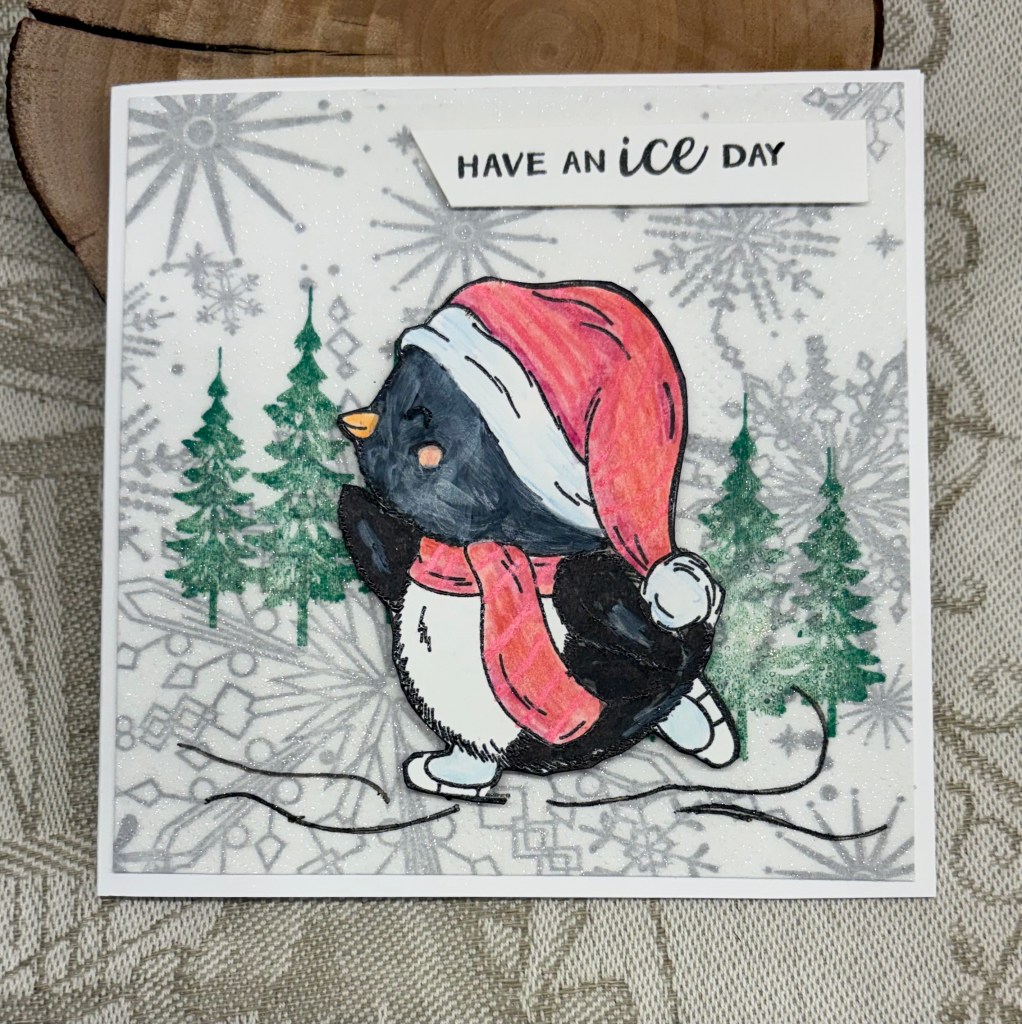
Welcome back to a new challenge here at Double Trouble. Our 3-2-1 recipe Waddle We Do Next, is asking for 3 colours, 2 images, 1 Sentiment, with a twisted sister dare of adding a Penguin. In addition you may enter your card into our sister challenge at TSOT, but ensure you don’t accidentally back link.
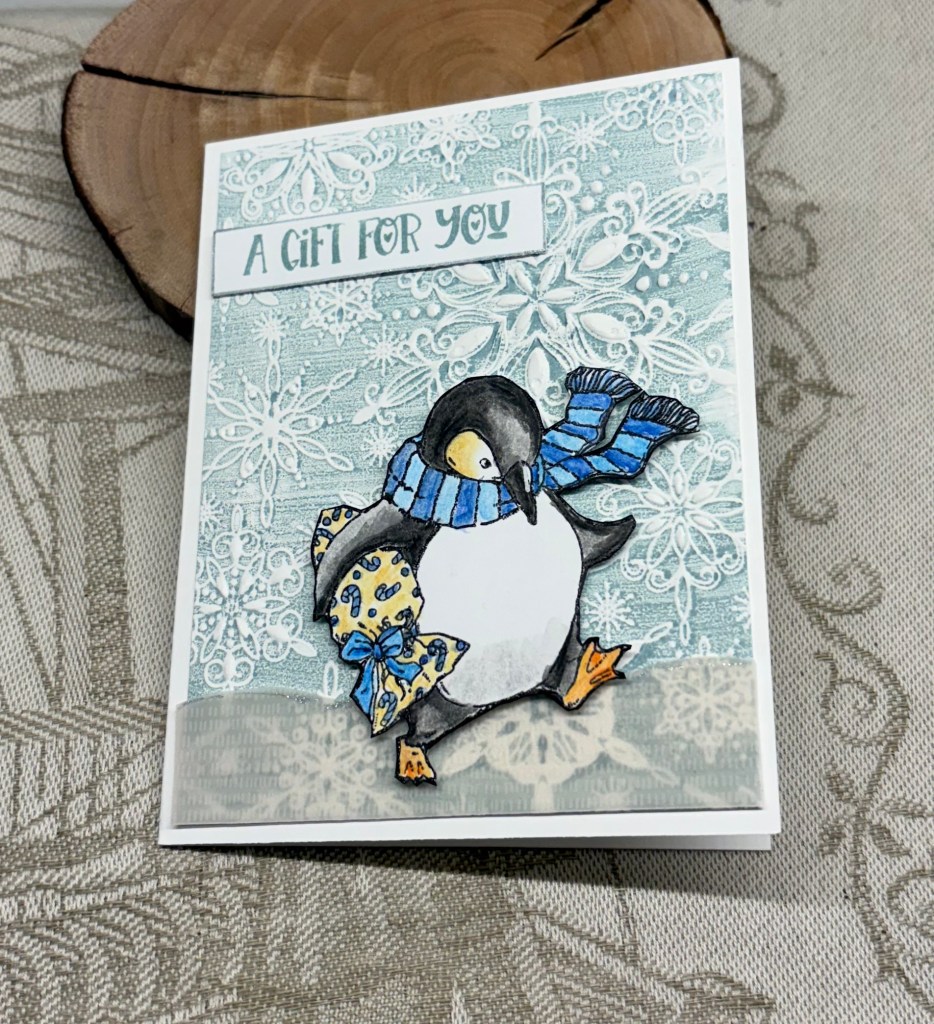
My two images are in fact the trees and the penguin who I felt needed his space to shine. My background uses part of a Christmas napkin that I added to card stock and spritzed with glitter spray. I stamped, (from GKD) the trees directly on top. The penguin is from a Crafters Companion set, as is the sentiment. When he was stamped I used clear heat embossing before proceeding to colour him. My colours are green, red, orange-his beak, pink for his cheek and pale blue for his ice boots and to add some shading to his hat. I used a copic marker on his body along with a Pitt pen here and there and I also added some stripes to his hat and scarf using a Posca pen. The background truly sparkles in reality but the photo doesn’t pick it up.
My card doesn’t follow the sketch exactly but is kind of close. It will be a good one for a winter birthday of which a few are coming up.
Thanks for stopping by to take a look. You and your comments are appreciated.