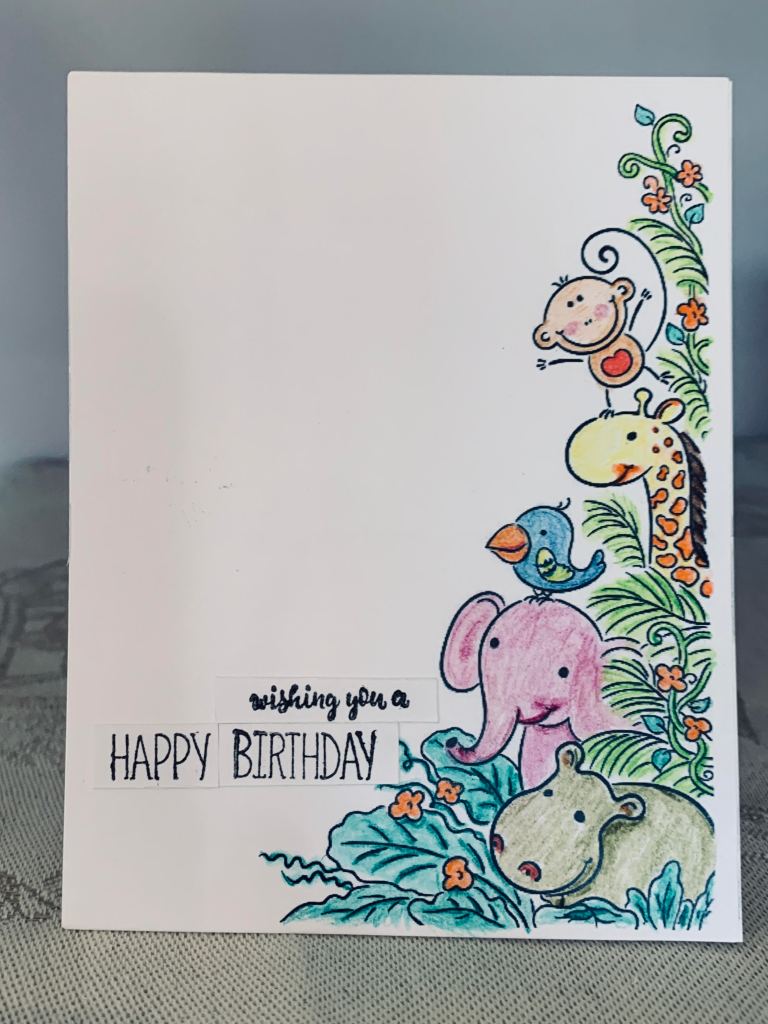
This cute digi was found on Pinterest as a freebie so I decided to use it for this challenge. I resized it a bit in CorelDraw and then printed it onto some cs. Using mostly Inktense pencils, along with one or two copics I coloured all the elements until I was happy with them. The sentiment is combination of several stamps from SSS which I put together after cutting each one to the correct size. I glued these to the card front. This was kept very simple and is for the most part a one layer card. I thought of adding some bling but decided it didn’t need any embellishment.
My card uses the middle line – insect, flowers and woodgrain and it also includes the double dare as it has bling added too. I started with one of my new Taylored Expressions layering stencils called Hexagon and after adding the mask I proceeded to ink up the panel using Distress Oxides. Once that was done I took a Sissix EB folder and dry embossed the bark wood grain. On another piece I stamped the daisies from a GKD set called Daisy Delight and coloured them with a mix of pencils and Copics. When happy I fussy cut them out. Added a few bits of foam at the back and then onto card front. From the same set I used the ladybug stamp, fussy cut and then added in the corner. Sentiment was stamped onto a sss says banner die and I found a small paper bow in my stash and added that to the flower stems. A few gems for flower centers and a pearl on the bow and the card was complete.
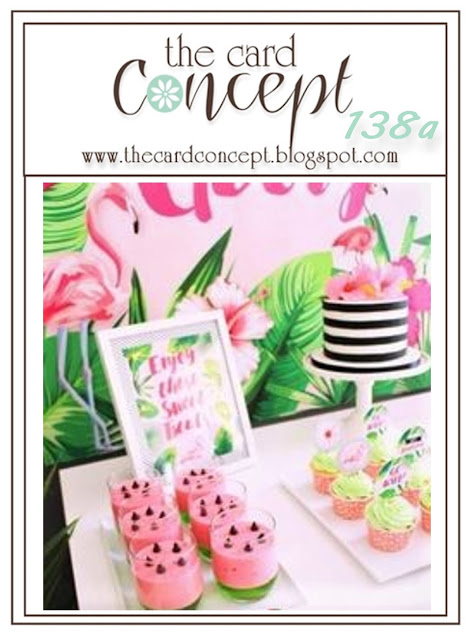
My idea to create this card was to fill the divided space with sweet things. All images have been fussy cut after colouring and I used several stamp sets for the images. 3 sets are from GKD and one stamp is from CTMH. I used some left over cut strips to divide up my card and tried to get even spacing considering that anything to do with numbers is not my forte. Coffee, cake and sweet wishes go together in my book. There is a bit of glitter on the card that doesn’t show in the photo. The card base is gray from SSS.
In trying out my new Yasutomo mineral paper I created this background. First I inked it completely with various blues and then I added the look of the Aurora Borealis with other inks and by swiping. Using a star stencil, made by my stamping buddy Bonnie, and a squeezed out baby wipe, I placed the stencil and basically wiped off the colour through the stencil. When it was completely dry I mounted it on top of the blue foil and added it to the card front. The birch trees were cut from a distressed foil piece I made a few weeks ago and after adding some dimensionals in strategic places I added it to the side. I let it sit for a day or two because I wasn’t sure which direction I wanted to go next. After some thinking and going through my stamps I decided on adding some falling stars and I stamped these with a set from GKD called All Stars. I added some shine with opal blaze and then added some Nuvo Chrystal drops to the top. I pierced each star to make a hole and added some gold cord through the holes to make them seem as if they are falling out of the tree. Sentiment is from same set and I fussy cut the words to make them fit on the tree. They also have some sparkle and dimension. I figure this card could qualify as a Christmas card so it will get added to that small stash.
After my new goodies arrived I was eager to try them out. Firstly I had bought a couple of Taylored Expressions stencils as well as some paper I had read about and wanted to try. The paper is by Yasutomo and is a mineral paper. The beauty of it is that you can wipe it clean if you don’t like the results. It is very different, but for some things I think a fun product to have. Haven’t tried stamping on it yet.
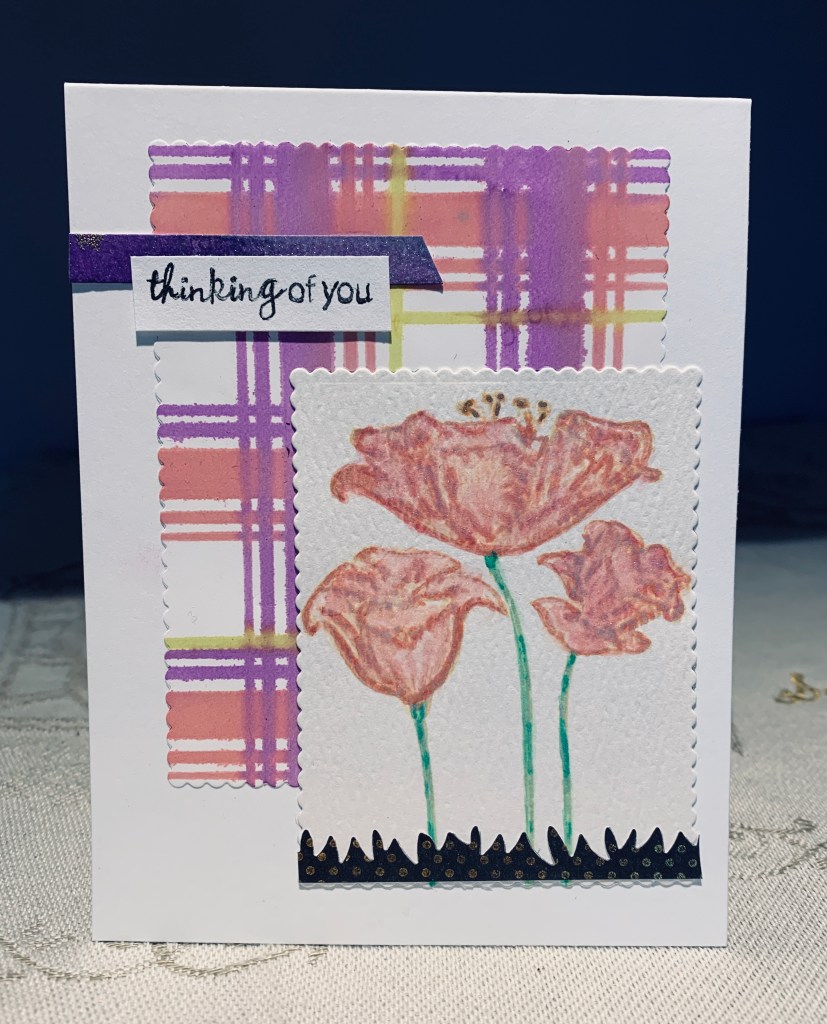
Using a template given as a freebie by Susie Moore with her clear instructions it was really easy to play at making some plaid. When happy with my plaid and sure it was dry, I cut it with a scallop die and glued to my card front. Taking a small piece of water colour paper I stamped the flower image with my new MFT fine lined floral using antique rose distress ink. Then when that was dry I took my pastel Tombow markers and coloured over those lines spreading the colour with a bit of water. I used 2 different pinks and some green for this step. The stamens were done with a gold pen, then I took a shimmery water colour and added that over the top so that the flowers have a lovely shine to them when card is tilted a bit. Can’t get that showing in the photo. I cut this piece down quite a bit using another of the scallop dies and then grounded the stems with a scrap piece of pp that was already cut into a grass shape. The sentiment is from CTMH and I hung it off a tiny strip of water coloured paper that I had left over from something made long ago. This was fun to make and to get the result I hoped for.
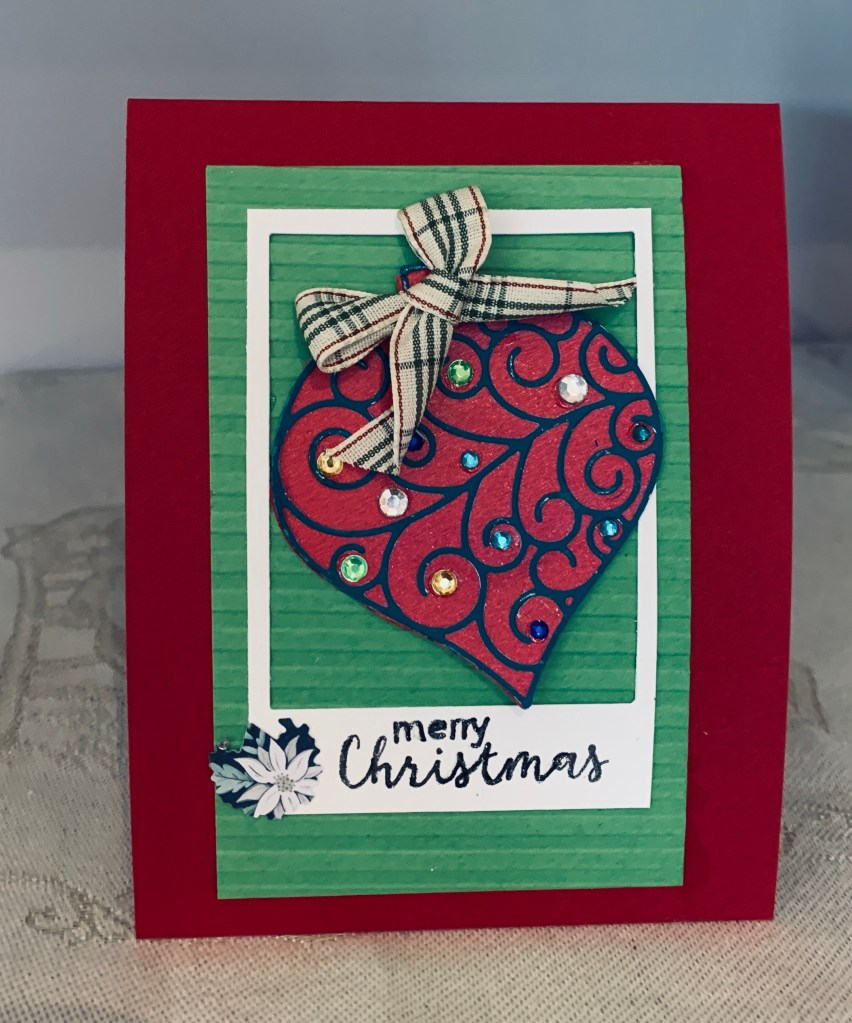
When die cutting the outline for the ornament for another project I messed it up trying to get it out of the die. I had to cut a second one and still had this piece on my desk. I fixed it a bit and glued it on top of the red solid shape. Then to hide the torn bits I added gems. It sat on my desk for about 10 days as I wasn’t inspired to use it immediately. I had the ribbon also on my desk and was about to put it away when I thought of adding a bow to the ornament. Then it sat around for a days more. The frame was another scrap that I was thinking about trying to use and by accident it slid underneath the ornament. My mind said Hmmm … I wonder if … I found the scrap green cs and dry embossed it. Added it to the red card front and after stamping the sentiment to the frame I added that on top of the green panel. The tiny poinsettia is a fussy cut bit from a scrap of dsp. Sentiment is from a GKD set, the folder is from CTMH but I cannot remember who made the die set and have had it for ages.
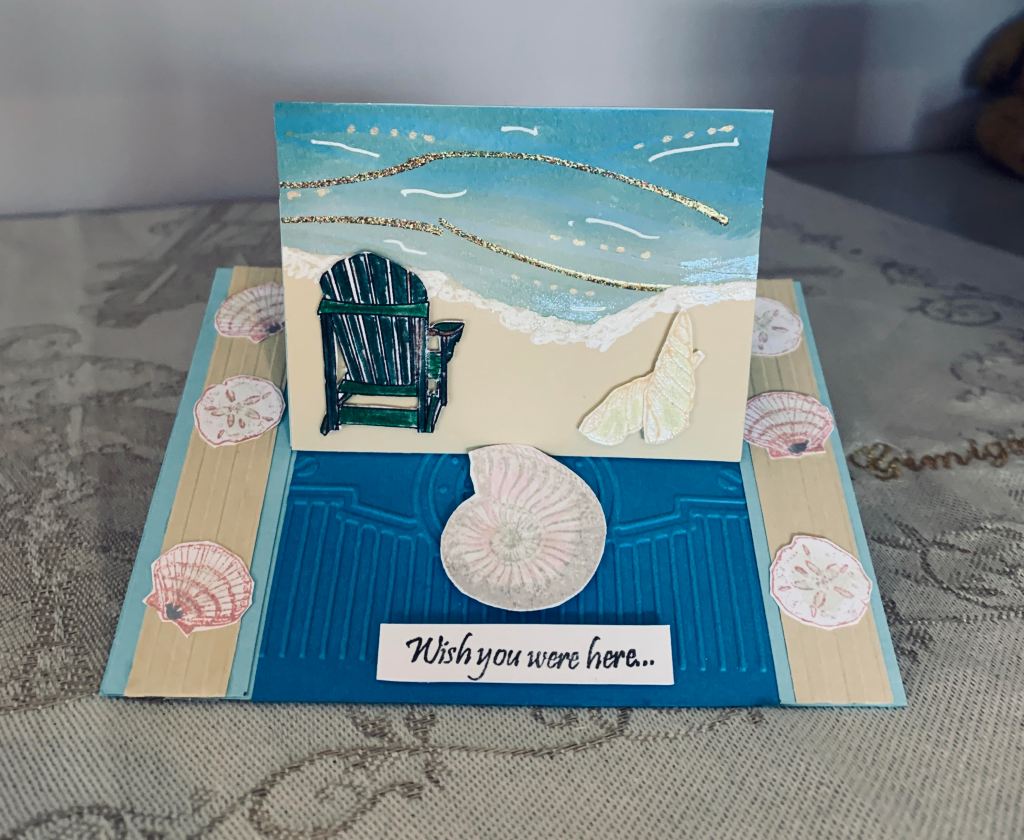
I saw a tutorial recently on a blog and stupidly I forgot to bookmark it so cannot give credit to the person. Anyway it inspired me to make this card which folds flat for mailing but weighs nothing. I had already made the sea portion and this was a small torn off piece that I didn’t want to throw away. This design was the perfect way to use it. I added it to a small piece of cream cs and then added the fussy cut beach chair. Stamp from Inspired by stamping, Seaside set. I embossed the darker blue piece for going underneath and embossed two strips of cream cs for the sides. The large shell came from a Hero Arts set and the smaller shells from a GKD set and all of those I fussy cut before gluing on. I used some opal blaze on all the shells so they have shine and sparkle. The larger shell is popped up so that the easel part will stand properly. Sentiment is from another GKD set. It looks better in reality than on the photo and I am quite happy with the end result.
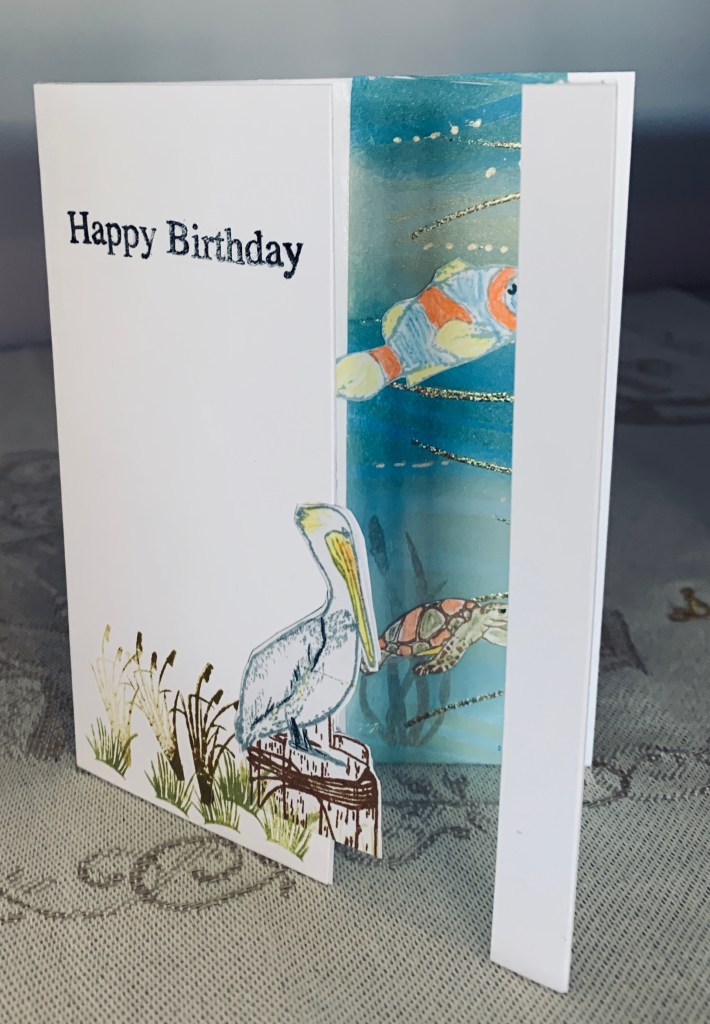
One can interpret the word Sketch in so many ways but I chose to make a window card. I had been wanting to make one of these type cards for a while and figured it would work for the challenge. A few weeks ago I made a background piece based on a book cover I had seen and I had a strip left over. Instead of stamping the part seen through the window I used this left over strip and added a fish and a turtle to it. These stamps came from GKD one called Wetlands and one Under the Sea. I coloured them and fussy cut so I could glue them on top. I created the acetate window by cutting the card front adding the see through behind. To give it some strength I added 2 strips on the outer edge. I stamped the sentiment and heat set it clear. The I stamped the pelican and wooden posts on a scrap piece using an Inspired by Stamping Seaside set and a bit of masking. After colouring him in with pencils I fussy cut this piece and added it to the card front. I also cut another one to glue behind to keep the inside looking tidy. I added a few cattails and grasses as well. Didn’t get quite the effect I imagined here unfortunately and because I didn’t use my Misti I can’t really fix it. I may play a bit more before actually sending this to anyone, but for now I’m leaving it alone because I know if I do anything right now I’m likely to spoil it altogether.
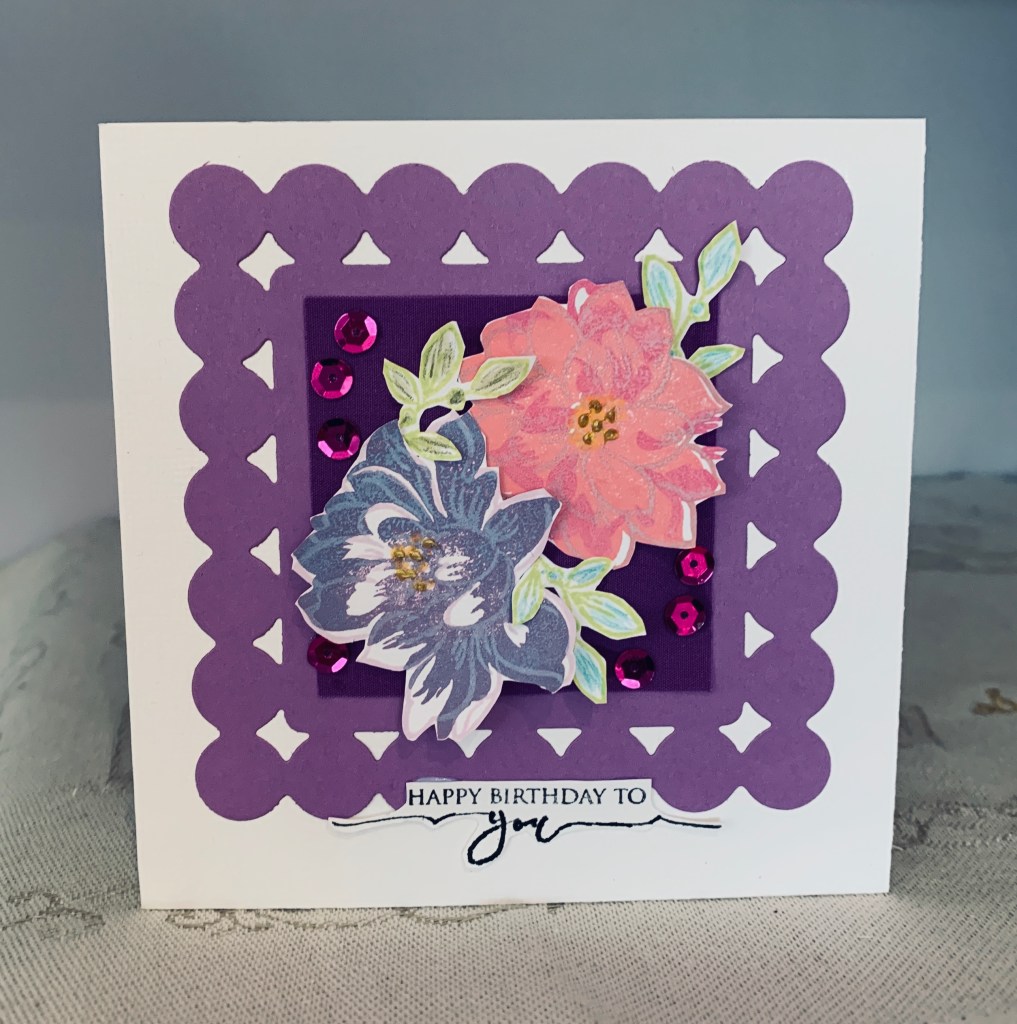
I found this purple piece of fabric in a box the other day along with a couple of pretty paper bits in the same size. I remember getting it years ago in a small kit I purchased through Readers Digest. For some reason I never used these pieces. Anyway I die cut the background using a set purchased in a garage sale. Not sure of brand, but I think possibly Spellbinders, and added the fabric to the center. Using an Altenew stamp set called Sunlit Flowers I stamped the flowers and leaves, fussy cut them. My ink layers need work but the flowers are good enough to use. I popped them on top using dimensionals. Added the sentiment from a GKD set that I fussy cut out and a few sequins to finish it off. My hubby really likes this card, I just think it is okay. I’m never sure why I am not happy with the ink layers on these multi step stamps but mine never look as good as those done by others.
This is the first card I’ve done in a few day due to several reasons, one being busy with our boat and the other a lack of motivation. In my recent order from MFT this cute little stamp was included as a freebie and I bought the die that goes with it. Tried to create some movement in my stamping but I really need to practice the technique a bit more. I coloured it with pencils and added the BOING by hand. Followed the sketch using some gift wrap left over from a long time ago, stamped and cut out the sentiment to go at the top and added some metallic copper to the edges as it matched the copper layer. Added a few gems at the bottom and called it finished.