I love the bold colours of this challenge and while watching a program last night I guess I was thinking about how to make a card. The program was one that had knights and jousting in it and I noticed one of the standards had this blocked background. Decided to try doing something similar for my card.
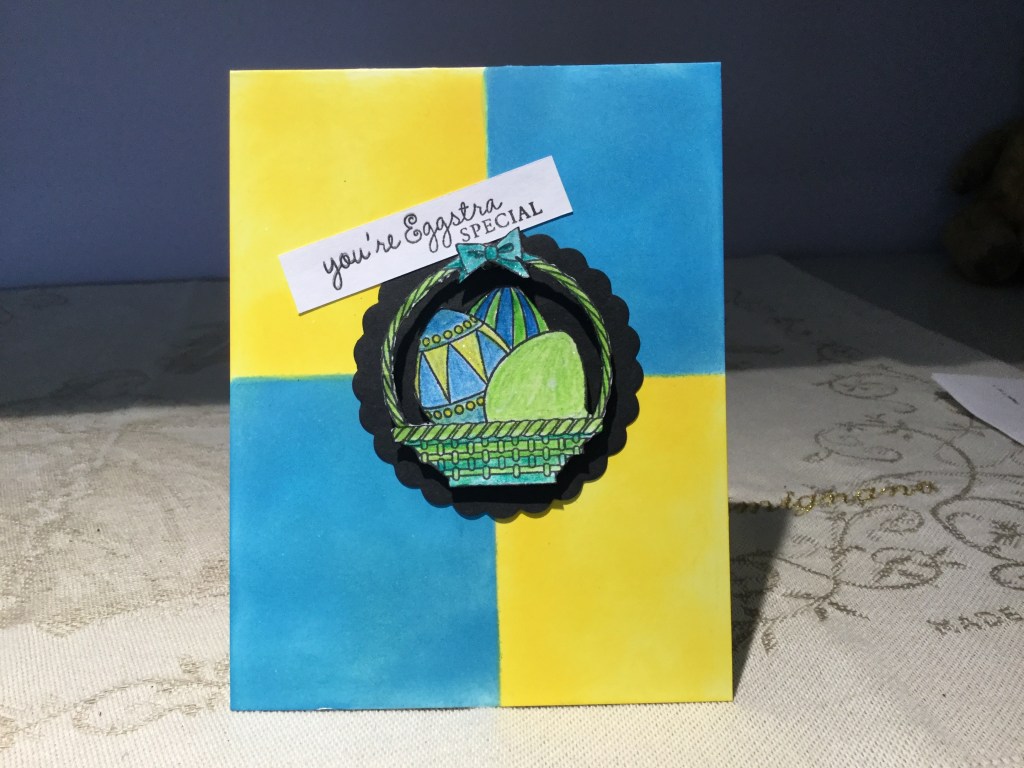
I am not very good at numbers so dividing this card into the correct size blocks was my biggest challenge. In the end I kind of eyeballed it and while not perfect it works. Using some masking I inked each rectangle with two of the challenge colours. Then I stamped the basket and the eggs from a GKD set called Springtime Baskets, on a scrap piece and coloured using my Inktense pencils. I fussy cut this out and added foam tape to the back. Cut a scalloped circle in black and popped the image on top. The sentiment came from the same stamp set and I used this one so if I want to use it as a birthday card I can. I also added some sparkle to the eggs but that doesn’t photograph well. Well I managed to miss the challenge timing, unfortunately so I’m sad.