Feather Fun

This is also more CAS but again more than one layer. I first used a feather stencil and inked in the colour and I then used a distress spray on top before removing the stencil. The second stencil used was a wave stencil and I just sponged on some blue and a bit of green to soften it somewhat. Once dry I cleaned off the ink from the distressed resist part.

Thanks

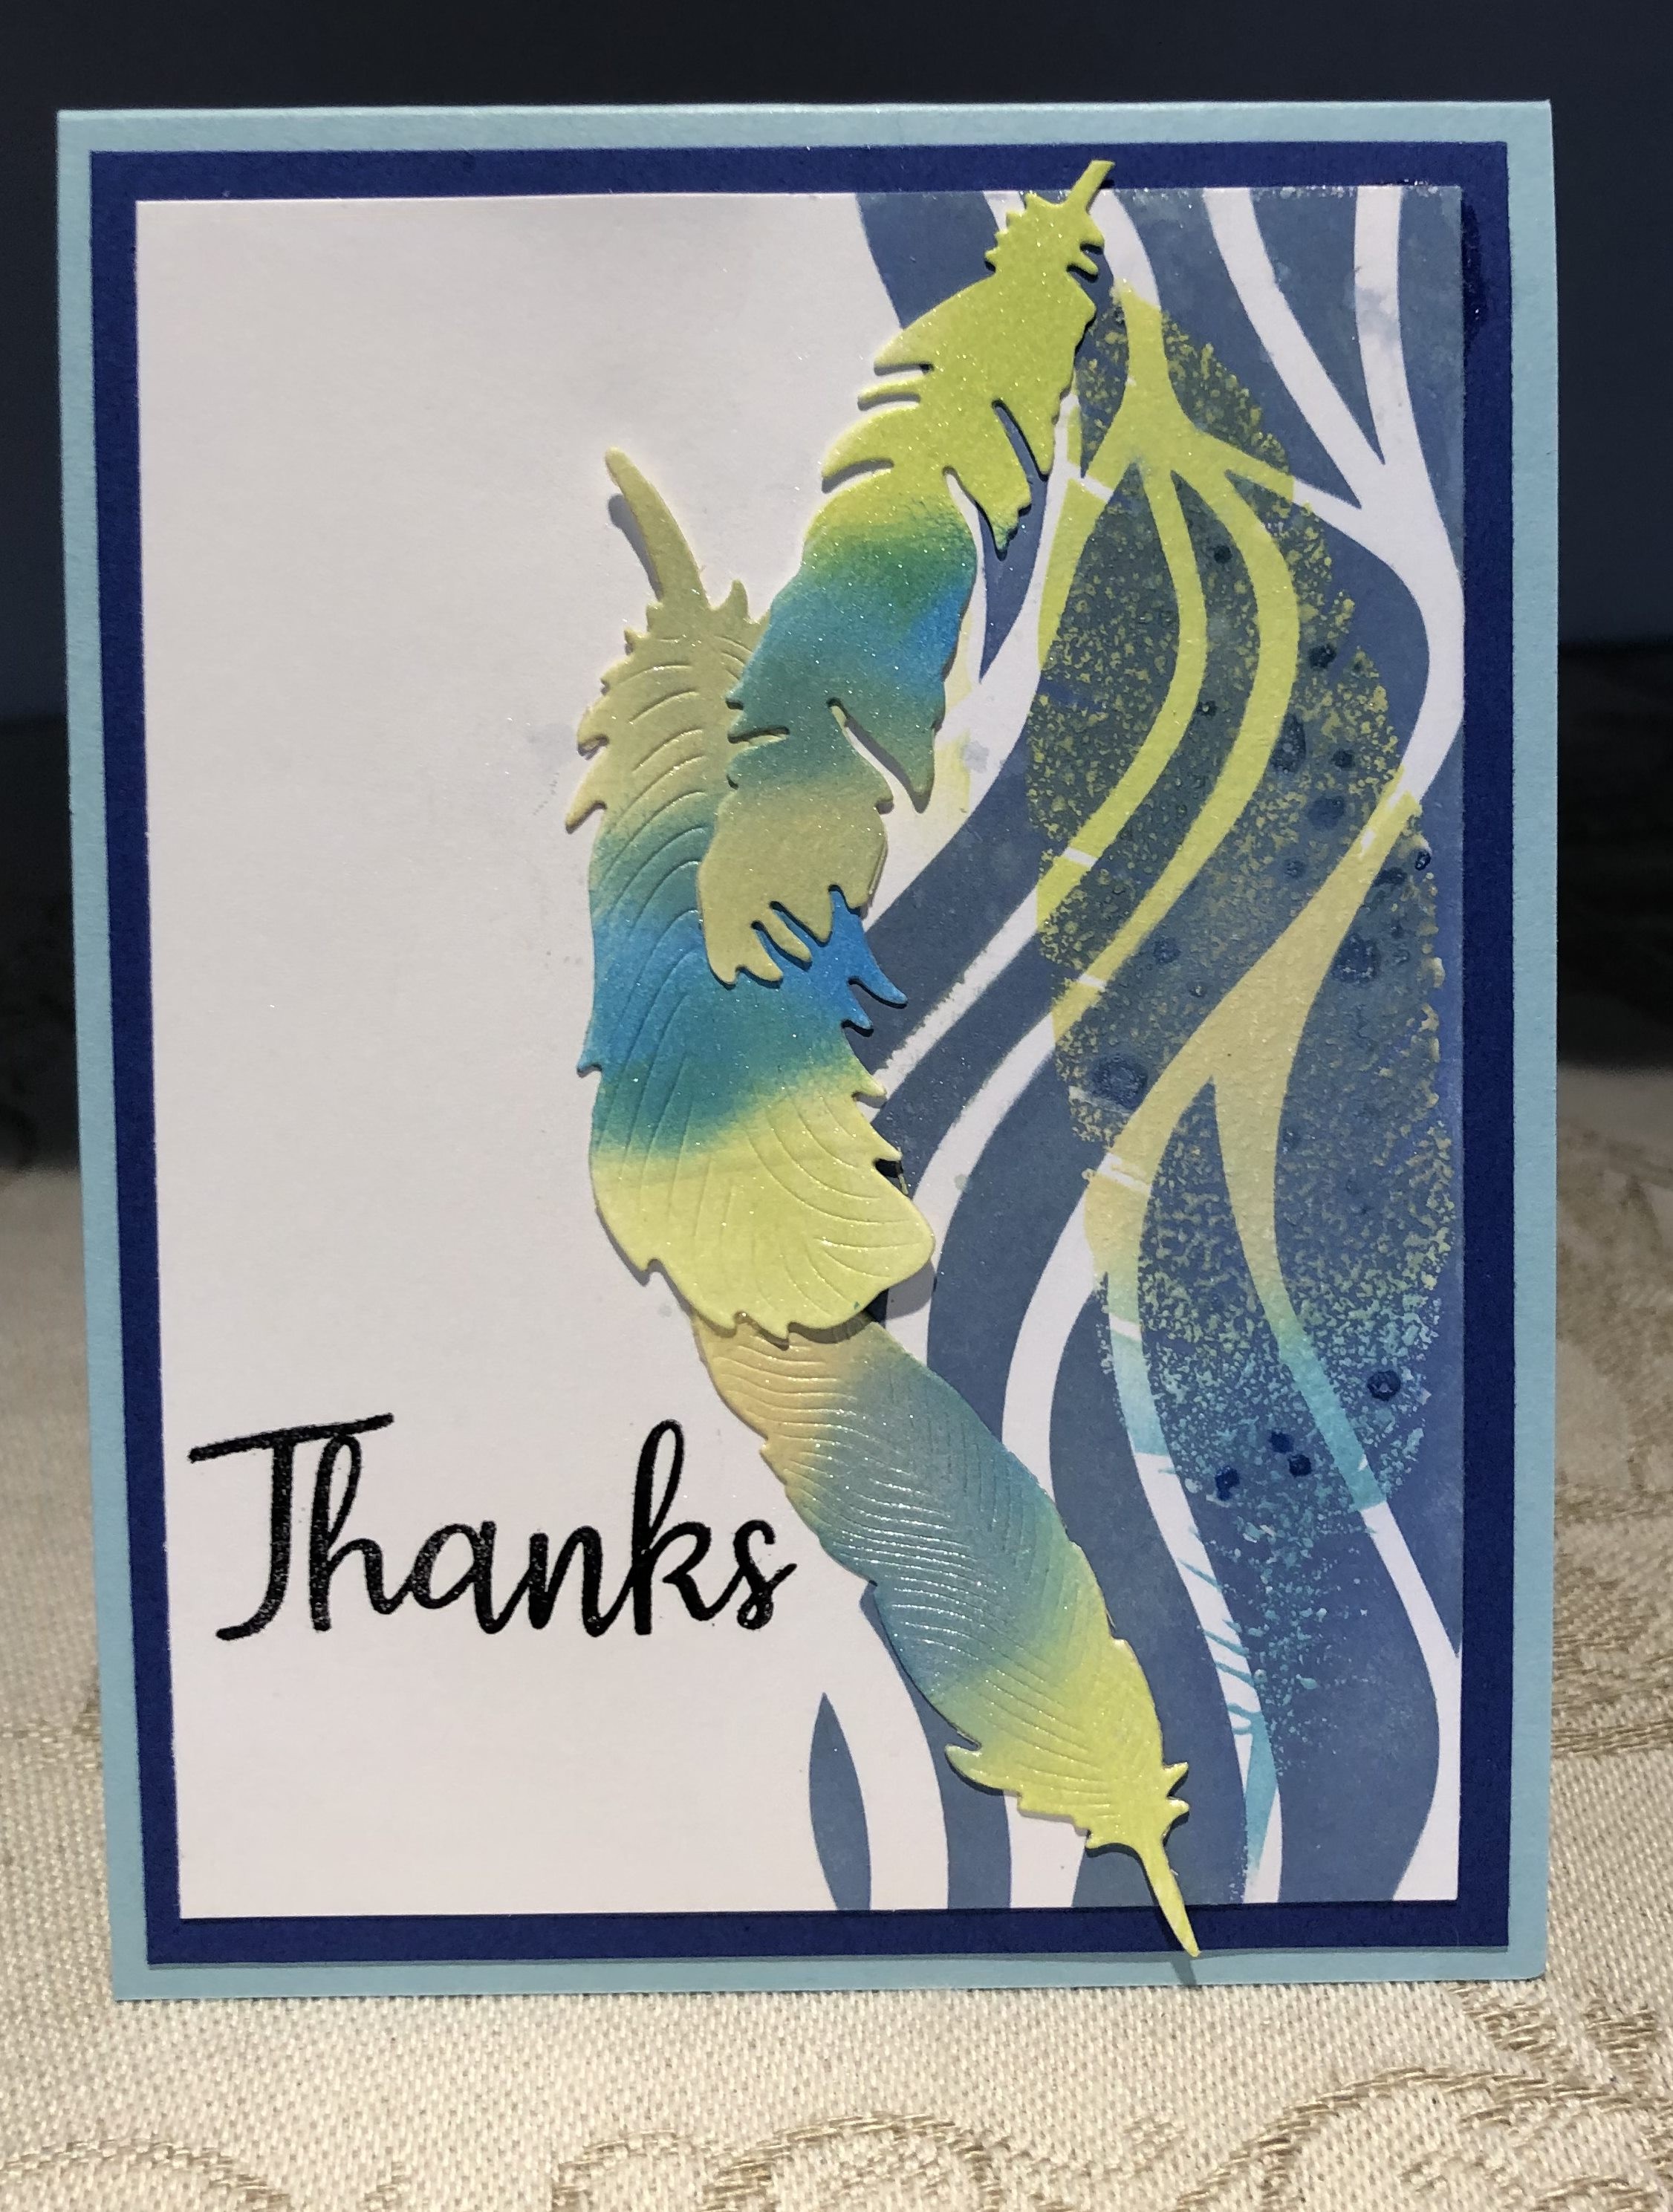
Using some feather dies I cut out the feathers and sponged colour on with distress inks. I then added some perfect pearls for some shimmer. Any spots you see are from the perfect pearls. I adhered the feathers along the wave edge and added the sentiment from a Simon Says set. Added the entire piece to some darker blue card stock and then to the Ocean Mist card front.

Umbrella Fun

This has been made to go in with a series I am doing as a gift for a friend. I got the idea from a card seen on Pinterest.

I first die cut the umbrellas and then coloured them with pencils and gamsol. I hand drew the stitched line using a curve ruler as a guide. I curved the sentiment stamp from a Simon Says set and stamped it 3 times. Popped up the umbrellas and stamped the bow on the handles. I wanted to use it for the Modsquad challenge but the rules say one layer and obviously this isn’t a one layer although it is CAS so back to the drawing board.

Hands of Time

Using the second Sissix folder I embossed the white card stock and then went over it with some brushed on yellow ink. As well I added some brown ink to the clock faces and hand drew over the top of the clock hands to make them stand out. I also added some Inka gold paste to the clock faces for some shine. Added some ribbon in the center and adhered to card front.

After die cutting a circle and sponging the edge I stamped the truck from a GKin Hickory smoke and after masking it off stamped again faintly in the background. Masked it again and sponged a bit of yellow around the image.

After die cutting a circle and sponging the edge I stamped the truck from a GKD set in Hickory smoke and after masking it off stamped again faintly in the background. Masked it again and sponged a bit of yellow around the image. I did stamp a sentiment, curved over the truck, but after I had already taken the photo and I was too lazy to take it again.

Flight

Needed some masculine cards and I have 2 new Sissix embossing folders that were a set, so used both to make a couple. First one uses the background that reminds me of cogs and tools. I added some black ink prior to embossing and then added some swiped gold ink on top once embossed.

thoughts

I added a piece of ribbon part way down and then adhered to chocolate card front. Using a label die I cut the label and went round the border edge with a gold pen. I stamped the image using a CTMH stamp and also the sentiment from the same set. I coloured the plane with a mix of gel pens and copics. Added a few sequins and popped it on top. If I do another similar card I will add the ink to the other side of the folder so that the raised part will be coloured rather than the background.

Flower Power

Believe

Saw something in a blog and it inspired me to make this card. Mine is not a CASE but a general idea from what I saw. Had fun painting the stamped image with my metallic watercolours. They add a soft sheen to the image but it isn’t truly evident in a photograph. I fussy cut the image out and popped it up on the card front. Added the Gina K. sentiment on the side a few gems for some bling. I did two of these but the second one moved slightly in my misti when I restamped the sentiment so it was spoiled.

Crazy Birds in unusual colours

Who would have thought that lime green and pinks would work as colours for crazy birds but they do. Made this for the challenge at Cards and Candles in progress – Wait? What? Doing something in an unexpected colour and to my mind crazy bird stamps are perfect for a challenge such as this.

Hello

Adhered a dark pink panel to card front and then a smaller stamped panel to that. I first coloured the smaller panel with oxide ink and then randomly stamped over the top in a darker colour using stamps I’ve had forever and with no idea who designed them or how I acquired them. Using some scrap cardstock I stamped crazy bird images using the smaller set of Tim Holtz stamps. I then die cut them with the corresponding set of dies. After colouring them using oxide inks I popped them up onto card front. I added the wings, eyes and beaks separately for additional dimension. Once I had them placed where I wanted them I stamped the hello in black and outlined it with a Sakura gelly roll pen. I also added some glossy accents to wings eyes and beaks for shine.

Something Cute

Using a piece of purchased embossed paper I added it the yellow card front. Then I cut the flower part using a border die and a piece of scrap left from another project. I had inked this with various oxide inks and sprayed it with water for more effect. I stamped the duckling image and Sentiment from a Simon Says set called Showers and flowers.


https://cutecardthursday.blogspot.com/2019/04/challenge-578-flowers.html

After colouring the image I fussy cut it out and popped up on top. I thought it fit the theme at the linked blog. It makes me smile.

Seaside Theme

I had one piece of my marbled paper left over and decided to use it for this card. Adhered it to the card front on the left side. Then I took some scraps and cut out the diamond shapes using a spellbinders set. I moved the center pieces to the opposite colour for added interest.


http://casethissketch.blogspot.com/2019/04/case-this-sketch-318.html

Using a small seahorse die I cut out the smallest one and patted it onto my versamark pad until it was sticky all over. Then I dipped it into verdigris embossing powder and heat set it. He was adhered to the teal background and the diamond shape popped up on top. The penguin is from a Lawnfawn set that came with dies so I stamped, coloured and cut him out and added him to the lighter green background piece with diamond over top. Stamped the sentiment and tiny bird are from 2 Inspired by Stamping sets. It was missing something so I tried spattering some ink spots over the top. Don’t think I did a very good job and my mask moved so I got a few spots where I didn’t want them.

Woven Strips

Sometimes I get on a kick and several cards get made because one gives other ideas. Saw a card on Pinterest and followed it to this link,
( http://handmade4cards.com/birthday-cards/handmade-birthday-cards-will-love-give-anyone.html )that gave me an idea so this is my version of that.


http://daranddiane.blogspot.com/2019/04/black-and-white.html

I cut the strips using a diagonal die from Avery Elle and PP from Gina K. Then I wove the pieces onto the card front. Stamped the sentiment using a Concord & 9th stamp and cut it with a die from the set that came with the stamps. Tied a small bow from ribbon in my stash that matches the polka dotted pp.

Elegant Sympathy

When making my black and white card yesterday I stamped and heat embossed some extra card stock with the same roses background stamp so I could make other cards later. I cut off a small piece to use for this card and basically made the piece into 2 1/2″ squares. I did the opposite by stamping on black card stock and heat embossing in white then cutting them into the same size as the black ones. I rounded two opposite points on each piece and arranged them on the card front.

http://daranddiane.blogspot.com/2019/04/black-and-white.html

After adhering them in place I added a white round button to the centre. I stamped the sentiment in versamark ink and heat embossed in black using the scripty sayings incentive stamp from Gina K. Added 2 black gems to the bottom. I sort of got on a roll with the black and white and made another card using up some PP I haven’t used much.