Sheep Thrills 70th Birthday

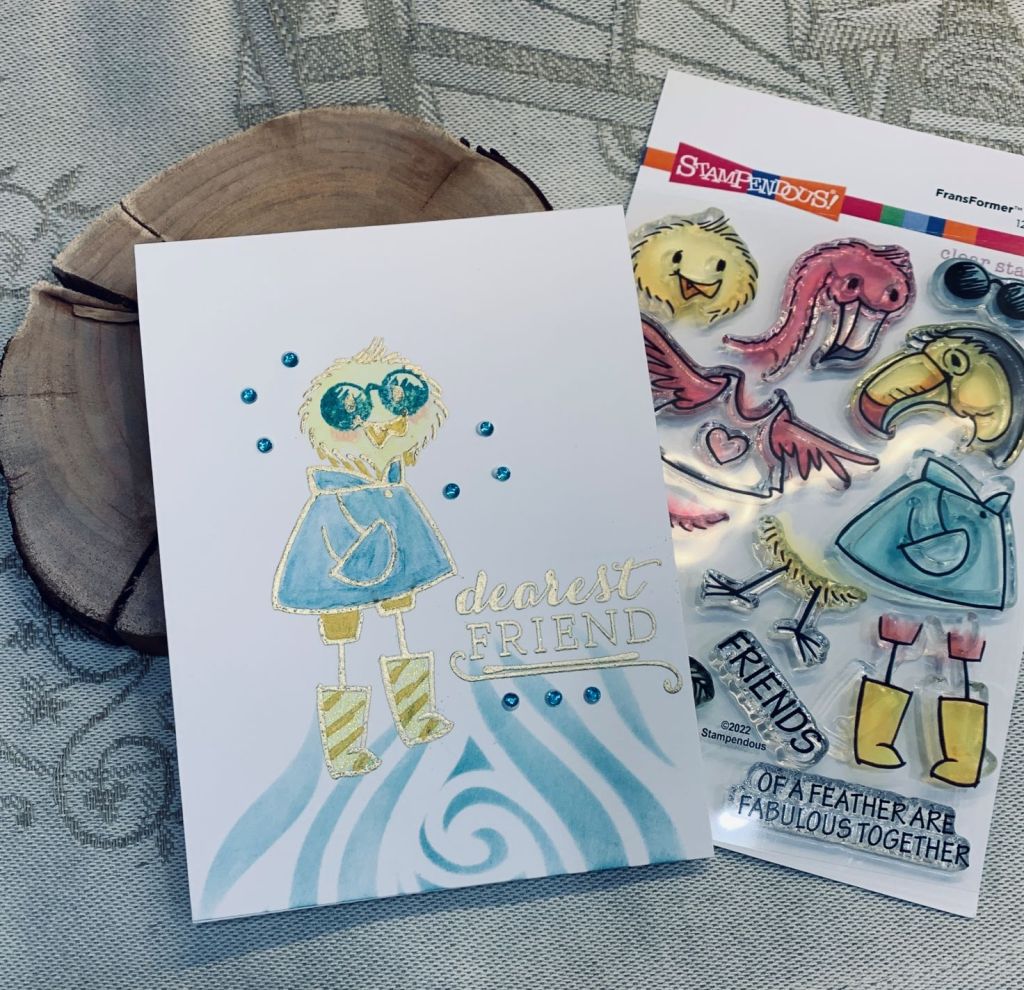
I like lime green and Cyan together as a colour scheme and decided to try a box card for a change. The stamp set + dies are from A.I. mainly, although the little bird is from MFT and the numbers are from a Recollections stamp set and an alphabet die. DSP is from StampinUp and the single balloon is from Spellbinders.

At first I couldn’t remember how to do the box so I followed a tutorial found on Pinterest. As it happened one of the finished cards shown, featured a sheep stamp set by another company, and my card was born. I had been looking for ideas on how to use my new set and the example really helped me with mine. This stamp set from A.I. really amuses me.

As I was working I was thinking about who I should give the resulting card to and I remembered it is my sister’s 70th birthday this year. I figured I would have some fun rubbing in the fact she is 70 as she always has a go at me for being older and this is how the numbers came about. I added some sparkle to the heart, the numbers at the front and on the balloons. Her birthday isn’t for a while but having this ready nice and early is a good thing. It folds flat so I can store it for a while.

Thanks for stopping by and I hope everyone is having a nice weekend.

Perfect 10

Sometimes a challenge sticks in my head and results in a 2nd entry. This weeks challenge at AAA is one of those times. In searching for a particular stamp, for another card, I came across an old set from CTMH that I’ve not used in a long time. I decided that one of these stamps would work for my 2nd card and I also used one of the sentiment stamps from the set too.

I stamped it with Versamark then heat embossed in gold. I cut some small sticky strips and laid them out so I could add paint in the openings and for this I used a Distress Oxide in Broken China. I also added a bit of colour to the center of the paisley image. When I removed the sticky strips I wasn’t totally pleased with how it looked so I took a ruler and a Sakura Gelly roll pen and added a line of sparkle down each stripe. I liked this much more but I can’t make up my mind whether I should have stamped the image with the tail end up rather than down as it is here. Too late now but one of you may have an opinion.

It is close to supper time for me. I made a spaghettis sauce the other day and hubby said he wanted homemade pasta. This has been an ongoing small bone of contention between us. Since we were in Tuscany, where we had a cooking session as part of our stay in a local villa, he has wanted homemade pasta. I told him there was no way I’m doing it at home, too time consuming, too messy and I can’t be bothered. Nevertheless he purchased all the equipment (not really needed by the way) and has bugged me to make pasta. I’ve resisted each time and even considered getting rid of the equipment. He announced this morning that he wants homemade pasta and he would make it himself. I said good luck and went off to my yoga class. He has basically spent most of the morning working on it and most of the afternoon rolling it out and cutting it, so we get homemade pasta. I didn’t do the work although from the state of the kitchen there will be some floor cleaning to do. I’ll let you know if I liked it in my next post. LOL.

Thanks for stopping by.

Bluebird and a Fun Fold

Inside of the card

A tutorial at Splitcoast Stampers this week showed this Style of card and I wanted to try it. It is called a Corner Tuck Card. The author shows a couple of versions, 2 in the landscape format and one in portrait and this is the one I decided to try. For the most part I didn’t worry too much about her measurements, but eyeballed my own once I had the card front cut and scored. My papers are from StampinUp as is the stamp set I’ve used. Dies are from Hero Arts and I used water colour pencils and Sakura glaze pens.

My first attempt at the focal image didn’t quite have enough impact as you can see from the photo above. In that one I had stamped in Versamark and heat embossed clear then coloured it. It seemed very insipid with no definition to me and I left it overnight so I could think about what to do. This morning in my yoga class I suddenly had the thought of restamping the image in black, colouring it and then fussy cutting the entire image and gluing it over the original. As you can see the result is much better and I am happy I thought of this fix. Lucky for me the image was an easy one to fussy cut. The inside of the card is also from the same stamp set. I like that the flap tucks into the corner, but if I do another one I will figure out an easel for the back as the card doesn’t stand up. It was fun to try something different and to also figure out a fix for something I wasn’t happy with initially.

Have a nice evening everyone and thanks for taking a peek.

Cool Chick

AAA Cards Challenge #233: Teal and Gold

These are new stamps for me, purchased in a recent sale and each set can be mixed and matched so I thought they would be really useful. The sentiment stamp is from a Hampton Art set as it worked better for my card design.

I started with stenciling the teal waves at the bottom of the card base using a Dina Wakley stencil. Then I stamped the rest bit by bit using Versamark and gold heat embossing. I even remembered to make sure the waves were dry before adding the powder, something I’ve been known to forget. I coloured it all with a combination of water colour pencils and Sakura pens. To finish the card I added some teal gems. As each part of the image is a separate stamp it took a bit of playing to get things where they needed to be. I need more practice at using these stamps. This style is a long way from my comfort zone but I really wanted to try cute. Hubby liked it.

Thanks for stopping by and I hope your Valentine’s Day has been pleasant and fun.

My Favourite Thing About Spring is …

http://www.asyouseeitchallenge.com/

It’s been a while since I entered into one of the As You See It challenges so I decided to do a card for this weeks fill in the blank challenge. There are so many things I love about spring, taking just one thing was hard. I love the new fresh colours, the flowers, the sunshine and even the spring rain if it isn’t heavy. So my fill in the blank is daffodils, as well as some of the colours. I took a strip of vellum and stamped the daffodil in Versamark and then heat embossed in gold. When it was cold I turned it over onto a sponge and using a stylus gently rubbed into the open areas so they would turn white. Hopefully you can see that in the image. I folded the vellum over a strip of the yellow CS and glued it at the back. The green CS was embossed using a 3D folder from Tim Holtz which I then cut down a bit and glued to the card front. The vellum strip was added on top with 2 thin gold strips down each side. I had tried unsuccessfully to add the sentiment above the daffodil, but it kept messing up so I wiped it off and cleaned up the mess. Instead I stamped it onto a small scrap piece of vellum and heat embossed that and this time it worked. I cut around the sentiment as it was a bit bigger than I liked and then added it to the side. The birds are from a sticker set that a friend gave to me recently. Stamps are from StampinUp and gems are from Studio Katja.

All in all, I’m happy with the result and pleased to be well enough to sit in my studio for an hour or two. Thanks for stopping by and have a great weekend everyone.

Hello

Anything Goes With A Twist of Hearts

This card was started last week, and then with me being sick was left on my desk. As I am now feeling a lot better I decided to finish it and add it to the CYHTP with a twist of hearts challenge, which conveniently has just begun.

I started with the embossing of the vellum using a folder called Swirly Vines by Darice, which I then cut down to a smaller piece. I wanted some shimmer on the vellum so I added perfect pearls all over it setting it with a mist of water. The die cut border I already had on my desk and hadn’t used when I cut it and once I glued the vellum to the card front, I added that at the bottom and a thin strip of the gold foiled CS just underneath the vellum. The sentiment is from a Hampton Art set which I stamped and heat embossed in clear onto a scrap piece. The pearls are from my stash and to incorporate the twist of hearts I used a test piece I still had, cut with a Heffy Doodle border die, onto the gold strip. I had to play with it a little, cutting it very carefully so it would fit. This card is feminine and softly pretty to my eyes and I’m quite happy with the result.

Love is in the Air

http://cardz4galz.blogspot.com/ & Hearts Challenge

The challenge at Cardz4galz this period is to add one or more hearts. I chose to use an unbranded die and some gold foil CS but instead of cutting I let it be more of an embossed background. I find these unbranded dies don’t always cut well and especially on foiled CS. I added it to a black layer giving a small border and this in turn was added to an ‘old gold’ shimmer coloured card front. Using a die from SSS called Homespun Hearts, I cut the swirl and hearts in the same black and using only part of the piece I added it on an angle as you see it in the photo. The other small hearts were added randomly. The large die cut word is from an MFT die called Loopy Love and the other part of the sentiment is computer generated and printed. Traditionally one sees Valentines Day cards as red and pink for the most part, but I like the way this one is quite different from the traditional. In fact this design would probably work well as a wedding or anniversary card. As this card also fits in with the challenge at Double D I decided to add it there as well.

Swirly and Pink

February Stencil Fun

After a week of feeling like someone has hit me with a baseball bat, I am finally starting to feel more myself and I was so bored today that I decided to make a card. Probably not one of my best but it made me feel productive. I guess boredom is a sign of getting better as earlier this week I couldn’t care less about anything.

This card has been done for the stencil challenge and I used the stencil you see in the photo, and went over it with Gesso. When that was dry I took some distress oxide ink in 2 colours, tattered lace and worn lipstick and sponged over the piece until I liked it. As I wanted some shimmer I sprayed it with a small amount of Lindy’s Starburst in wild honeysuckle but it needed more shimmer so I also added some perfect pearl powder with a brush. I cut the triangular corners and edged them with a black border, added foam to the back and then added them over the top of the layer, already adhered, to the card front. My original intent was to use a border die on those triangles but I did a test piece and didn’t like it much so instead I added a stitched border to the white edge. The testing had left me with tiny hearts so I coloured them with the worn lipstick and added them randomly. Dies used are from Heffy Doodle. The sentiment is from a stamp set by Hampton Art which I received in one of those surprise boxes that we can purchase occasionally. I don’t remember from which company though. It was just the outline so I added some colour with a paintbrush.

Thanks for stopping by, and I hope everyone is staying warm, dry and healthy.

Best Wishes

Anything Goes Embossing with a twist of BORDERS

In spite of spending most of today coughing and spluttering, I really wanted to get this card into the challenge. I had almost finished it yesterday but it needed a sentiment and I decided to add one and upload it before heading back to my bed. I chose an older folder that is basically a tulip frame by Crafts Too and once it was embossed I went over the raised parts with some Tattered Lace using a sponge. I did think about cutting out the center section but decided to leave it and instead I added the hollyhocks. These were cut with an unbranded die. The butterfly is a small sticker and the sentiment comes from a Joy Clair set. It is a very simple card, but with the softness of the colours is quite pretty and my hubby has asked me to make another one without the other pieces so he can use it for photography. I guess the frame can be considered as meeting the challenge twist of borders.

Thanks for stopping by.

Love

#193 Love is in the Air

Last week I went to a local craft store with my hubby, as he was looking for a particular image of a rabbit or a hare and I knew this store had a lot of Lavinia stamps. Of course it’s impossible to buy only one stamp and we ended up purchasing two of a rabbit and one of this tree. The rabbits used here are from Divinity Designs as I needed an anniversary card for my sister and I find this image cute. The tree intrigued me and I knew I just had to have it in my stash as it can be used so many ways.

When I began this card I didn’t have a plan in my head, except I knew I wanted to use the tree. I also wanted to create a background and chose to use some Distress sprays in both oxides and mica. I quite liked the result and when it was dry I stamped the tree several times and clear heat embossed it. I did that twice as I wanted more definition. I stamped the bunnies and coloured them with pencils blending with an alcohol ink blender pen. Added some Sakura glaze to the eyes and mouth and some Ohuhu pink to the ears and then die cut it. I stacked a few die cuts behind the image before adding it to the layer. I also had some hearts left over from a different project and thought it would look cute if they seemed to be hanging from the tree. The word die is from a set I bought when in Texas but I forgot to write down the maker. It was added to make it look as if it is joining the 2 strings together.

Hubby just came in and said, ‘oh I really like this’ and I’m happy with it too. He is also pleased with the larger rabbit stamp that I did for him and fussy cut ready for his photo project. Thanks for stopping by and have a fun day.