Triple Heart Easel Card

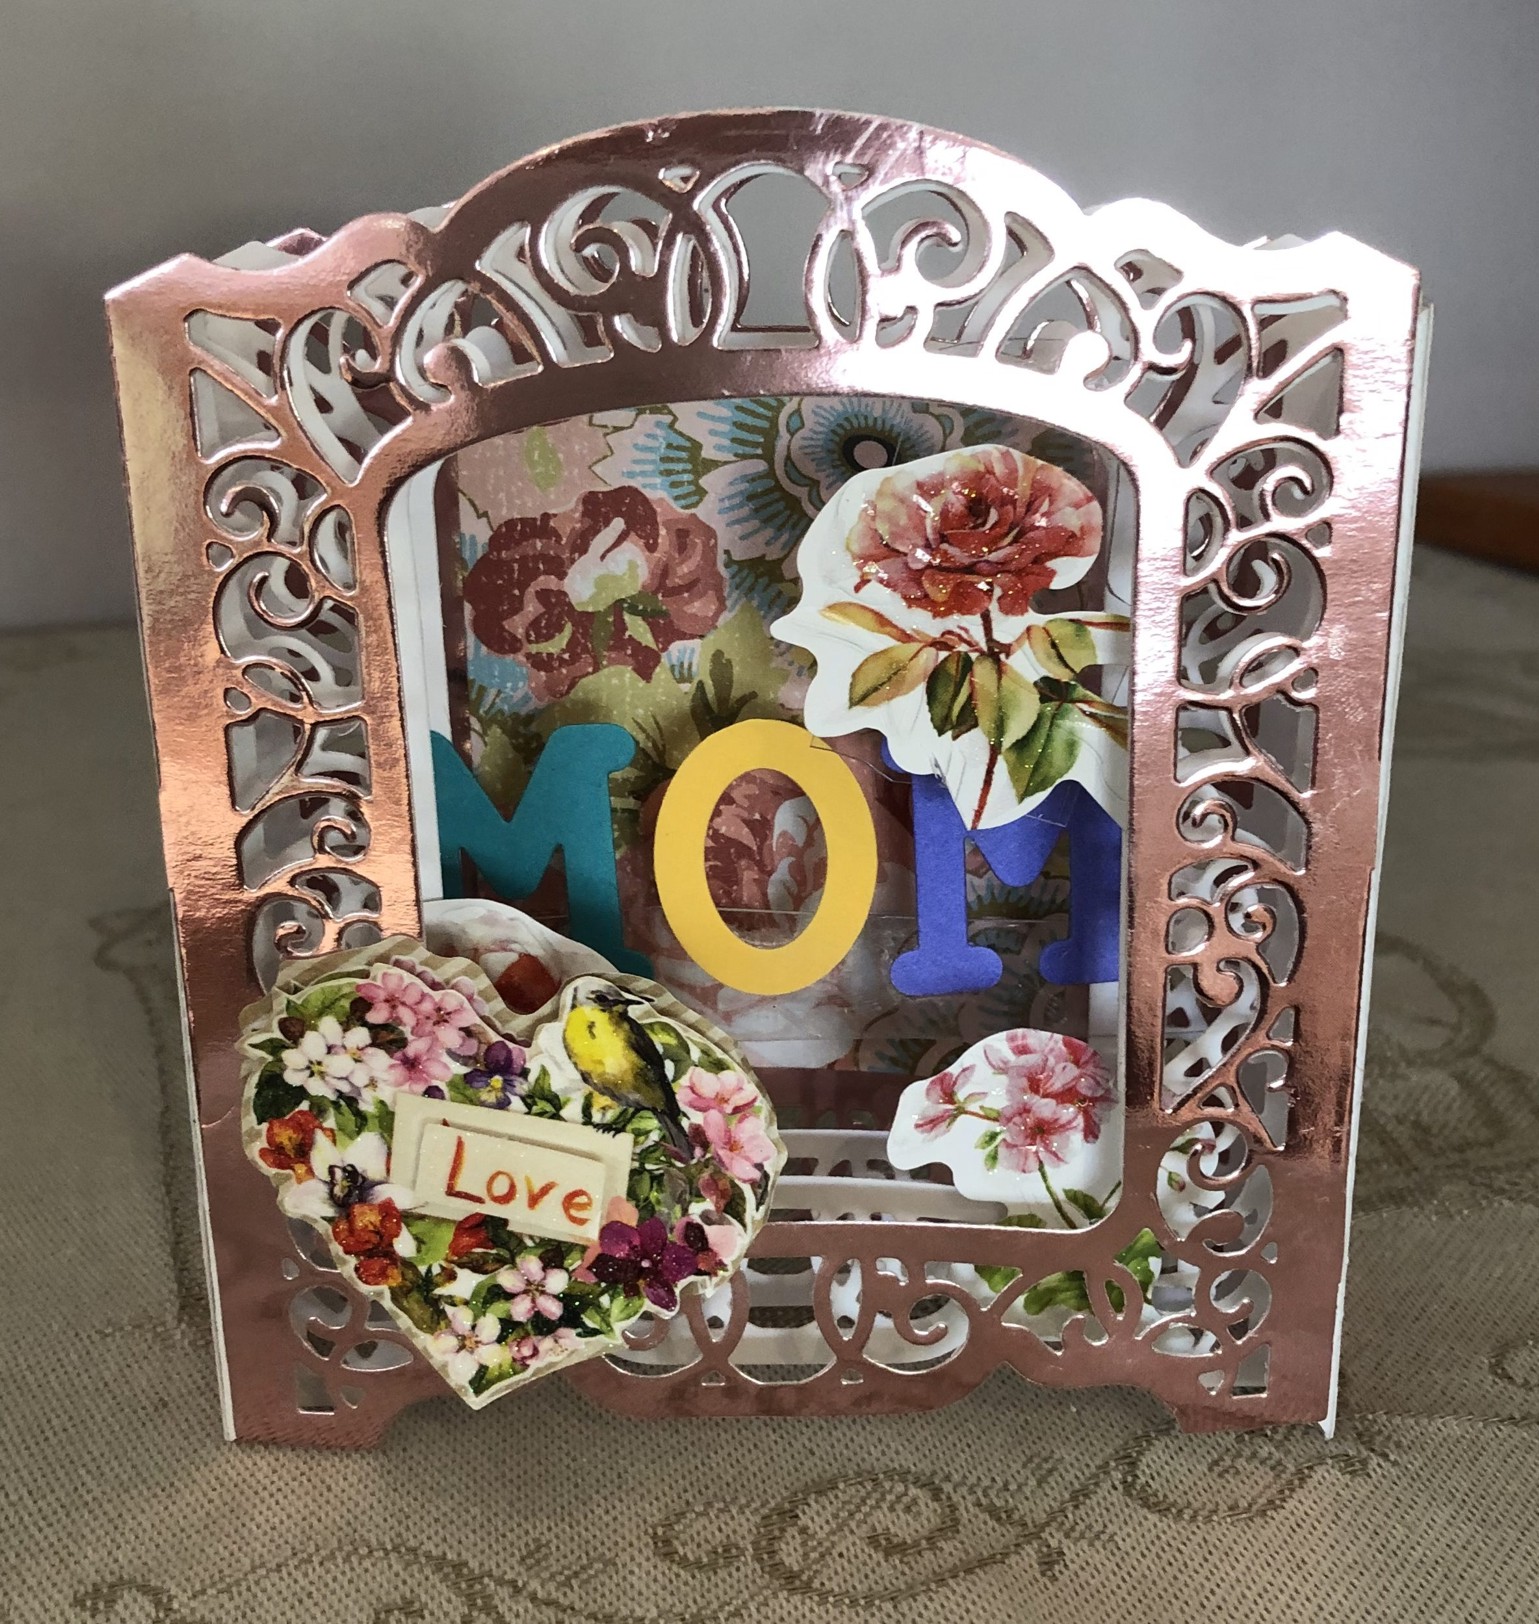
This is my second Mother’s Day card and for this one I used a Hot off the Press template that I’ve had for a while and only used once or twice.

Mom in Brazilian Portuguese

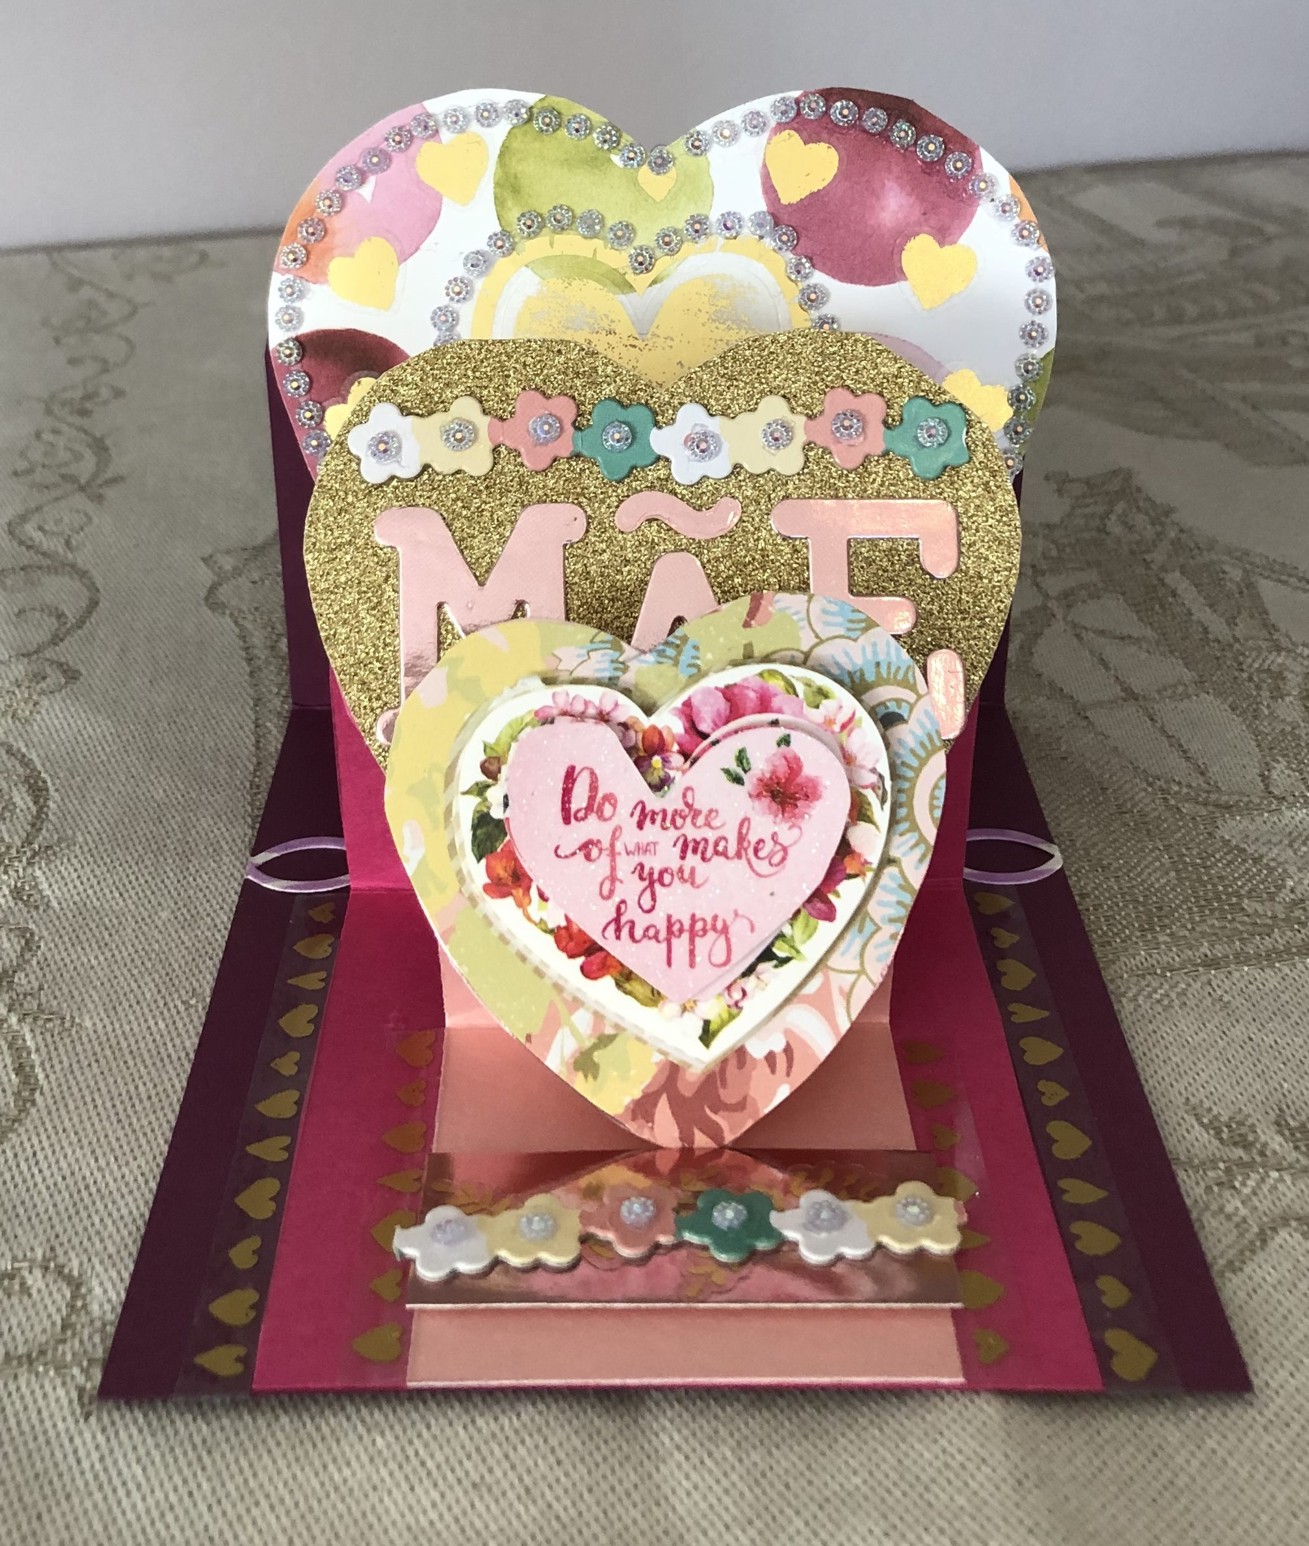
Using a piece of CS colour Plum Punch and another 2 pieces of CS in different pink hues, I cut the large and smaller bases afterwards scored and folded in the indicated places. I then cut 3 hearts in graduating sizes decorating each piece with some pretty PP and Washi glitter paper. A friend had sent me a gift of some clear vinyl painted gold stickers and I used some of these to decorate the largest heart adding a few bling strips around edges of the main heart and the vinyl gold one. For the glitter heart I added the word mom in Portuguese along with a small strip of flowers to which I added jeweled centers. The smallest heart was decorated with a bit of pp and another 3D sticker. Each layer is designed to hold the previous one in position but I found the largest heart wouldn’t stay down so I improvised a slightly different support which seems to work better. The smallest heart is held up by a foam mounted decorated strip. The card folds flat for mailing but is bulky so requires a bit more postage for sure.

Mothers Day Love

I know it is early to be creating mother’s day cards but my two boarders asked me to do one each so they can mail them to Brazil. Lately the mail has been slow so I thought getting them done early would be better. Using a new die set from Spellbinders called Grand Cabinet 3D card, I cut the pieces in different card stocks. Then I set about decorating and assembling it.

MOM Vignette

This is my first attempt at this style of card and while it wasn’t difficult, it was very fiddly and took quite some time to do. I am thinking that the next one will be easier as I know what to expect. I used some pretty floral PP for the very back panel and then added a couple more layers. The card will normally hold 6 layers but I decided to only use 2 in the middle and the front and back as it allowed more space. I had the letters already cut from a Cheapo die I just bought. Added them to a plastic strip and glued it in front of the background panel. The next layer I added some stickers in a few places without obscuring the word and on the front mirror panel I added a 3D heart sticker in the bottom left corner. I also added some mirror card to the sides to cover up the tabs which I didn’t like sticking out. The whole thing folds flat and there is room to write a greeting on the back.

Relax Birthday

I really wanted to try a scene card even though I am generally not good at creating scenes particularly with sponging backgrounds. This is my effort and while it isn’t a great card in my mind, it isn’t a truly bad one either so I am using it for a masculine birthday card.

Birthday scene card

I had already created the stenciled background using a gift created by a stamping buddy. I used silver embossing paste and sponged in the colour once it was dry. Added it to the striped background, after placing some ribbon in the middle, so it would have a border. Using a die cut oval and some masking I sponged in the background to give a sky and some clouds around the distant mountains. Coloured in the balcony railing, the table top, and the wine on top. Fussy cut out the sentiment strip as I wanted curves not straight edges.

Balloons & Polka Dots

Using a new stencil and Distress Oxides I created the back panel which I adhered to Jelly Bean Green GKD CS. Using my Spellbinders Layered Birthday dies I cut out each layer. I popped up each layer with foam tape. The final layer I added Nuvo Crystal Glaze for both shine and dimension.

Another birthday card to add to my stash.

Dots & Stripes Birthday

Made for the challenge here:
http://seizethebirthday.blogspot.com/2019/03/seize-birthday-161-spring.html

Began by stamping and colouring the image using Prisma Colour pencils and a stamp from Simon Says Showers and Flowers set. I fussy cut this out. I used a sentiment from GKD Massive Messages and hand cut this out too. I had the stitched frame already cut from another project and this was from an unbranded die set which I added using fun foam on the sides. Striped PP is an MFT product and I like this paper because it has a kind of faded look. Adhered all to a white card front.

I went over the sentiment with a sparkly pen and added a touch of gold to the flowers. Unfortunately the camera has made the gold look like white splotches.

Gingham in Spring

The inspiration for this post came from 2 places, Double D Blog Spot Gingham challenge and the Modsquad One or More Metal Die challenge: http://modsquadchallenge.com/one-or-more-die-cut/. I’m not a big fan of gingham but I did have PP from a StampTV kit purchased a few years ago and decided to use it. I also used a rectangle swing card base from Hot of the Press that I’ve had for so long I had forgotten about them. First I decorated the card base with the PP.

Using a GKD stamp and die set called Happy Spring I stamped the various images, coloured them and die cut the ones I wanted. Using dimensionals I added the bunny and the balloon to the back side panel. I added the yellow swing rectangle after stamping the greeting and the branch and popped up the little bird here. The inside rectangle I just stamped and hand coloured a little before adhering it.

Sunburst Easter

A while ago at a local Art exhibition I saw a gown made with purples, yellows and teals. I fell in love and from that moment have wanted to create a card with these colours. In checking the Just Us Girls Color Week challenge these colours fit perfectly.

Easter Greetings

In addition to the Just Us Girls, this card also fits the Modsquad weekly challenge, http://modsquadchallenge.com/one-or-more-die-cut/. I took a piece of Wild Wisteria CS and after die cutting the sunburst in yellow using a Simon Says die called Sunshine I adhered the two pieces together. Trimmed it down a bit and added to white card front. I then took a Spellbinders die set called Layered happy birthday and cut out the balloons from some scrap pieces of teal and yellow CS. I added the paper cord and some dimensionals to pop them up. Using a GKD stamp set by Claire Brennan I stamped the basket and the daffodils, coloured and fussy cut them out and attached the handle to the end of the balloon string. Added the label, also a die cut, but who made these dies I’m not sure, because in the early days I never thought to keep names of products like I do now.

Stand Tall

Its funny how one finds a stamp not used for a while and then get an idea of how to use it on a second card. In my previous post I needed an extra image for my safari circles and couldn’t find anything that would work, then I remembered the flamingo set and dug it out. Didn’t want to be bothered with masking although I probably would have had a nicer result had I masked off the birds. Also the slightly less than crisp images are deliberate as I thought it gave the illusion of feathers.

Coy Looks

I coloured in the beak and eyes and added the darker wing on top. Mounted onto a navy CS and I drew a silver edge too. Then found the closest pink card base to adhere the whole panel to. Not made for any particular reason but more just to play without having to think too much.

Safari Greetings

Inspiration for this came from something seen on a walk I take with our dog and I wondered if I could create something similar in a card. This is my effort. The circle frames and side piece are from some leftover wrapping paper too small to use on anything else. Stamps are old wooden block ones I often forget to use with one clear stamp from a flamingo set.

Hello

The word dies were found on sale at Hobby Lobby when on vacation in Texas and the feather die cut was left on my desk from another project. Layout is as close to what I saw on my walk as I could get.

First Turnabout Card

Finally broke out my new turnabout tool kit and stamp from Concord & 9th and did some playing. Didn’t like my first try but this second one was much better so went with it. These turnabout stamps are addictive and now I’m keen to buy a few more stamps.

Better than Alright

I used various Distress Oxides here. I stamped the sentiment square and using dimensionals added it to the center. As well I die cut some leaves and added them tucked below the sentiment square. A few matching gems was all that was needed to make this card pop. I added the main panel with a foam pop up to a matching background piece and then adhered to card base.