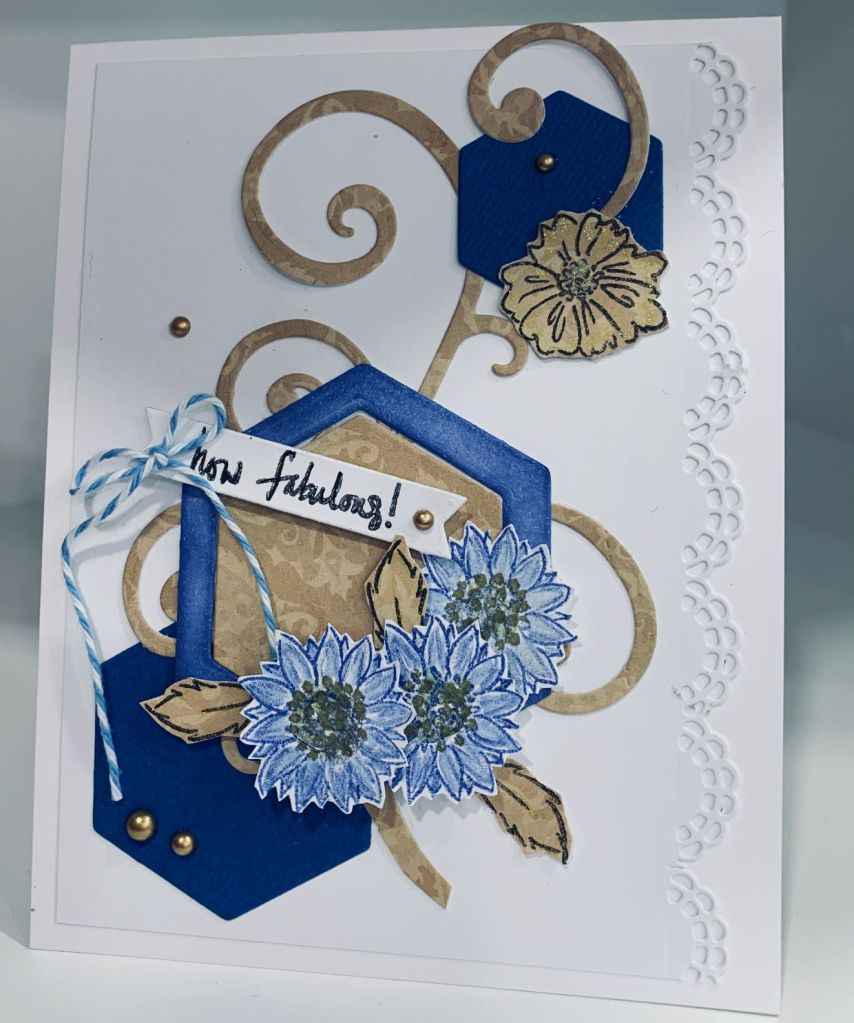
Having been playing with this idea on a different creation, it seemed natural to continue to make a 2nd card that would fit this challenge. The border die is a Gemini one called Blossoming Borders, the Hexagon dies are also from Gemini, the flourish is an old die but I don’t know the maker, the stamps used are from a GKD set called Fabulous Flowers and I fussy cut the small flowers once they were coloured. The tan PP is from a paper pad I’ve had forever and is made by Momento. I used scrap pieces of blue CS for the hexagons as well as the tan PP which I paper pieced into the white frame. I cut the border on the initial layer and then added the flourish as well as the two blue hexagon shapes. Then I added the larger hexagon which I inked using Blueprint Sketch. I liked the idea of several different blues so the frame, bow and hexagons are all different. The flowers were coloured with Inktense pencils and a bit of old gold pen for the centers. Embellishments are from Trinity Stamps.
Here is the first card I made using a similar design …
For this challenge I chose to use an older stamp set that I won in a Mod Squad challenge a long time ago. It is by Inspired by Stamping and is called Sweet Aviary. As well I used a bird from a set called Birdhouses by the Cats Pajama’s and the sentiment is from Joy Clair. The gold CS is from my stash and the border die is a Gemini one, called blossoming borders. Initially I had a different idea, but the border piece was already cut and was laying on the gold CS so I decided to use them and my idea morphed. Once I had stamped, heat embossed and fussy cut the cages I laid them as you see on the card and with some foam tape on the top 2, glued them down. I stamped the little bird and die cut him twice so I could glue the two together for extra stability and then I added him to the card front. After adding a few of my new gems that I received from Trinity stamps I called it complete. Have a great day all.
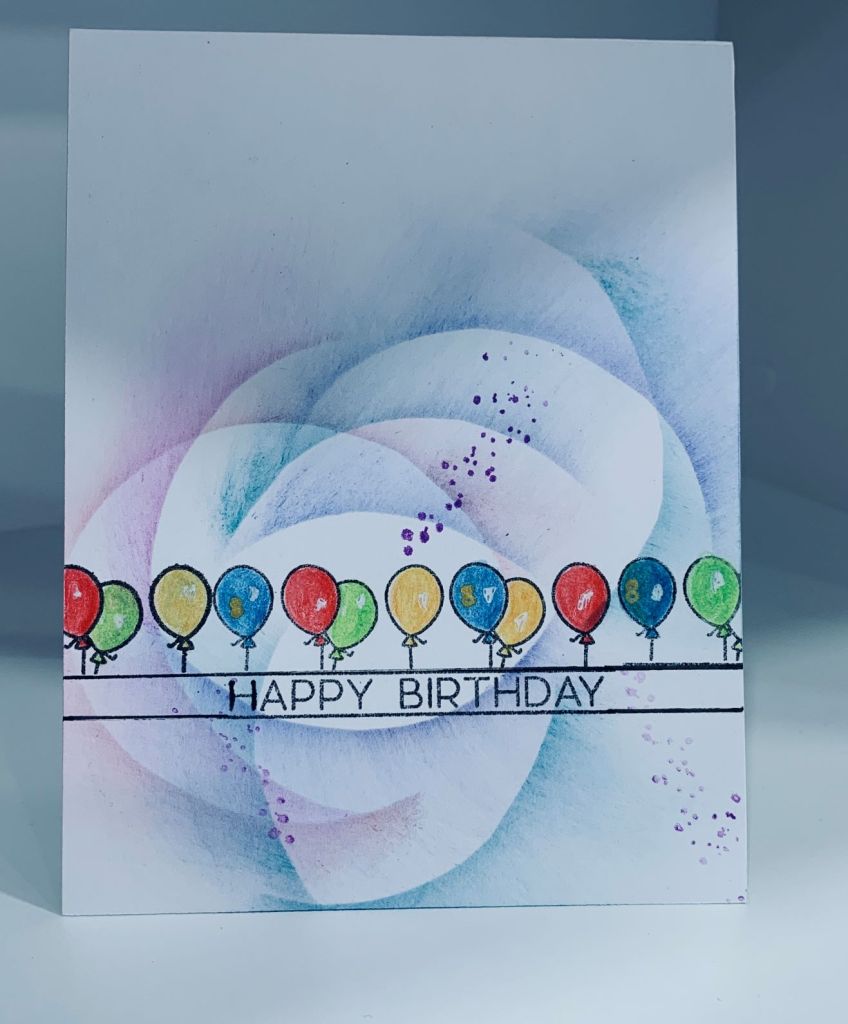
With AAA celebrating an 8th birthday and Less is More requiring a one layer only I decided to combine the 2 challenges with this card. I began with a stamp from a collaborative set from The Stamping Village, designed by Avery Elle, and stamped a little up from the bottom of the card. I extended the lines and balloons by masking and used a ruler to get a better impression of the line. The balloons were coloured using Inktense pencils. I also used a white gel pen to get the balloons to look more realistic and added a tiny hand done #8 in gold on 3 of the balloons. To minimize the starkness of the card I tried something I have viewed on Pinterest and really liked, but with no instructions available it was a bit of guess work on my part. My feeling is that the person who is doing these type of cards is using a Retiform technique that she developed and instead of using straight lines she uses curves. I made a plastic circle, and tested it on a scrap piece with some inks and a brush – liked the result – so used it on my card. For what is basically a first attempt I don’t think it is bad, but I shall try it again to see if I can improve on the technique. I also added a tiny bit of spatter using part of a StampinUp stamp from the Daffodil Daydream collection. The stamp was used because I wanted to control where I placed the spatter. Thanks for spending time with me today.
Both of these challenges refer to Mothers Day and while my own mother made a massive difference in my life, she is now deceased as is my Mom in Law. With that said there isn’t usually a reason for me to make a Mom’s Day card, but this year I have a good reason. Our contractor employs a female carpenter who has seen some of my card making when she’s been here. She recently asked me if I ever made cards for sale, to which I replied that in general, I don’t, but if she would like a card made I would be happy to do it for her. This is the card I made for her and it seems to fit both these challenges so I’m posting it.
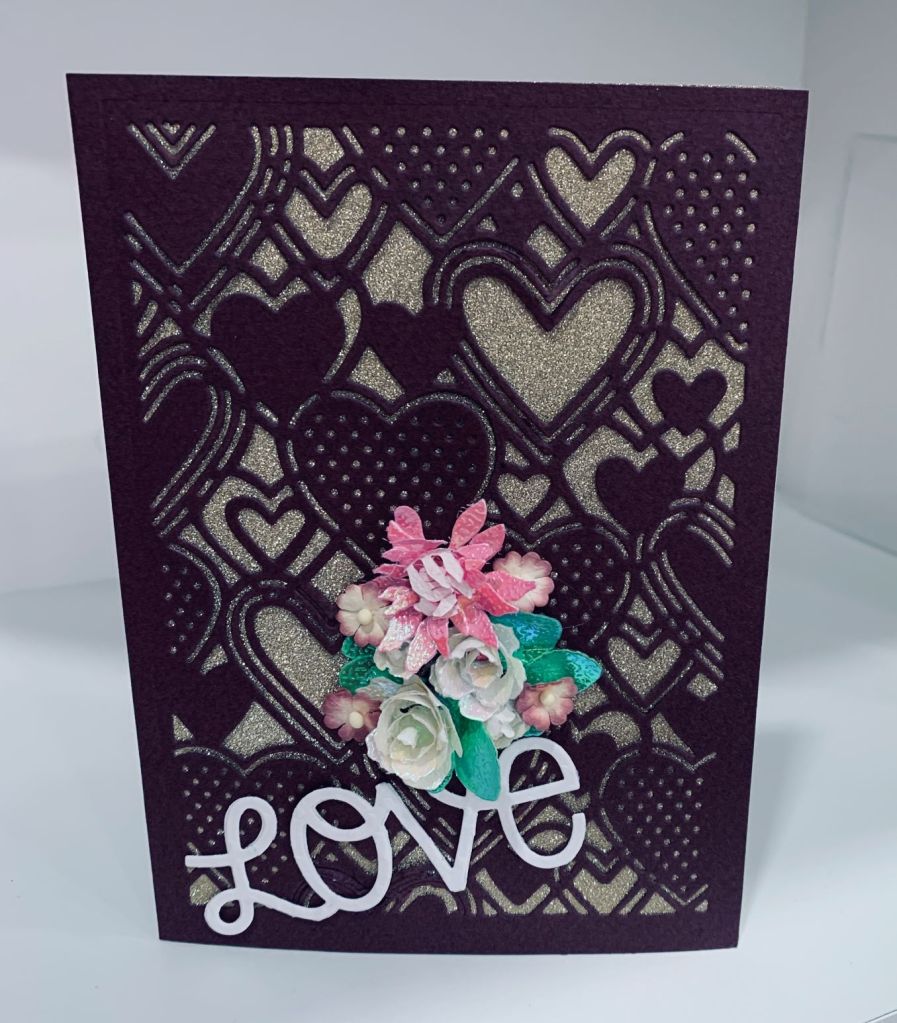
The die used is an unbranded die purchased through Amazon and is quite intricate. I added some glitter CS behind the die cut panel. This panel is slightly larger than our standard sizes so I cut the card base accordingly. I love the deep colour of the CS but have no idea where I got that piece from. Using the Tim Holtz/Sissix set of dies called Tiny Tattered Floral, I die cut different sizes of CS for the flowers. I made enough to decorate a box for the card, shown in next photo.
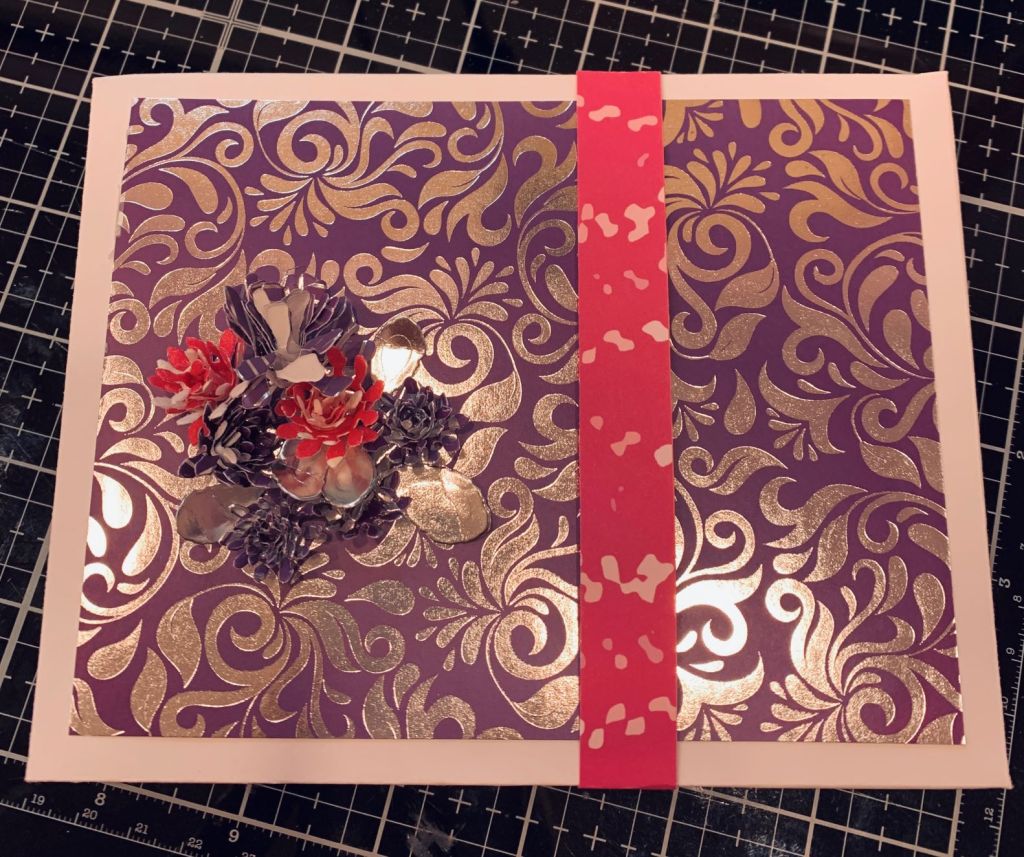
Box for the card
The very tiny flowers on the card were not made by me but came from a small bought package I’ve had for some time. They are a paper flower with a rolled center. The word is a die cut from MFT and was done in silver. I have to say making a display box is not my forte, but I managed without making a huge mess of it. I’ve also since learned a hack to make the flowers stay rolled the way I want them as using a quilling tool means they can be quite loose. At the time I didn’t know this hack so my flowers didn’t quite stay as I wanted them once off the quilling tool. After attending a local gallery that was showing a small exhibition of quilled art, and where the artist was doing a demonstration, she mentioned that she dips her finished pieces into a mixture of Modge Podge and water, as when dry, this stiffens the piece. I shall be trying this in the future. Our carpenter was thrilled and insisted she should be paying for the card. I wouldn’t let her, but she did do a small extra chore in the house at no cost so I guess we are even. Have a great day everyone.
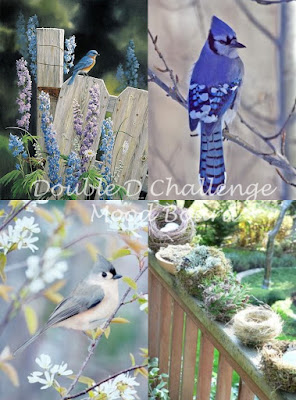
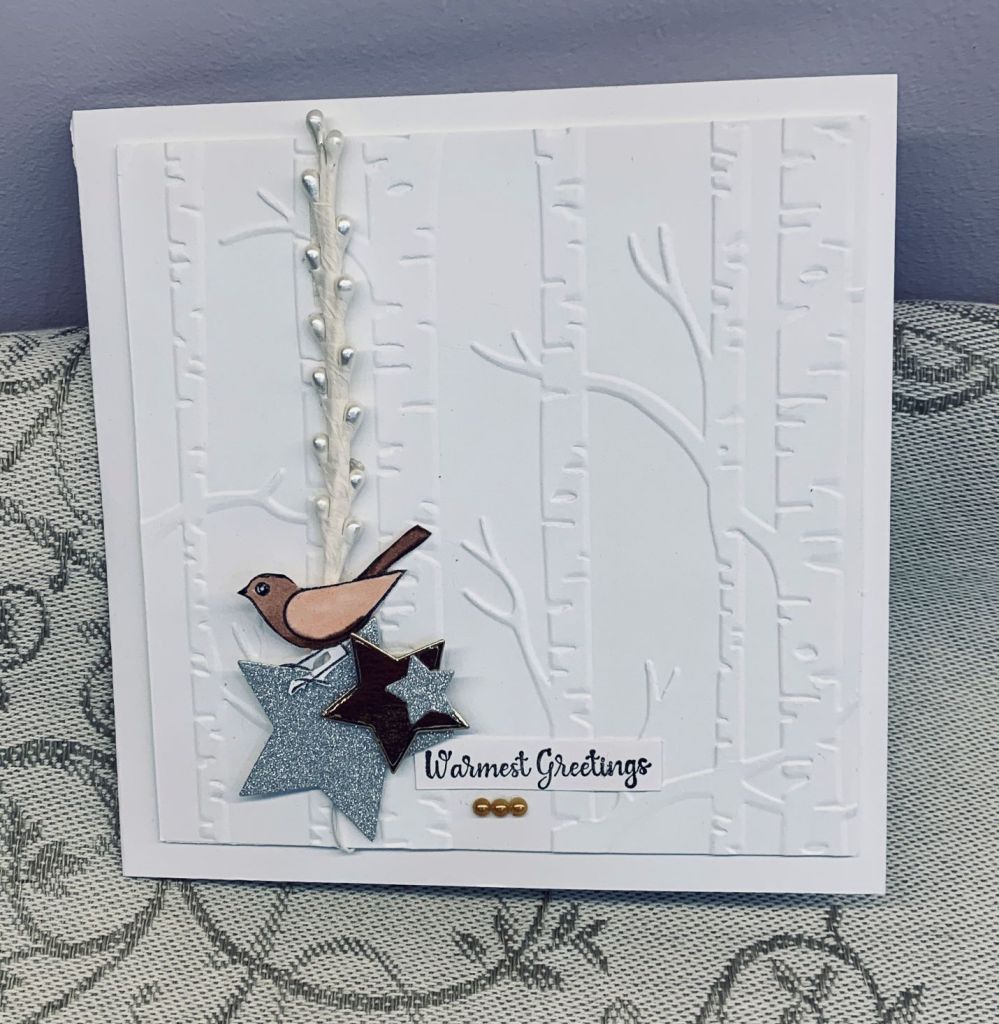
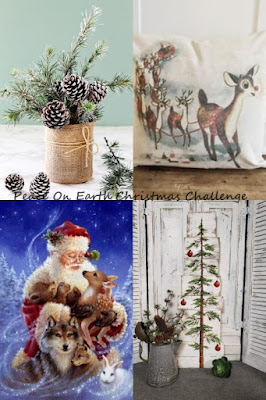
It is an honor to be guest designing for the Peace on Earth Christmas challenge and I had fun figuring out what to create. My inspiration came from the bottom right photo as I liked the idea of a vertical look and embossing in the background. As well something I’ve seen on Pinterest also helped me with this idea. I used a StampinUp folder to give me the embossed background. Long before some of the embellishments and stamps we use today were common, I bought some items that were ready made such as flowers and the pearl spray that I’ve used here. Once it was attached I added some die cut stars which were cut with an infinity set from Hero Arts. Glitter paper from Scrapbook.com and a mirror gold scrap was used for the stars and then I added dimensionals to attach them as you see. The little bird is a CTMH stamp that I’ve had for ages and once coloured using Ohuhu pens, I fussy cut then added to the top of the star. The sentiment if from Divinity Designs and the little embellishments from my stash. Another card ready for Christmas is the bonus here. Hope you like it.
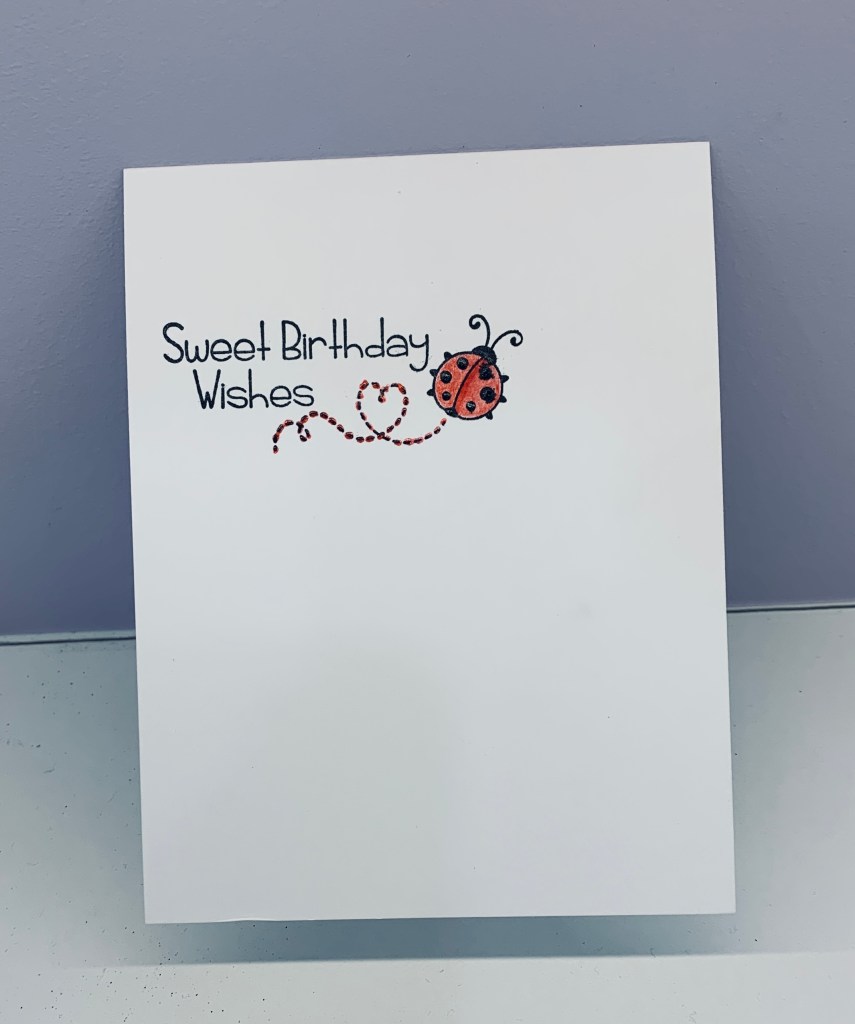
Spring is kind of here and it is definitely warming up although it is still quite cool at night. We see bees in the garden though, which is a good sign, and I figured if bees are showing up, it won’t be long before we see our first ladybug, hence my card. The stamp is from a collaboration set by the Stamping Village and the one I’ve used is by Pink and Main. Once it was stamped I used an Inktense pencil to colour in the body and added some Sakura glaze to the spots and head of the lady bug. Quick and simple with a ton of white space which I find hard not to add to. The temptation is huge. Thanks for looking.
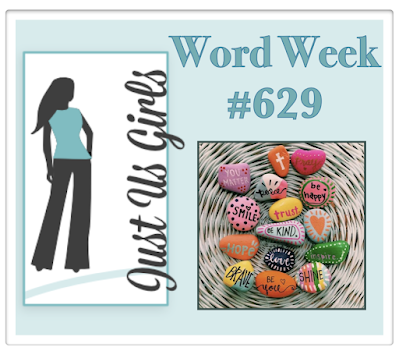
Although it is photo week at JUG’s they made a small error and put word week on the photo. Made me chuckle as the image is all stones painted with words. I went through my stamp sets and pulled out the mandala maker set by Rina K. Using various inks and stamps I randomly stamped the circles and then added the tiny flowers around them. I thought about colouring in some of the circles but decided against it and I’m glad I left it alone. The word die cuts are from a small set, but as with some of my stuff, it is a set without the brand name. Its a simple card, but I quite like it. Thanks for sharing your time with me today.
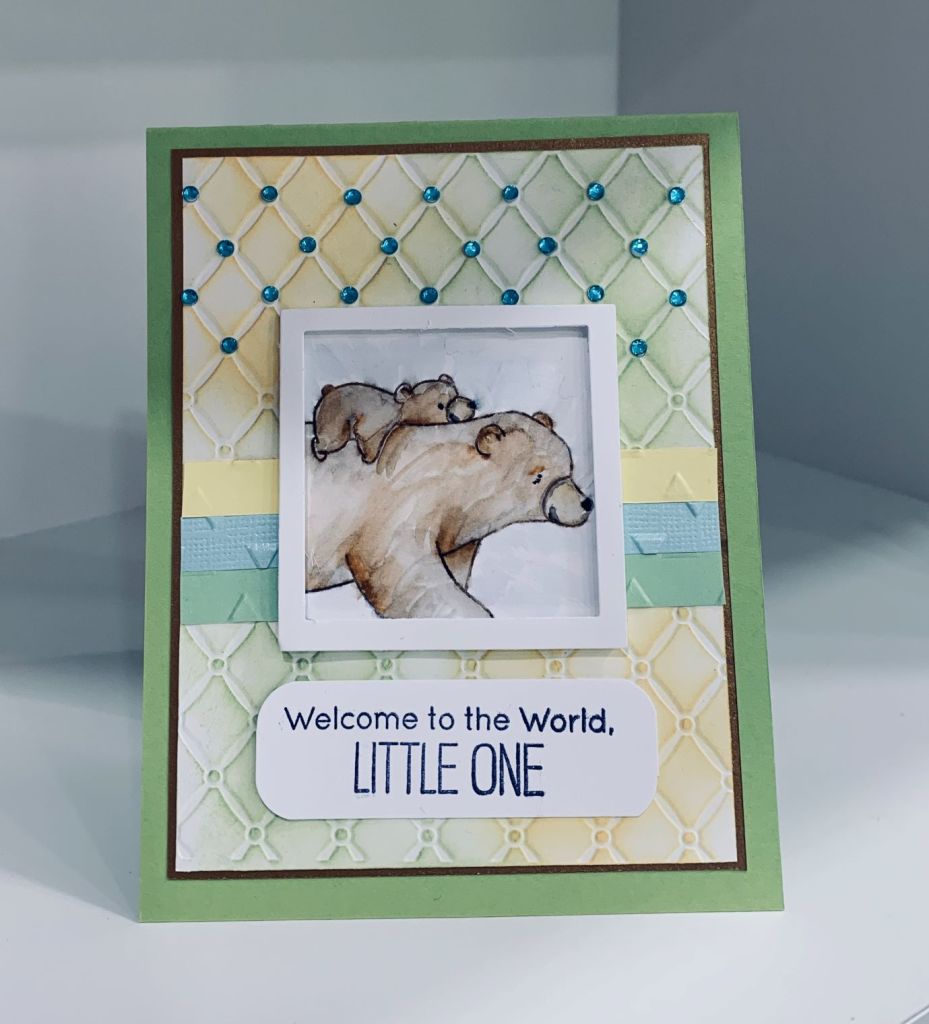
One of by besties daughter is expecting her first baby any day now. I don’t know the sex so decided to make 2 generic cards ready to mail (one for the new mom and one for grandmother) and I thought the CYHTP with a twist of pastel’s challenge was the perfect way to make a card and enter a challenge at the same time. Using a new stamp set from MFT that I hadn’t inked yet my first task was to make those images work. Using Tombow markers and a technique seen on A.I, I added colour to the stamp with the markers and then stamped the image onto mixed media paper. With a wet brush I filled in some colour pulling it from the lines of the image. Once they were done I needed backgrounds and on Instagram I viewed a card by Sheri Gilson and another by Gina K – both with ideas I thought would work for the backgrounds. The following cards are what I initially came up with. The one at the top is what I did today when I realized that I hadn’t used any embossing on the my first efforts.
First trySecond try
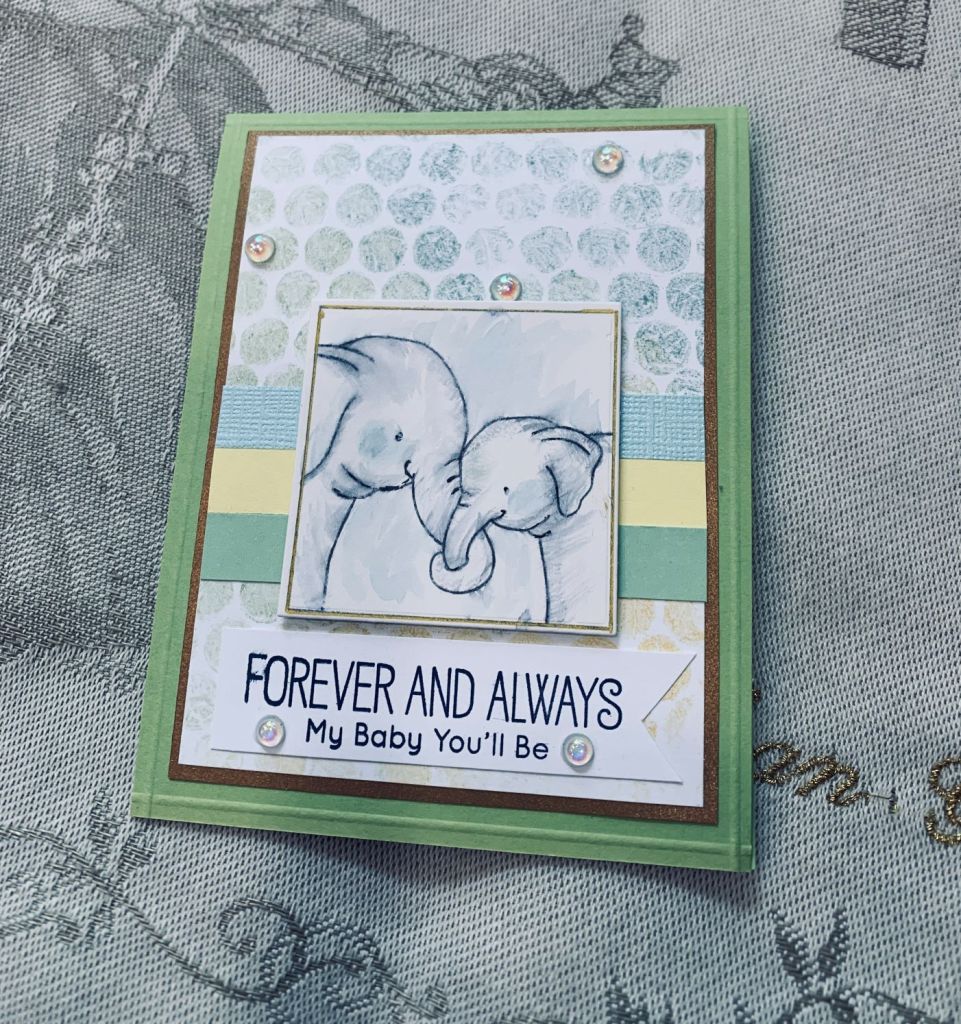
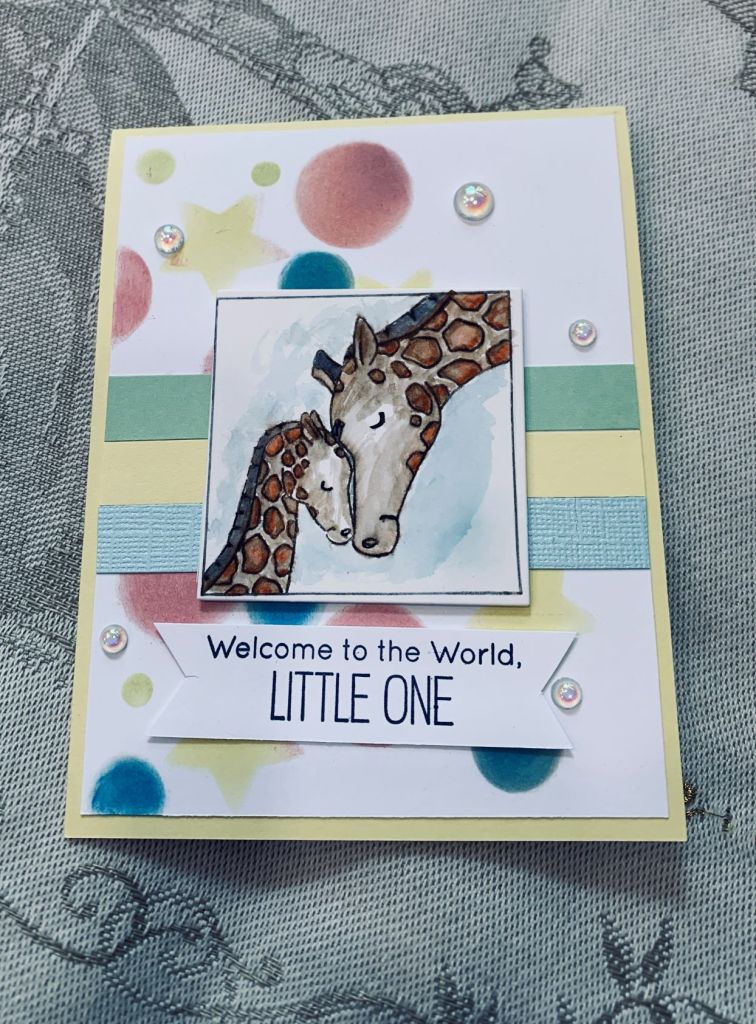
Once the images were done I die cut them and added some foam tape to the back. Taking a white layer piece I used a stencil, I don’t remember from which company, in various inks keeping them as light in colour as possible. This is the background for the giraffe card. Using the idea on Sheri’s card I also added some pastel strips across the layer. Then I popped the image on top, added the sentiment and a few gems. The one with the elephants is close to being the same except in this case I used Gina’s bubble wrap technique for my background and I added some gold pen to the frame of the image. I also scored the card edge and added the layer between the scored lines. You can imagine my face when I realized that I had met the pastel part of the challenge but not the embossing.
The one I did today is also along the same lines but in this case I used an EF by, I think, Crafters Companion and another one by WeRMemory Keepers. The panel was embossed first and I used the debossed side with soft inks sponged over the top. The strips were done with the triangle folder. And I added a small frame popped up over the image before attaching it to the card front. I added the tiny gems at the top only. I’m happy with all of these although I still need a lot of practice with the water colouring part. Having the cards ready to go as soon as I know the baby is here and one to spare is great. Thanks for spending time with me today.
This is my second entry to this challenge and the inspiration for it came from a card viewed HERE. I rarely do mixed media type cards, mainly because I don’t think I am very good at them, and often get stuck for ideas too. That said, I have a background stamp that looks like a postcard from a company called Graphic 45 and I had used it a while back and then couldn’t think how to proceed. I am clueless sometimes – lol. So there it was sitting in my tray waiting for ideas and yesterday I saw the card that helped me come up with the rest. I used various distress inks over the stamped image and then took several stamps (old and unknown brand) and added some geometrics in a few places using Iced Spruce ink. Then I took an old GKD stamp set (first one purchased at StampTV), and stamped two balloons. I wasn’t using my Misti and the result was a bit faded so I went over them with a fine pen. I added some leaf sprigs at the bottom, a few tiny kites and some flowers from the Kitchen Sink set on the balloons and also around the leaves. The sign post is from Elizabeth Craft but was quite large so I cut it to make it fit and I added some vintage photo around the edges. The sentiment is a quote found on Pinterest and I used CorelDraw to make and print them. Cut them out and added them to the arrows. My aim was to make this postcard look well traveled. Considering that this isn’t my usual style of card, I’m quite pleased with the end result. Thanks for looking.
The die cut umbrella used here was cut using the very first die I ever purchased, but at that time wasn’t smart enough to keep the information about brands etc. so I have no idea from which company it came. The stamps used came from Designs by Ryn – water droplets, the sentiment is from Joy Clair, the tiny flowers are from Kitchen Sink and I used them because they were still on my desk from my last upload. The little boots are fussy cut from a store bought card as I thought they would come in handy for a design. The background PP was a gift and I believe is from Michaels, the umbrella piece is StampinUP and the stitched frame is from GKD. Basically I stamped the water droplets and used some Crystal Glaze to make them look realistic. While they were drying I prepared the other elements and also added the PP to the card front. After adding the boots I stamped around them with the tiny flowers. Added the sentiment and using foam tape popped the panel onto the background piece at an angle. A simple card but fun to put together. Thanks for looking.