Packages

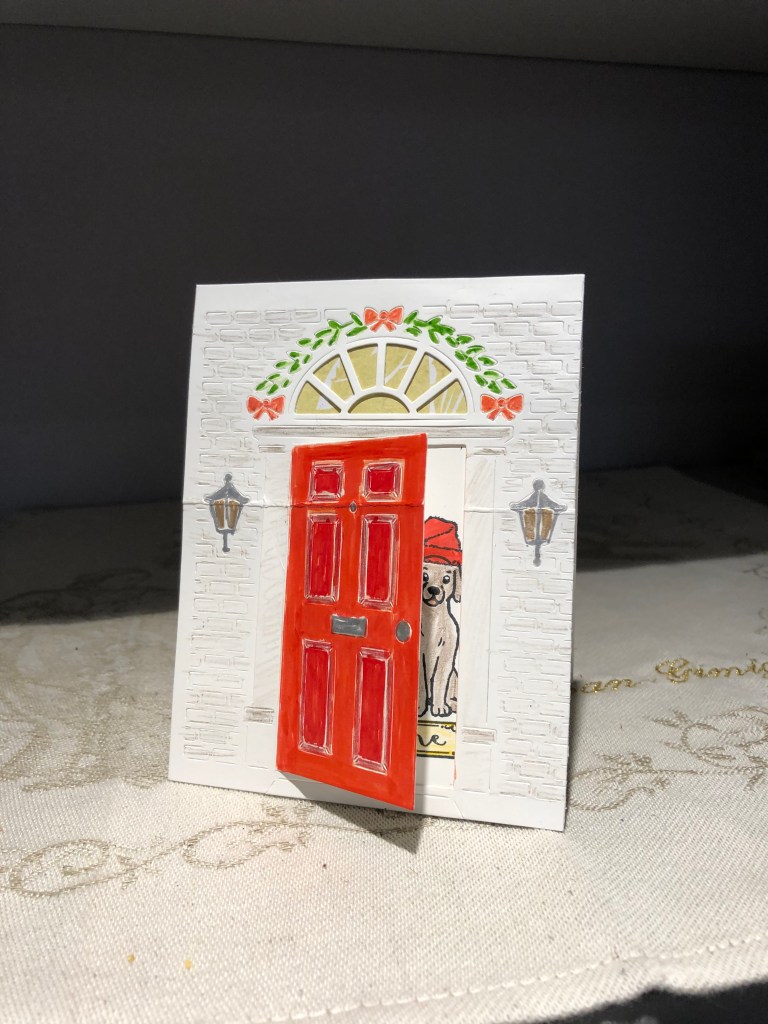
For the challenge at CAS Colours & Sketches I made this card. Didn’t think I would have time to enter but managed to get this one done late this afternoon.

Challenge #349 – Sketch

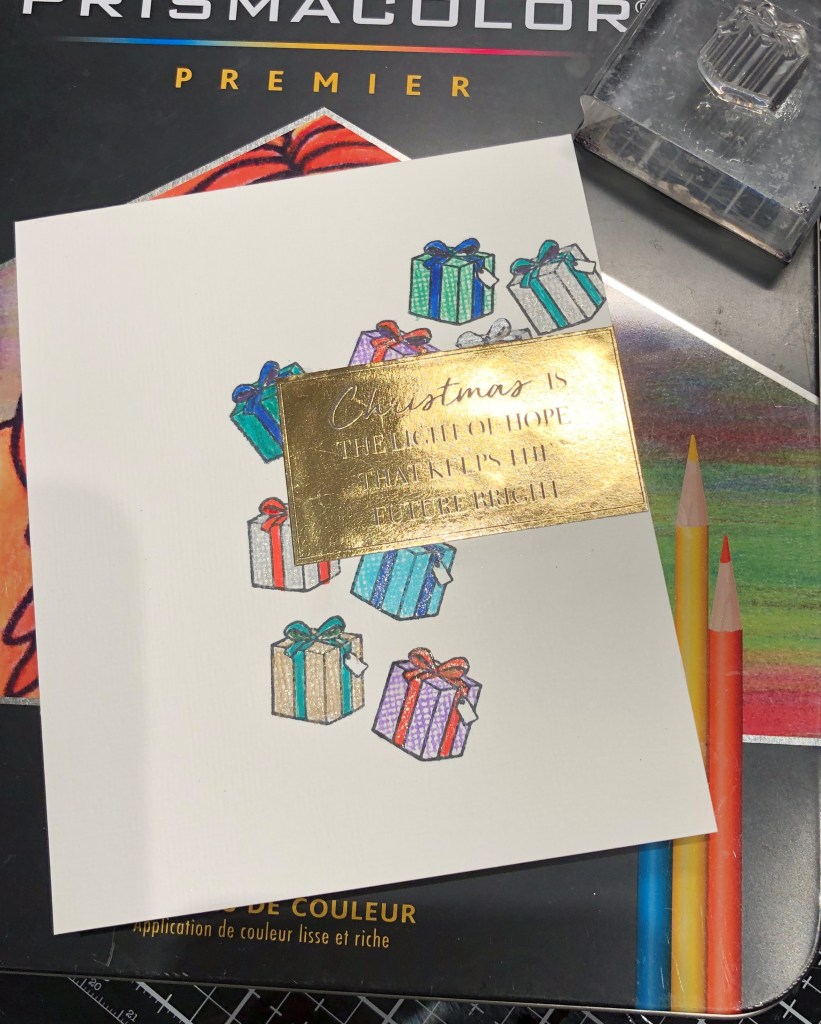
Using a small stamp from my new Hero Arts kit I stamped the packages randomly on the card front. I then coloured them with a combination of Prisma Pencils and Pigma brush pens. For a bit of sparkle I added some Sakura gelly roll to one or two and also some wink of stella. Sparkle doesn’t show in the photo. Sentiment is from a 12 X 12 paper that coordinated with some cards I made at a local class a few weeks ago. Had to use this last piece so here it is. Card front is a texture card stock.weight.

Cozy

The colours chosen for this weeks As you see it challenge were so pretty I couldn’t resist trying to make a card using them.

Challenge #214
Challenge #3 – Christmas

As well I decided to try to make the card fit the Perfectly CAS use one third site. These days I am trying more CAS cards so I get better at making them. Using my new Hero Arts stamp kit received during the week, I chose the stocking stamp and stamped it in a line down the side of the card. I also used the sentiment from the same set as it seemed to fit using a stocking.

Matching the colours wasn’t so easy, and initially I tried with distress oxides but couldn’t get the depth of colour I wanted. Then I decided to go over them with my shimmer water colours and that worked perfectly. The colours now pop beautifully and I was happy. I felt the card still needed something and I had the rickrack braid on my desk so decided to use it. It is a slightly darker green but has a glitter to it and to me it was the perfect addition.

Time

This card is for the Global Design Project for this week. I CASED the sketch as suggested and came up with this …

CASE the Designer


In one way it is a CASE of another card as well because I had an image saved on my computer from a long time ago. Starting with the pp I dry embossed it using a Tim Holtz texture fades folder. It was then die cut using a SpellBinder A2 Bracket die. I rounded the corners with a punch. I did the same thing on some black paper so I could create a small border. In the past I have done some Iris folding and had some special papers left over in my stash. One of these strips was perfect for this card so it was glued on to the black background piece and the other bits were popped up on top. Not having any clock faces I went on line and found a free one I could play with. Made it the right size and added the sentiment to the face using CorelDraw. Printed it and used a circle die to cut it out. I went around the edge of the clock face with a gold pen and added a tiny gem to the center. I also added, using my finger a small amount of black soot ink over sections of the dry embossing. Not sure if this was a mistake but too late to fix now. I think this card looks better in RL than on the photo.

Thanks Friend

Had a few minutes to spare so made this card quickly even though I had to fussy cut everything out except for the wreath which was die cut.

Challenge #348 – Colors

Started with the die cut wreath done with a pear coloured vellum. I then stamped all the flowers and leaves from a Lisa Hetrick set in Oxide inks and once cut out placed them where I wanted them. Added the sentiment which is a combination of two different stamps sets. Cut out the little bird and popped him on top.

Welcome

Received my new Hero Arts kit today and couldn’t wait to start playing. Double D has a What is your Christmas style challenge on this week. Like one of my stamping buddies I don’t really think I have a particular style. I just like trying things out, but this card leans to the more traditional style.

Traditional

My kit included both stamps and dies so it was fun to pick images and create a scene. As the door opens I decided to stamp a welcome underneath it with the animals in the doorway. Not seen on photo, but there is a cat as well as the dog on the mat. I marked the door with pencil on the card base so I could get correct placement for the images. coloured them with a combination of pencils and brush markers. Die cut the door front and shaded in the bricks with pencils. Used brush marker for the door and sakura pens for the lights and the wreath. Made silver door handle and letter flap.

Icy World

For the Paper Players challenge this week, I created the following card …

PP468 

I used a background PP from a winter paper pack and cut it to the size for the card front. I then created my own iceberg with scraps and popped it up. Using a LawnFawn stamp set I stamped the polar bear and coloured him with a gray and a pale yellow copic. Added a bit of sparkle to him and put him on the iceberg. Added the sentiment from the same set.

Truck & Circles

When I started this card yesterday I hadn’t even seen the challenge about circles and was intending this solely for the Mod Squad. This morning I saw the other challenge As You See it and wondered if I could make it fit both. For sure it is okay for the Mod Squad but I’m not 100% certain about the other.

Challenge #213
Mod Squad

Never the less I shall add to both challenges and if it gets eliminated so be it. I did the circles yesterday using one of my Bonnie stencils and distress oxide inks. Left it to dry overnight. This morning I commenced stamping the Penny Black Loads of Love truck but directly on top of the circles made a part of it dull looking so I restamped on a separate piece and coloured it using a combination of Sakura pens, Copics and a pencil. Added some sparkle here and there and also added Liquid glass to the window and headlight for extra shine and dimension. I stamped few tiny snowflakes onto the circles using white pigment ink. Stamped the sentiments, one from the Penny Black set and the other from my mice on ice set by LawnFawn. I fussy cut the entire truck out and adhered it over the top of the original stamping using pop dots. After adding pp to the card front I glued the whole panel on top. Always a bonus is that I actually like this card as it is so bright and cheerful to look at.

Merry & Bright

 #347 – Sketch

The masking I tried had left me with the shape I needed but some very messy lines. After looking at it again I realized that I could rescue the actual stamping and the background by cutting it out in the diamond shape and using it on another card front. Once it was cut out I added a border with a fine gold pen and using the same pen I added some gold to the snowflakes. I also added some sparkle with a Sakura gelly roll pen. I added three gems to the middle of snowflakes for added interest after which I adhered the entire thing to the card front. Added the 2 sentiments on angles and am much happier with the result now.

Diamond Shaped

For this challenge I initially tried to do some masking in the diamond shape and then stamp into the shape. Messed that up royally and couldn’t think what to do with the mess. While I was thinking about it I also had another idea to play with …

#347 – Sketch

… I stamped the gingerbread men in a rough diamond shape with the sentiment in the middle and then coloured them in with a mix of sakura pens and Prisma Colour pencils. Added a few gems and was amazed that it worked out. Then I took another look at my initial mess and had an idea. See next post for that.

Inspire

Challenge this week is this theme

One of our dearest friends was a highly decorated veteran for the USA and when he died some years ago we were devastated. His wife was almost destroyed by his loss and yet somehow she managed to get herself back together and have a life without him. This card is for her as we found her truly inspiring in how she pulled herself out of the deep mire of grief.

Project 215

I chose the poppies for both her, as she loves them; and also because we have just celebrated Remembrance Day here in Canada. Thought they were appropriate somehow. Stamp set is from Gina K. Designs and was a gift from a stamping buddy. I stamped in Iced Spruce Distress Oxide and then heat embossed clear. Did the same thing with the sentiment. Coloured with Prisma Colour pencils and blended with Gamsol Added the sequins and it was complete.