This card was made some time ago and I never posted it thinking it might work for a challenge one day. As Double D is looking for flowers in containers and with the upcoming move and the packing etc. finding time to craft is a bit challenging so rather than stress I decided to upload this one. The wonky frame is cut from some paper that came from a box and I peeled it off to use for crafting. It’s textured and looks like wood which is why I liked it. The PP is from StampinUp gifted to me by a close friend and the flowers and mason jar are GKD. I added a hint of colour to the jar for water and the flowers and leaves were both fussy cut and die cut. I also added some clear beads that look like water droplets. When I first made it, I wasn’t sure I liked it that much, but as sometimes happens a card grows on me and this one is like that.
This card is a CASE of something Angie did recently. Thanks for the inspiration Angie, I love your original card and couldn’t resist using it as jump off point for my own. I used several stamp sets to create this card. As the challenge is about snow I remembered I had an older set from GKD that was designed for frames and it had a curved snowflake stamp. I used this to create the circle of snowflakes in tumbled glass ink. From another older set from GKD I took the smaller tree stamp and after stamping off the forest moss on a piece of scrap I stamped the trees into the background. Then I took one of my new Divinity Designs stamp sets and used one of the birds to stamp onto a scrap piece of CS which I then coloured with a combo of Sakura Glaze pens and some Inktense pencils. Using the matching die I cut him along with two blanks so I could glue them together for some definition. He was glued to the card front against the trees. From the same stamp set I took the snowbird word, stamped in white on the black and heat embossed in more white. From another Divinity Design set I took the final sentiment and stamped directly on card front using Hickory smoke ink. I used one sequin snowflake to cover up a stamping booboo. All in all I’m happy with how this card turned out.
One of my stamping buddy’s asked for a condolence card for someone in deep distress and this is what I came up with. I had written something inside when I realized I hadn’t taken photos which normally I wouldn’t post and I’m sorry about that. In fact I didn’t intend to post the card at all, but I realized that it fit the Modsquad challenge and decided to add it there as a 2nd entry.
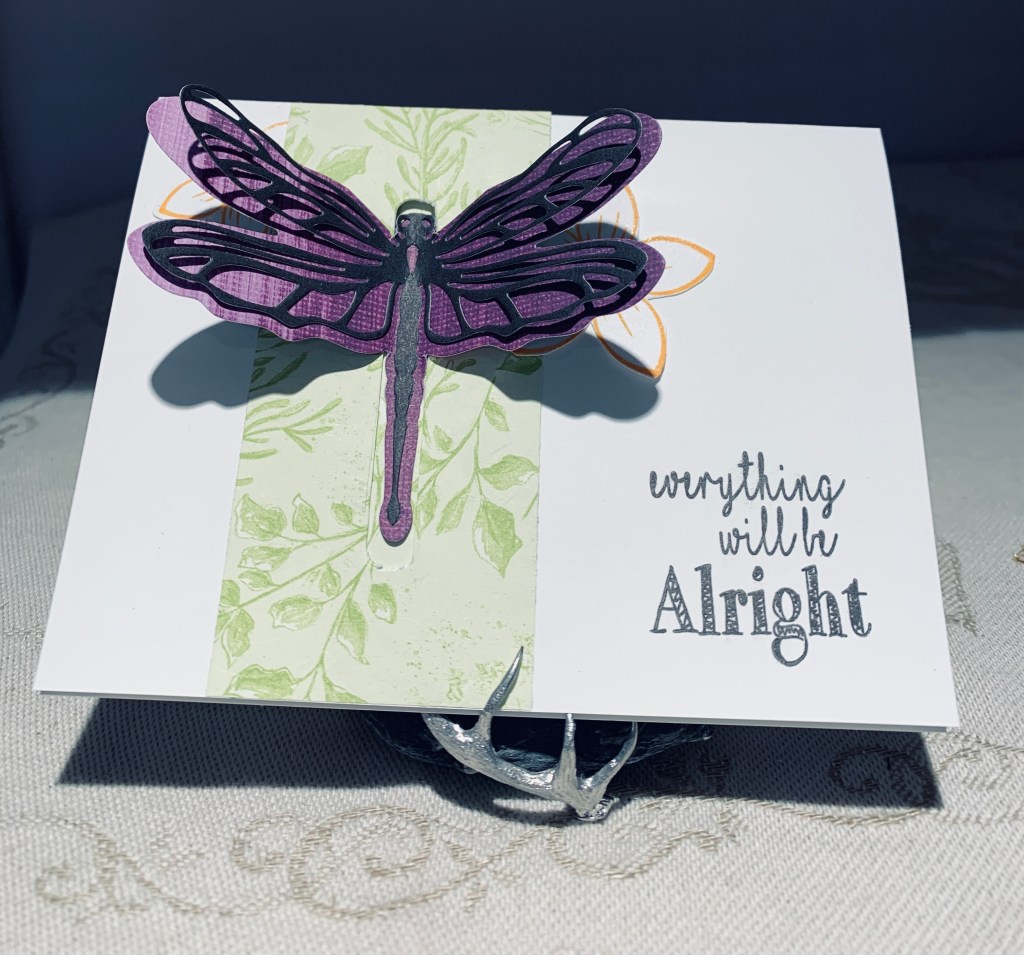
I had seen a version of this card quite some time ago and thought I would love to try making one. As with many things it sometimes takes me a long time to actually get around to doing it. Basically I followed the YouTube video posted HERE and it is mainly a CASE of that card. I had to improvise a bit as I don’t have many punches so to create my slit opening I used a LawnFawn slider die and a knife to tidy it up a bit. I also used a dragonfly die from PaperRose which was slightly bigger than the one used in the video. Paper is from StampinUp and sentiments are from Joy Clair. I had a couple of flower die cuts in a tray and added these to the front panel. They are from GKD – stamped, heat embossed and die cut. The inside sentiment is actually 2 stamps and the word trust actually was a two word stamp. I didn’t want to cut it so to make it work, I first stamped God, placed a post it note over that and carefully stamped the other stamp keeping my fingers crossed I had the right placement. It worked and I am happy with the result. I shall probably make more of these cards at some point as I like the effect.
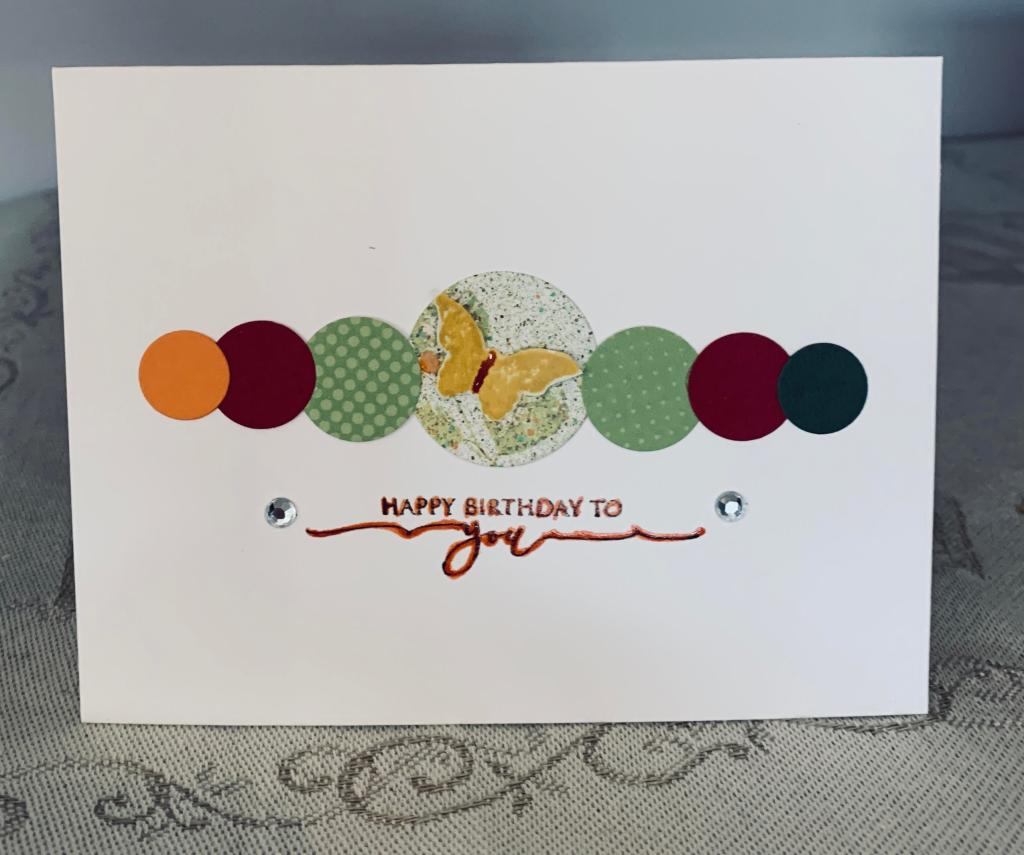
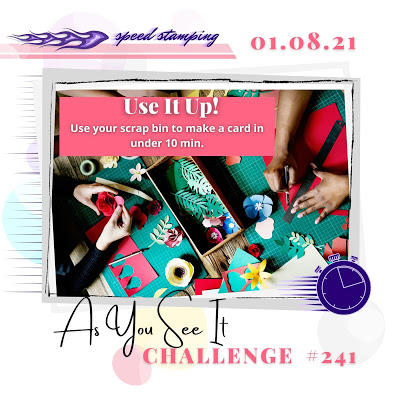
Yesterday after finishing the butterfly card – I laid out all the small circles I had on my desk to see how I might use them. Some came from the center of the Mandala cards and the one with the butterfly was from yesterdays card. I left them there and then this morning started looking at challenge blogs to see what was coming up. When I came upon the As you See It challenge I thought maybe it had been put there with me in mind. I gathered up a card front, scored and folded it ready and then began. Clock is ticking but I’ve already got an idea in mind so it was a matter of placement and gluing. The hardest part was choosing a sentiment and I went with one of the scripty greetings by GKD. I messed up the stamping and almost freaked as now I’m down to the wire with time. In the nick of time I managed to go over the poorly stamped words with a Sakura Glaze pen that was used to add the body of the butterfly. Had just enough time to add the bling. Not a perfect card but at least a finished one in the time allotment.
This card is a CASE from something found on Pinterest and is actually quite similar to it but with different papers and stamps. I cut the outer ring from a toile pp that I keep forgetting to use and initially thought I could do the butterflies from the same paper but they looked awful. The inner ring was cut, stamped with a StampinUp leaf and spattered with distress oxide sprays before cutting the inner circle out of it. This was then popped up with foam tape. The butterflies were stamped and fussy cut, but I also spattered them a little bit too. I added the tiny seed pearls and used a stamp from CTMH for the sentiment. The second butterfly should have maybe been a bit smaller, but I still like how it turned out and it fits the ModSquad challenge, which was my goal.
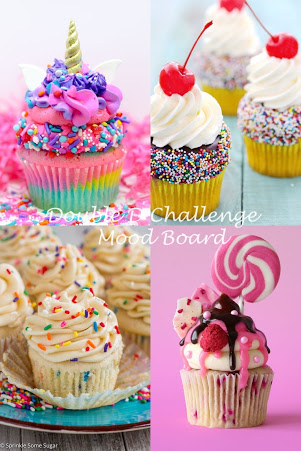
This little Penny Black mouse was intended for the front of the previous card post, but he was too small and got lost on that busy background. I pulled him off and substituted the flowers for that card and here he is being used on the anniversary of Double D’s blog. I first stamped cup cakes in spun sugar pink all over the white layer which was then mounted onto the foam sparkly background. I thought the glitter piece would look like the fancy sprinkles some cakes get. The sentiment is from a GKD incentive set and I fussy cut both the sentiment and the mouse before popping them up on foam tape. Mounted it all onto the Dusty Rose GKD card front. I decided to leave it as is rather than add bling, but I did use some Sakura Glaze pens on the cake and on the mouse to make the colours pop. I chuckled at the comment on the Double D blog about who doesn’t like cup cakes because I actually hate them. I intensely dislike the sugary icing or frosting and never eat them. I get fat on other stuff – lol.
I decided to add this card as another entry into the Global Design colour challenge as the image was coloured using the challenge colours.
Another die from my Divinity Designs Xmas gift is featured on this card. I cut it from Navy CS and using inks, added some colour, picking out a flower design as I did so. Originally I was trying to make one card fit several challenges but my brain simply wasn’t feeling creative and with constant interruptions I ended up with this as my final result. It fits the colour challenge and that is all. I was supposed to be packing up a file cabinet, but wasn’t in the mood for that either. I’m not unhappy with this card, but I don’t really like it either. Note to self, stop working if creativity isn’t flowing.
The poinsettia and leaves are from a GKD set that came with matching dies. The sentiment is from a Joy Clair set I’ve only had a short time. I heat embossed the edges before adding more colour. I like that this card can be used for any occasion.
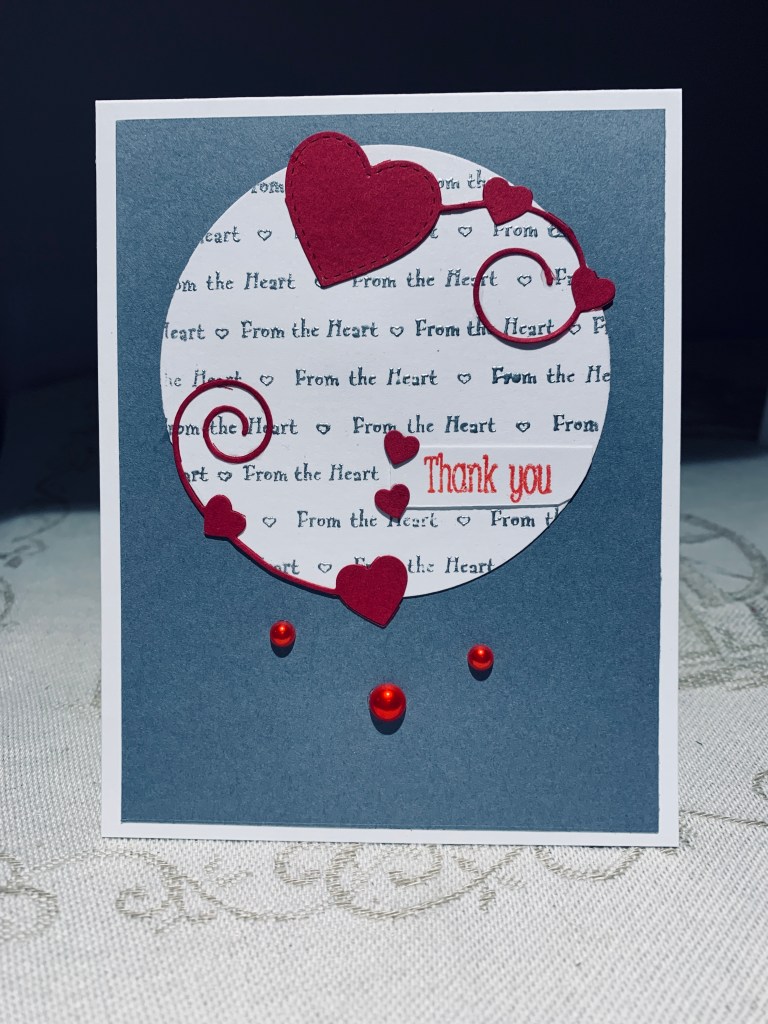
This is a new challenge blog to me, but I like the idea of just using 2 colours so decided to give it a go. The gray CS looks blue in the photo but it is a nice gray in reality. The red is from scraps left over at Christmas. Using an old wooden block stamp from Hero Arts I stamped the words onto some white CS using Iced Spruce Distress Oxide. The ink wouldn’t dry so I decided to heat emboss it and by accident used silver instead of clear powder. Figured silver is still a type of gray so kept it, die cut the circle then glued it to the gray layer. Using a SSS heart die for the swirly hearts, I hand cut that into the pieces you see, I then glued them onto the circle. From a Joy Clair sentiment set I stamped the thank you and then cut it at one edge to make it fit the circle and glued it down. Added a couple of left over hearts at the other end. Glued the layers to the white card front and added the red bling underneath so a nice thank you card is completed. I do a bit of packing and then use my craft room as a way to rest my body before doing some more. Maybe I’ll get a few cards done this way before I have to pack everything up. Still not sure of a move date but we get full possession later this week. I suspect we’ll take some stuff over slowly and live between the new place and this one for a month or two unless this one sells really quick.
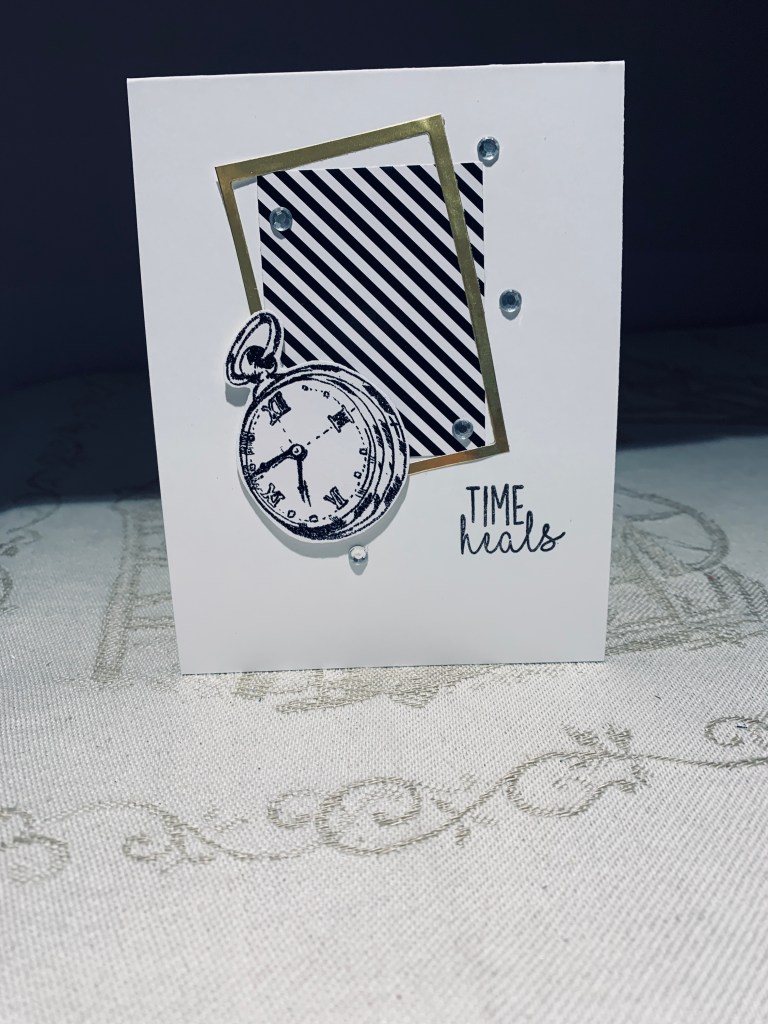
I have some new stamp sets from Joy Clair and decided to use the clock along with some scraps to make a get well card for a member of my hubby’s photo group. He has been ill with Covid and was hospitalized for several weeks, but we heard he is on the mend thankfully. After stamping and heat embossing the image I fussy cut it. The gold frame and striped paper were on my desk and had become stuck together so I decided they would be okay as the background for the clock. Then I stamped the sentiment from the same set and added a few gems. I quite like the result and hope others do too. Thanks for spending some time with me.
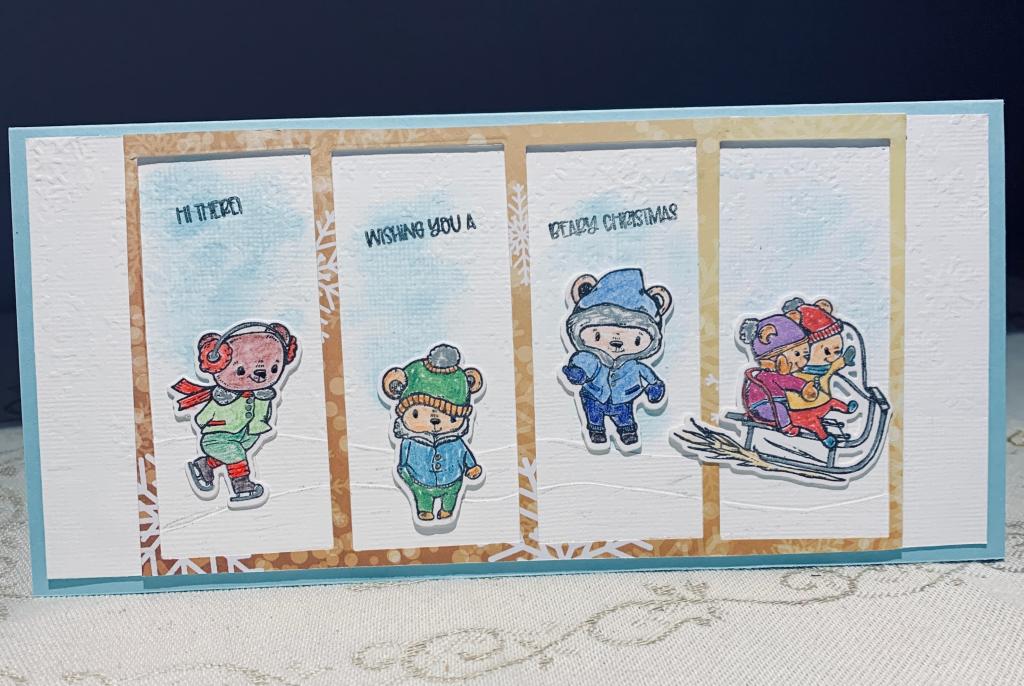
My Christmas gift from my hubby this year, was the latest Divinity Designs kit, and I just had to play with it right away. The frame used here is actually a piece left over after cutting out some PP for another card using the set. See following images. After dry embossing the white piece using a snowflake pattern, I laid the frame on top and added a bit of inking to denote some sky. I popped up the frame slightly by using some tiny pieces of foam tape around the edges. I also added some curved CS to look like snow banks at the bottom before adding the frame. Using the stamp set and my misti I stamped all the images and then hand coloured using pencils and some Sakura pens. I then die cut them out with the matching dies. I popped these up on top of the snow banks as you see in the picture. I used 3 of the sentiment stamps and stamped across the first 3 panels. There is glitter on all of it and the snowbanks show up more in R.L. than they do on the photo. I did think I might save these designs to add to my blog later this year, but decided not to wait. Now I have 3 cards ready for next Christmas so a good start to the year for me.
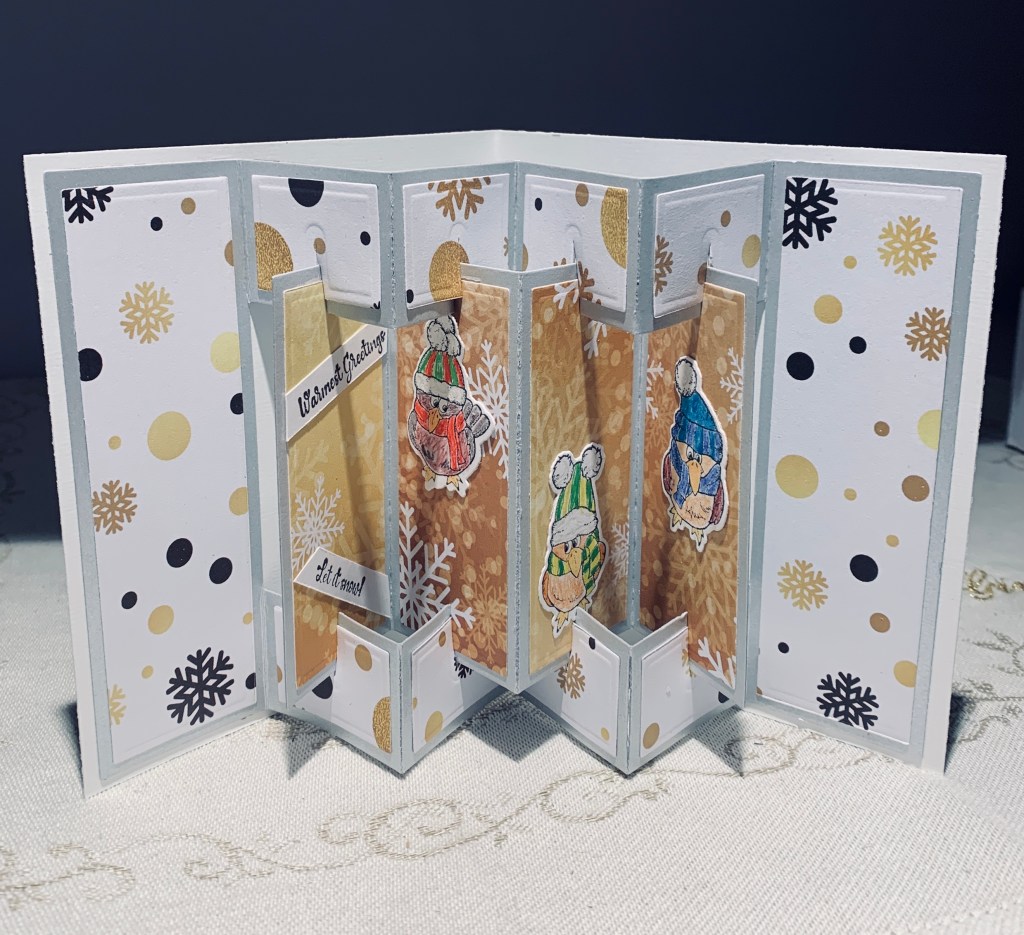
Front of the concertina fold cardConcertina fold inside
So the kit came with all the dies necessary to make a concertina fold card and this is what I came up with during my play. The card front uses the dies for Mandala making and I did mine as shown here. The mandala is either a 4 piece or 3 piece glued together, but on this one I used only the 3 pieces in different colours. I’ve since made some ornaments using all the pieces for gifting later on. I used a scrap piece of ribbon to make a bow for the top. The concertina part isn’t difficult but it is fiddly getting it to fit together properly and I find it a bit thick when folded so shall need to ensure a good size envelope and extra postage if I choose to mail it to someone when the time comes. I used the stamp set with the birds to add to the PP panels and I angled 2 sentiment strips on the first of the panels for the greeting. Any personal writing has to go on the back of this one, but the next one I make will have a place for me to write something personal on the inside. I’m quite pleased with the result and shall have fun making a few more. All the PP is from my Reminisce collection. I’m also thinking that perhaps I can just use the concertina piece on its own instead of adding it to the inside of a larger card. It will stand up on its own so it should work.
There is still more to the kit, but I haven’t played with it all as yet. I shall have fun coming up with some future designs for next Christmas I think. I did these in between sorting and packing for our upcoming move. We’ll see if I have more time to make a few more over the next few weeks before I have to pack up my craft room entirely.