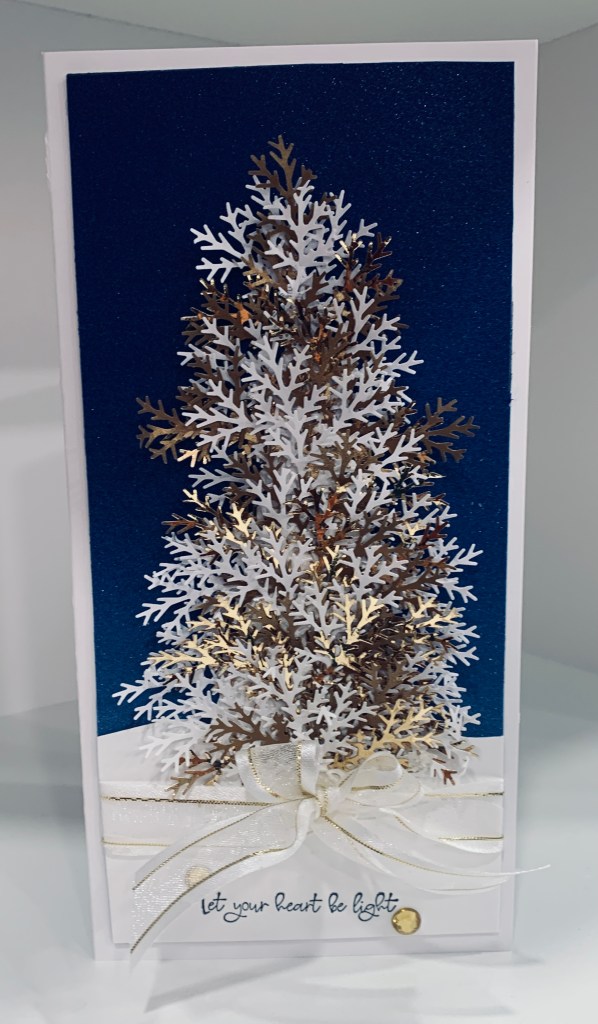
This card was inspired by the wreath, and the gold puppies. The products used are a mix from StampinUp (glitter background and sentiment) a Martha Stewart punch, ribbon from GKD and embellishments from my stash. I had seen something like this on Pinterest and liked the idea so this is my version. I used the punch to cut many sprigs in both white and gold and I glued them into a tree shape. Added a white curved piece to look like snow and to ground the tree. Not sure how this will mail so most likely I will hand deliver it to someone close by when the time comes. It was a bit time consuming to make, but very easy and the result is worth the effort.
This card almost got tossed as I was so unhappy with it. I don’t know why I found the CASE so challenging but I did. After I had gotten so far with it I decided to finish it and post, even though it isn’t one of my best cards. Hubby said he thought it looked funky, and while he agreed I’ve done better, he still thought it was okay. Products used are a cover plate die that I’ve had forever but have no idea the brand, some new scripty dies from Amazon that are unbranded, embossing folder from Darice called Swirly vines and a little bow from my stash. As the colours seem to work for the new Color Hues challenge as well as Global am adding it to both. I didn’t want the full die cut so I cut it in half but it does leave some jagged edges. I thought using a small strip of blue along the worst edges would help and then I added the yellow die cuts on top and beside it. As I said it isn’t a terrible effort, but it certainly isn’t the best card I’ve made.
Due to construction going on in the house right now, I didn’t think I would be able to do much creating this week. However when the old countertops were removed yesterday we found some hidden issues and before we can continue they have to be dealt with. What was supposed to be 3-4 days without a kitchen will now, likely be at least 3-4 weeks. What a pain, and we have to figure out how we shall manage that long without a functioning kitchen. Such is life and the trials and tribulations of doing any kind of renovation.
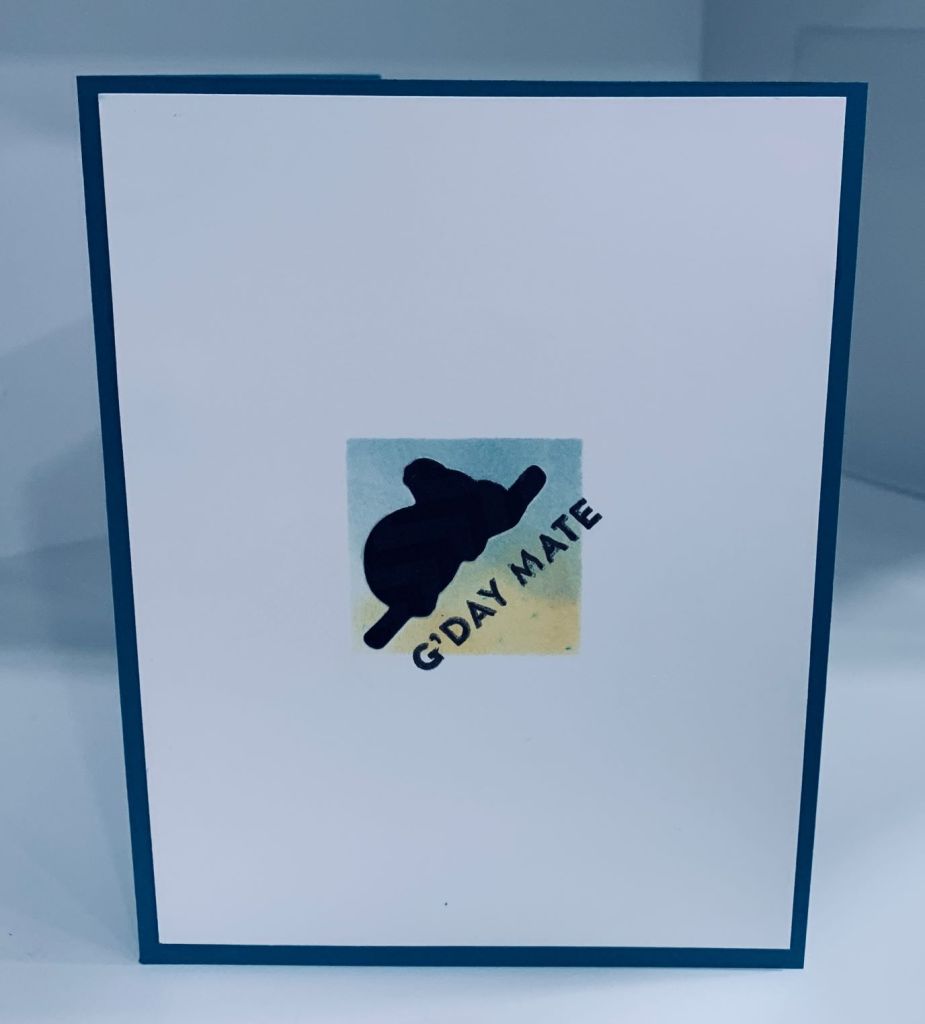
So here we are – I managed to play a bit this morning and have made a card for the AAA challenge. Using only 1/9th of the card isn’t easy, but I managed it. My favorite animal is actually an elephant, but I don’t have any stamps small enough that I could use. My hubby is an Aussie and I nicknamed him Kangaroo, but again those stamps are a bit big so I chose a Koala bear instead. And anyway, my true favorite animal is my hubby, so representing him with any Aussie image works. haha. Initially I tried to stencil the background over the masked stamped image but I didn’t like it so instead just sponged some colour for the sky using speckled egg and scattered straw inks. I still didn’t really like it as I couldn’t get close enough to the stamped image to prevent ugly edges, then I had the bright idea to die cut the image out of a subtle patterned scrap of CS. This worked and I liked it much better. I added the sentiment at close to the same angle as the image. Stamp set is from a Hero Arts kit.
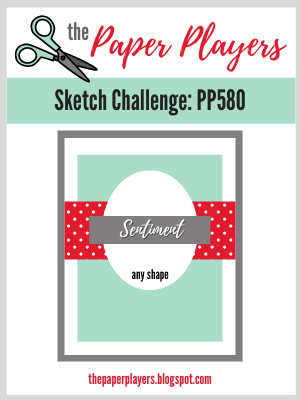
The stamp set used here is one I’ve had for a while but only used one image from. The DSP is from StampinUp and reminded me of feathers and this stamp set from GKD, so here is my entry for the sketch challenge at Paper Players. There are times when covering up something as pretty as this paper seems like a crime so the sketch allowed me to use it and let it shine at the same time. The additional pp is from my stash and is a piece of mulberry paper. After stamping the Titmouse I looked it up on Google as I couldn’t remember what colours it should be. Some showed a beige brown and some showed a blue gray so I went with the blue gray. I Used a combination of pencils from both Inktense and Prisma to get the tone of how I wanted it to look. As well, I used some Sakura Glaze to highlight the blacks in the feathers. I cut several layers of the bird and glued them together for dimension and stability. Then using an MFT die that came with a stamp set I cut the sentiment and added a small navy bow to one end. The card base is a gray from GKD and I’m happy with the result.
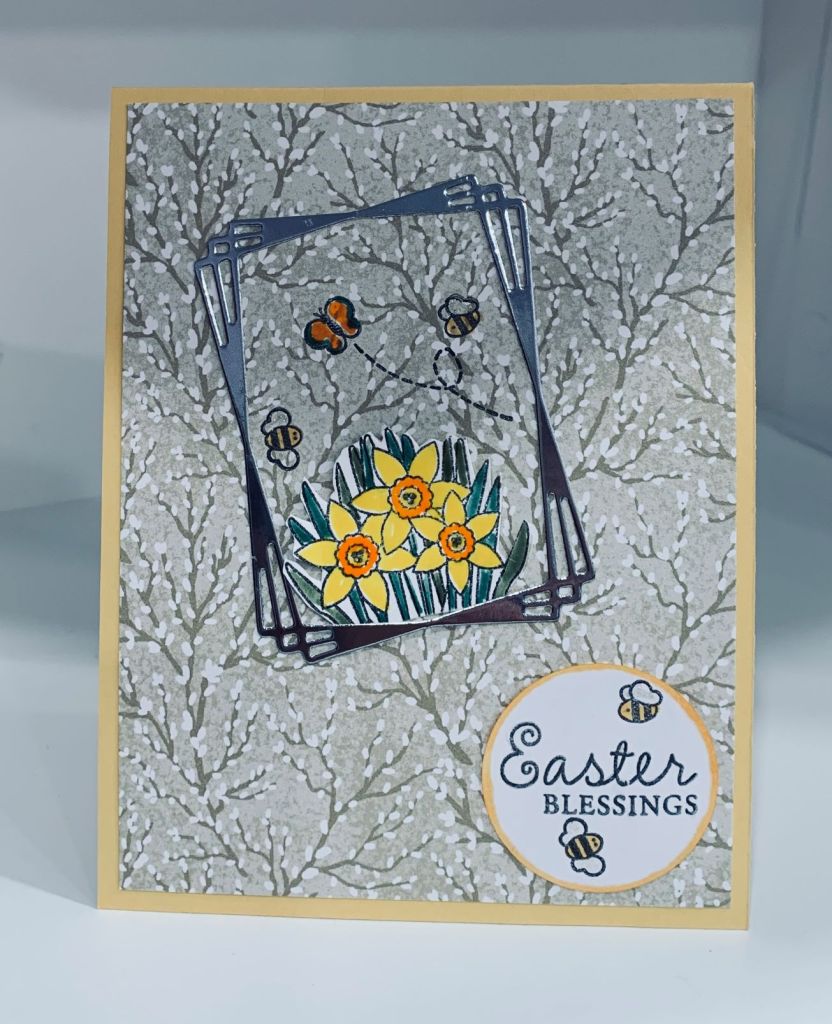
This DSP from StampinUp reminds me of a painting my sister did when in Art College and I just had to use it. Pussy willow is such a lovely sign of spring too. Anyway I die cut the small frame in silver using a new unbranded set I’ve just received. I didn’t want to cover up the DSP although in retrospect I probably should have added a white panel underneath the frame. Using an Easter stamp set by Claire Brennan/GKD I stamped the daffodils and fussy cut them. I used Sakura glaze pens exclusively to colour in the image. Once it was added to the card front I added a few bees and one butterfly all from the same set and coloured them too. The sentiment was added to the circle along with the bees and I added some sparkle to it using a glitter pen. I went round the edge of the circle with a yellow Spectrum Noir pen before adding to card. This is a 2nd entry into the JUGs challenge. I’m not sure if some embellishments should be added so for now am leaving as is.
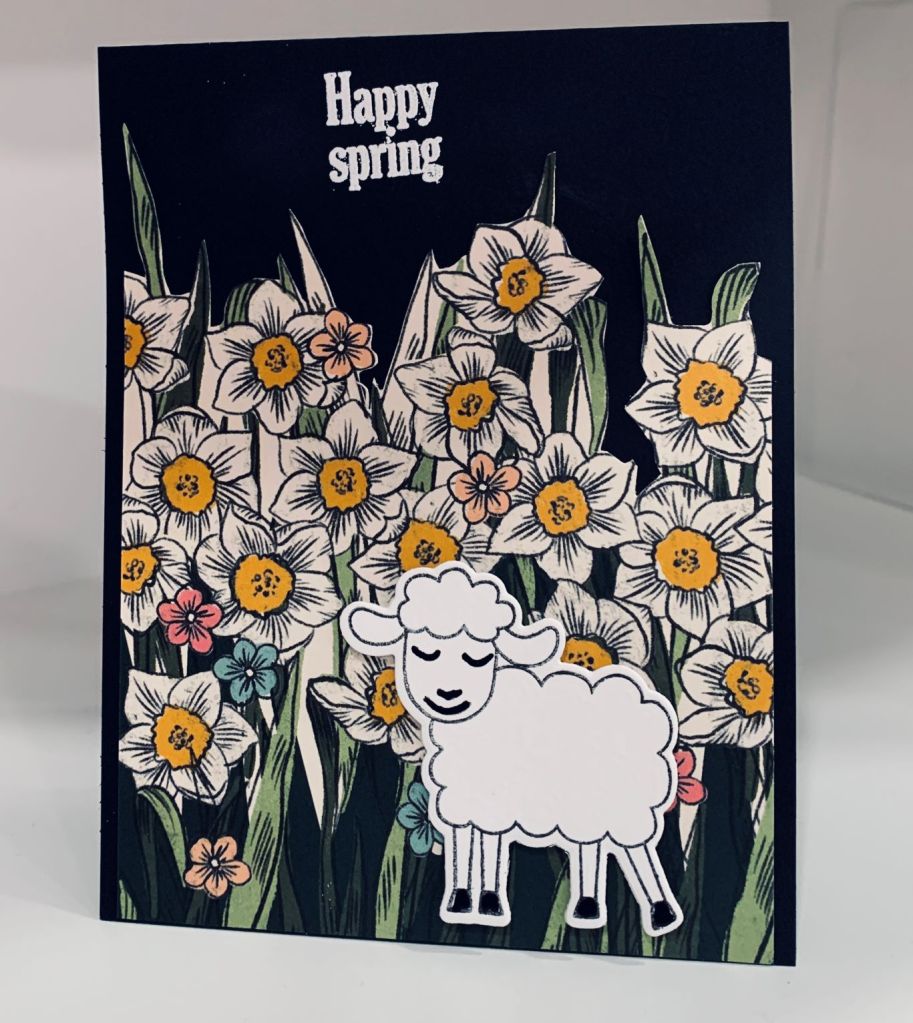
For me, nothing denotes spring more than a garden full of daffodils and I can already see the spears showing in my garden. For this card I took a piece of DSP from StampinUp and fussy cut around the top edges of the leaves and flowers before adding it to the card front. I left the top edge without any glue but on the photo you cannot see that it is loose with a bit of dimension. The little sheep/lamb comes from an older set by GKD and after die cutting it I added Sakura glaze on his feet and face with the black pen and then did swirls of white over the body which doesn’t show on photo but to the naked eye is evident. I popped him up on some foam tape. The sentiment comes from the same set and was heat embossed in white. I’m entering it into JUG’s although it isn’t anything like the photo.
THINK SPRING is the title for the latest challenge at CYHTP. For my card I used a cover plate die from Cutplorations a Stamplorations product. I cut it from white card stock and then using my Brutus Munroe stick and stamp mat I carefully sponged on the various colours which, to me, represent spring. After it was dry I added it to the black card front. Then I took an embossing folder from Craft Concepts, called In Bloom, along with a piece of shimmery vellum and I dry embossed the band. Even protecting it with some scrap CS didn’t prevent it from splitting a bit which was disappointing. After I attached this piece I took the sentiment strip which came from a gifted package of ephemera and attached it so that it hid the worst of the splitting. I shall have to play a bit to see how best to emboss vellum without damage. Any suggestions are welcome.
Based on this card and a previous post it is obvious that our lovely friend, Angie, is the source of my inspiration at the moment. This card was begun yesterday when I tested out my new cover die from MFT called Lots of Leaves. When I found the reminder about this challenge I realized that I already had the beginning of my entry so I completed it this morning. The beautiful shiny green CS was saved from packaging and I thought it would look good as the frame. Then I found some pale green vellum and cut the second piece from that. Like Angie I reversed the frame before gluing them together. Using a folder by Lifestyle Crafts called Courtyard Roses and some mixed media CS I got the background piece and added the frame to it. With the last piece of the darker green CS and a die from MFT called Twice the Hugs I cut out the word and added it curved slightly as shown. It is a clear CASE of Angie’s card but is still different because the products are not the same and I used a different sentiment on mine. Thanks Angie for being a consistent source of ideas to me.
Recently I saw a card on Pinterest, that had a single black and white flower slightly over black lines and then some black mixed size beads placed strategically among the lines. I loved the simplicity of this design and have used the idea here although in my case more than a single flower. Teal card is from GKD (I love this colour) and the rest is from scraps. Once I had the white layer cut to size I used a ruler and a brown pencil to draw the lines. The die cut is from Spellbinders and came with my platinum 6. I added some teal DSP from StampinUp for the additional flowers and leaves on top of the orange piece as well as for the Hi. The brown hearts are fallouts from a new die I got yesterday and I used those instead of gems for embellishment. One of our contractors requested me to make a Mother’s Day card and I’m using the new die to make it.
What could be better for this theme challenge than a die that cuts circles and a ladybug stamp? The die is by Memory Box and is called sketchy rings and the ladybug is from StampinUp. I also used a swiss dot EB folder that came with a mini Die cutter, a small leftover strip from something I stenciled at Xmas and used here because I didn’t like the bottom edge of the panel and this worked to disguise it. The sentiment is from Itty Bitty Basics by MFT. Black gems from my stash and the rings were cut from a pale shimmery scrap and I used the same piece to cut two tiny stem hearts for the ladybug to hold. I used Sakura Glaze on the ladybug over all the black parts and then coloured the rest with a red glitter pen and gray tone pencils. Once she was fussy cut I added the stem hearts and placed her on the rings which I had already attached to the card front. Its a very simple little card but fun too.